
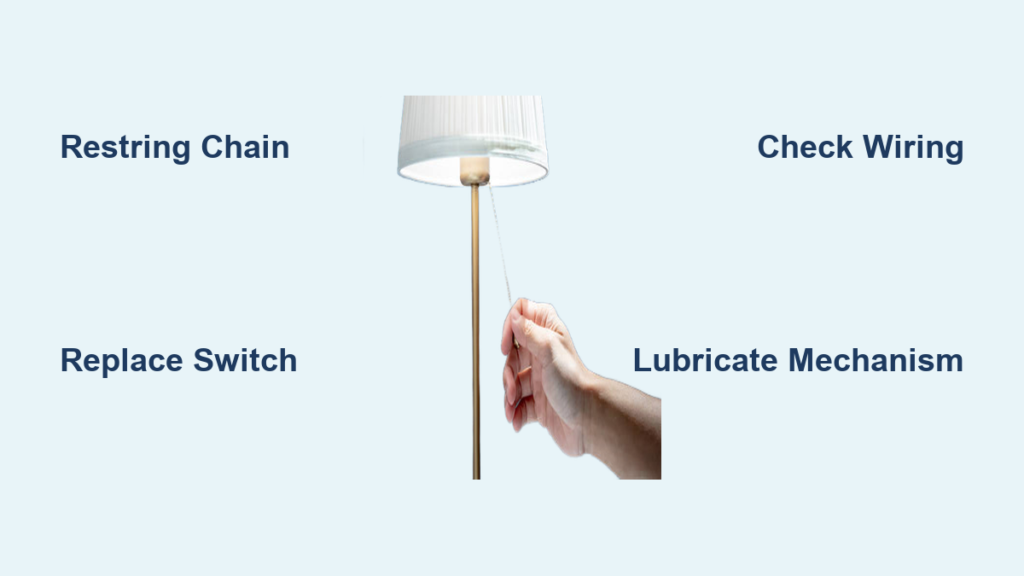
A flickering lamp or one that refuses to turn on can be incredibly frustrating, especially when the culprit is a broken pull chain. This small but essential component controls your lamp’s power, and over time, it can snap, jam, or fail internally. The good news is that fixing a pull chain on a lamp is a quick, affordable DIY repair that most homeowners can complete in under 30 minutes. Whether the chain broke off completely, the switch stopped clicking, or the socket feels loose, this guide walks you through every step to restore full function safely and effectively.
You will learn how to diagnose the exact issue, choose the right replacement parts, and complete the repair with common household tools. We will cover three main solutions: restringing a new chain, replacing the internal switch, or upgrading the entire socket assembly. By the end, you will not only fix your lamp but also extend its life and avoid unnecessary replacement costs.
Diagnose the Pull Chain Issue
Before grabbing tools, you need to pinpoint what is actually wrong. The fix depends entirely on the type of failure, so proper diagnosis saves time and money.
Check for Chain Breakage or Detachment
Inspect the pull chain closely. If it snapped near the handle or pulled out completely, the problem may be limited to the chain itself. Gently tug the remaining piece. If it moves freely but the light does not respond, the internal switch might still work. However, if the chain comes out with no resistance, the internal anchor has likely failed, and the switch will need replacement.
Test Mechanical Feedback
Pull the chain slowly and listen. A working switch produces a distinct audible click each time it toggles. No sound means the internal mechanism is worn or broken. Also check for stiffness or excessive looseness in the socket housing. A wobbly or rotating socket suggests internal wear and indicates the switch needs replacement.
Look for Electrical Warning Signs
Remove the bulb and inspect the socket. Discoloration, a burning smell, or warm housing are red flags of overheating. These indicate electrical arcing or loose wiring, and you should never ignore them. In such cases, replace the entire socket assembly immediately to prevent fire risk.
Essential Safety Precautions
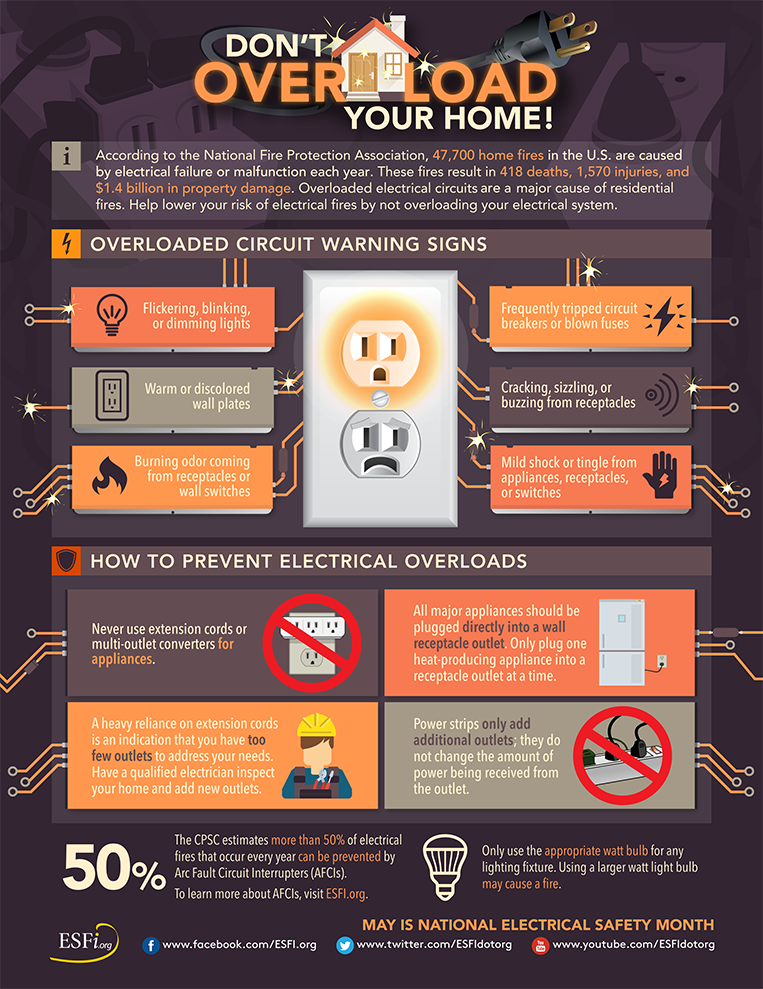
Working with electrical fixtures demands caution, even on low-wattage lamps. Following safety protocols protects you from shock and ensures a successful repair.
Unplug Before Starting
Always unplug the lamp before disassembly. For ceiling-mounted pull-chain lights, turn off the circuit breaker controlling the fixture. This eliminates shock risk during repair and gives you peace of mind while working.
Prepare Your Workspace
Work in a dry, well-lit area with insulated tools. Let the bulb cool before removing it. Remove the bulb to avoid breakage during handling. Avoid wearing metal jewelry or working with wet hands.
Pro Tip: Take a photo of the wiring before disconnecting anything. It serves as a quick reference to ensure correct reconnection later.
Tools and Parts You Need

Most repairs require minimal tools and inexpensive, widely available parts. Having everything ready before starting makes the process smoother.
Basic Repair Toolkit
The following tools will handle most pull chain repairs.
• Phillips and flathead screwdrivers for disassembling the socket
• Needle-nose pliers to grip small components and thread chain
• Wire strippers only if trimming damaged wire ends
• Multimeter optional for testing switch continuity
Replacement Components
These parts are sold at most hardware stores and online retailers.
• 1/8 inch ball chain made of nickel-plated brass, sold by the foot
• Chain connector or crimp to join chain ends securely
• Pull-chain switch or socket assembly matching voltage 120V and wattage 660W
• Wire nuts and electrical tape for secure, insulated connections
• Dry lubricant such as graphite spray to prevent future sticking
Where to Buy: Home Depot, Lowes, and Amazon carry standard replacement parts. Brands like Leviton offer reliable, pre-wired socket assemblies.
Restring a Broken Pull Chain
If the switch still clicks, you may only need to replace the chain. This is the simplest repair and often the only fix required.
Remove the Socket Shell
Follow these steps to access the internal mechanism.
- Unplug the lamp and remove the bulb.
- Unscrew the lamp shade by turning it counterclockwise.
- Remove the harp, which is the wire frame holding the shade.
- Unscrew the socket shell, which usually twists off the base.
- Gently separate the two halves to expose the switch mechanism.
Extract Old Chain and Feed New One
With the socket open, you can now replace the chain.
- Use needle-nose pliers to pull the broken chain from the switch lever.
- Cut a new 1/8 inch ball chain to a length of 12 to 18 inches.
- Thread one end through the switch hole, guiding it with a flathead screwdriver if needed.
- Ensure it engages the internal groove or plunger, which activates the switch.
Secure and Reassemble
Complete the repair by securing the new chain.
- Pull equal lengths of chain through both sides.
- Tie a knot in one end or attach a pull knob to prevent slipping.
- Use a metal crimp or connector to join the ends.
- Apply a drop of dry lubricant to ensure smooth movement.
- Reattach the socket shell, harp, and shade.
- Insert a bulb and plug in the lamp.
Test the repair by pulling gently. You should hear a click and see consistent on/off function.
Replace the Pull-Chain Switch
When the switch fails to click or the chain pulls out completely, replace the entire switch unit. This is a more involved repair but solves the problem permanently.
Disconnect Wires Safely
After removing the socket shell, locate the terminal screws.
- Take a photo of the wiring for reference.
- Loosen the screws and disconnect the wires.
- The black hot wire connects to the brass gold screw.
- The white neutral wire connects to the silver screw.
- The green or bare ground wire connects to the green screw if present.
Critical: Always connect the hot wire to the brass terminal. This ensures the switch breaks the live circuit, making it safer when turned off.
Install the New Switch
Choose a 120V, 660W pull-chain switch with E26 base compatibility. If using a pre-wired socket like those from Leviton, simply connect the wires to the new unit. Wrap wires clockwise around terminals for a secure fit. Tighten screws firmly because loose connections cause flickering and heat buildup.
Add Insulation and Reassemble
Slide an insulating sleeve over the metal housing to prevent shock. Reattach the socket shell, then reinstall harp, shade, and bulb.
Test by plugging in and cycling the switch 5 to 6 times. Confirm no flickering or warmth.
Replace the Entire Socket Assembly
For damaged, cracked, or overheated sockets, full replacement is the safest option. This eliminates any doubt about the condition of internal components.
When to Upgrade
Consider full replacement in these situations.
• Socket is brittle, cracked, or discolored
• Wires are frayed or melted
• Internal switch is non-removable or fused
Choose the Right Socket
Use a standard pull-chain socket with E26 base, rated for 125V and 660W. These support incandescent, CFL, and LED bulbs without rewiring.
Expert Tip: Using LED bulbs is perfectly acceptable. They run cooler and reduce strain on the socket, extending the life of your repair.
Wiring Best Practices
Follow these steps for secure connections.
- Strip 1/2 inch of wire insulation.
- Connect the black wire to the brass terminal.
- Connect the white wire to the silver terminal.
- Connect the ground to the green terminal.
- Secure with wire nuts if splicing.
- Wrap connections with electrical tape for extra insulation.
For ceiling fixtures, ensure the junction box is secure and supports the new fixture weight.
Troubleshoot Post-Repair Issues
Even a well-executed repair can have hiccups. Here is how to fix common problems that may arise after your repair.
Lamp Will Not Turn On
Loose wire connections are the most common cause. Recheck terminal screws to ensure wires are tight and properly seated. Remove and re-wrap the wires around terminals if needed.
Chain Feels Stiff or Sticks
Lack of lubrication or misalignment causes this issue. Apply graphite spray to the chain mechanism. Re-thread the chain into the switch groove if it has shifted.
Chain Pulls Out Again
The chain is not anchored in the internal notch. Disassemble and confirm the chain end is locked into the plunger mechanism before reassembling.
Flickering or Buzzing
Poor contact in the switch or an incompatible dimmer causes this. Replace the switch and verify it is not a dimmer model unless that is intended.
Pro Tip: Use a multimeter to test continuity. Set to ohms. The reading should switch from OL open to approximately 0 ohms closed when the chain is pulled.
Prevent Future Failures
Extend your lamp life with simple maintenance habits. Prevention costs less than repair and keeps your lamp functioning reliably for years.
Operate the Chain Gently
Avoid yanking or over-pulling the chain. Smooth, controlled pulls reduce wear on the switch mechanism and extend component life significantly.
Lubricate Annually
Apply dry lubricant every 1 to 2 years. Never use oil because it attracts dust and grime, creating more problems than it solves.
Inspect Regularly
Check for these warning signs during routine inspections.
• Loose socket housing
• Discoloration or warmth
• Frayed wires or damaged insulation
Replace the socket every 3 to 5 years in high-use lamps such as bedside or floor lamps.
Upgrade Beyond the Pull Chain
Consider modern alternatives for convenience and safety. Upgrading eliminates the pull chain entirely and can improve your lamp functionality.
Touch-Sensitive Socket
This option eliminates the pull chain entirely. Simply tap the base to turn the lamp on or off. Installation is straightforward because the wires connect the same way as the original socket.
In-Line Switch
This adds a switch to the power cord. It works great for lamps with no internal switch or for adding control without modifying the socket assembly.
Smart or Remote-Controlled Socket
This enables app or voice control. It is ideal for hard-to-reach lamps. Requires a compatible Wi-Fi LED bulb.
No rewiring is needed for any of these upgrades. Simply screw in the new socket and connect the wires.
When to Call an Electrician
DIY repairs are safe for most lamp issues, but know when to stop and seek professional help.
Seek Professional Help If
• Wires are burned, brittle, or damaged beyond the socket
• The outlet or ceiling box has no power
• The lamp is hardwired into the home electrical system
• You are uncomfortable working with live components
Expert Advice: If you are not comfortable working with electrical components, consult a qualified electrician. Safety always comes first.
Final Testing and Reassembly
After any repair, verify everything works safely before considering the job complete.
- Reinstall the correct wattage bulb, checking the socket rating first.
- Reattach harp and shade securely.
- Plug in and test by cycling on/off 5 to 6 times.
- Confirm consistent operation with no flickering.
- Feel for heat after 10 to 15 minutes of use.
A properly repaired lamp should function like new with a crisp click and reliable light.
Real-World Repair Benchmarks
Understanding typical repair outcomes helps set realistic expectations.
• Success rate exceeds 90 percent with basic tools
• Time required ranges from 15 to 30 minutes, up to 45 for beginners
• Cost ranges from $2 to $20 compared to $20 to $100 for a new lamp
• User feedback: Fixed my grandmothers lamp for $5 and saved a family heirloom
Frequently Asked Questions About Fixing Pull Chain on Lamp
Why does my lamp pull chain keep breaking?
Pull chains break most often from repeated yanking and normal wear. The metal ball chain weakens at stress points over time. Pulling the chain too hard or at an angle accelerates damage. Replacing with a quality nickel-plated chain and pulling gently extends the lifespan significantly.
Can I use a lamp without pulling the chain?
Yes. You can upgrade to a touch-sensitive socket, add an in-line switch to the cord, or install a smart socket for app control. These alternatives eliminate the pull chain entirely and work with existing lamps without rewiring.
How much does it cost to fix a lamp pull chain?
Repair costs range from $2 to $20 depending on what needs replacing. A new ball chain costs $2 to $5. A replacement switch runs $5 to $15. A complete socket assembly costs $10 to $20. This is far cheaper than buying a new lamp, which typically costs $20 to $100.
Do I need an electrician to fix a lamp pull chain?
No. Most lamp pull chain repairs are simple enough for DIY. You only need an electrician if the wiring is damaged, the lamp is hardwired to your home, or you are uncomfortable working with electrical components.
Can I use LED bulbs in my lamp after repair?
Yes. LED bulbs work perfectly in pull-chain lamps. They run cooler than incandescent bulbs, which reduces strain on the socket and switch. This helps your repair last longer.
How long does a pull chain repair last?
A properly done repair typically lasts 3 to 5 years with normal use. Annual lubrication and gentle operation extend the lifespan. High-use lamps may need more frequent attention.
Key Takeaways for Fixing Pull Chain on Lamp
Fixing a pull chain on a lamp does not require professional help or expensive tools. Most repairs take 15 to 30 minutes and cost under $20. Start by diagnosing whether the chain is broken, the switch failed, or the entire socket needs replacement. Always unplug the lamp before working and take a photo of the wiring for reference. Use dry lubricant annually and pull the chain gently to prevent future failures. A broken pull chain does not mean your lamp is finished. With the right parts and a few minutes of effort, you can restore full function and avoid replacement entirely.



