
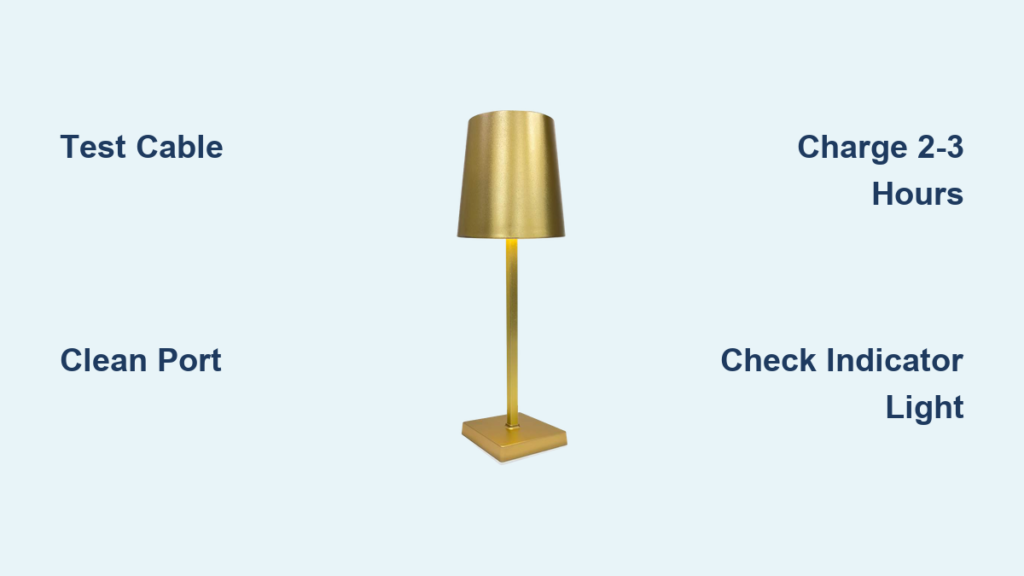
You’re ready to use your rechargeable lamp, but it won’t power on, even after hours on the charger. No lights, no response, nothing. You’re not alone. Rechargeable lamp not charging is a common frustration, especially when the device worked perfectly just days ago. The issue could be as simple as a dirty port or a faulty cable, or it might point to internal battery failure.
The good news? Most charging problems can be diagnosed and often resolved in under 30 minutes with basic tools and a systematic approach. Whether your lamp shows no signs of life, blinks oddly, or only works when plugged in, this guide walks you through every possible cause and solution. You’ll learn how to test cables, clean ports, interpret indicator lights, and know when it’s time to contact support.
Check Power Source and Cable First
Before diving into complex fixes, rule out the simplest causes: your charging accessories. A bad cable or weak power source is often the real culprit behind a rechargeable lamp not charging.
Test With a Known-Good Cable
Not all USB cables are created equal. A frayed or low-quality cable may deliver power inconsistently or not at all.
• Use the original USB-C or micro-USB cable that came with the lamp, if available
• Test with a cable you know works, one that charges your phone or tablet reliably
• Avoid cheap, unbranded cables; they often lack proper internal wiring
Plug the same cable into another device. If it doesn’t charge there either, the cable is faulty.
Use the Right Power Adapter
Wall outlets and USB ports vary in power output.
• Always use a 5V/1A to 2A USB wall adapter
• Avoid charging from low-power sources like laptops or power strips unless confirmed functional
• Never use fast-charging adapters (e.g., 18W+) unless the lamp specifically supports them
A computer USB port may supply only 500mA, which is too weak for many lamps and can result in no charging or slow trickle charging.
Verify the Outlet
A dead outlet can mimic lamp failure. Plug in another device (like a phone charger) to confirm the outlet works. Try a different wall socket to rule out circuit issues. If using a power strip, ensure it’s switched on and receiving power.
Inspect and Clean the Charging Port
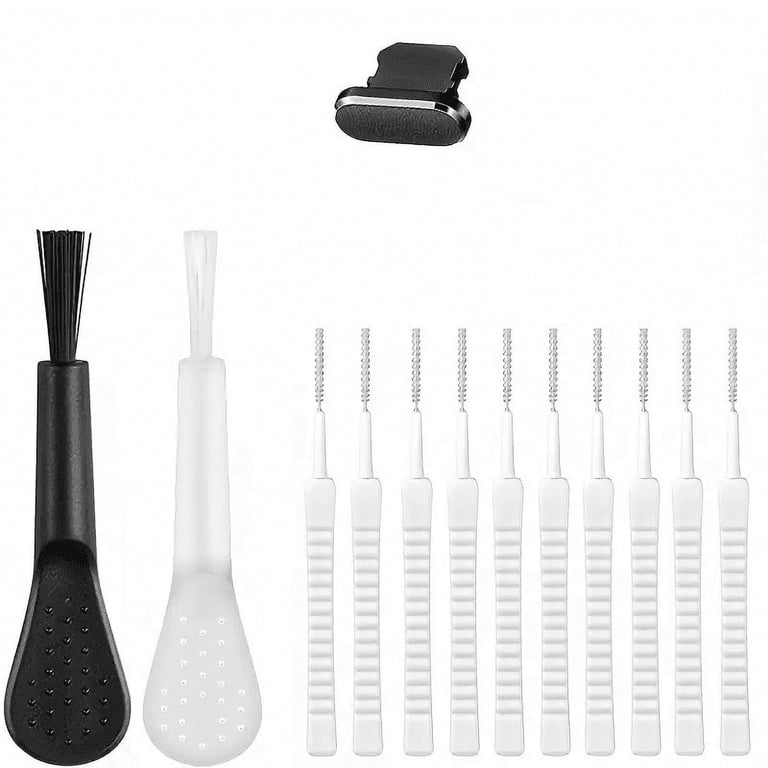
Dirt, lint, and corrosion are silent killers of charging performance. Even a small obstruction in the charging port can prevent electrical contact.
Look for Visible Debris
Shine a flashlight into the port. Check for dust, pocket lint, or metal shavings (common if stored in a bag). Look for bent pins or physical damage, especially if the lamp was dropped.
Bent pins mean the port isn’t making full contact with the cable, blocking power flow.
Clean the Port Safely
Never use liquids or metal tools.
• Use a dry cotton swab or soft-bristle brush to gently remove surface debris
• For stubborn particles, use compressed air (like a camera duster) in short bursts
• Avoid blowing with your mouth; moisture can cause corrosion
Hold the lamp upside down while cleaning to let debris fall out naturally.
Reconnect and Test
Plug in the cable firmly. You should feel a snug fit. Wiggle the cable slightly; if the lamp flickers or lights up intermittently, the port is loose or damaged. Leave it connected for 2-3 minutes to see if charging initiates.
Charge for Extended Time
A deeply drained battery may not respond immediately. Don’t assume it’s dead after 10 minutes.
Wait at Least 2-3 Hours
Lithium-ion batteries can drop to near-zero voltage, entering a “sleep” state. It takes time for the charger to “wake up” the battery before charging begins. Even with no indicator light, leave it plugged in.
Some lamps take up to 3 hours to show the first sign of life after full depletion.
Monitor for Delayed Response
After 2 hours, try turning on the lamp while still plugged in. If it powers on, the battery was just deeply drained. Let it charge fully (usually 4-6 hours) before unplugging.
Test Lamp Function While Plugged In
This test tells you whether the problem is the battery or the charging system.
Turn On While Charging
With the cable connected, press the power button or touch the control. If the lamp turns on only when plugged in, but shuts off when unplugged, the battery is not holding charge.
This means power delivery works (cable, port, and circuit are functional), but the battery is either dead, disconnected, or no longer accepting charge.
Check Brightness Settings
Some lamps default to lowest brightness or warm light mode, appearing dim or off. Cycle through modes using the touch or button control. Wipe the entire lamp with a dry cloth; dirt on sensors can block activation.
Decode Indicator Light Behavior
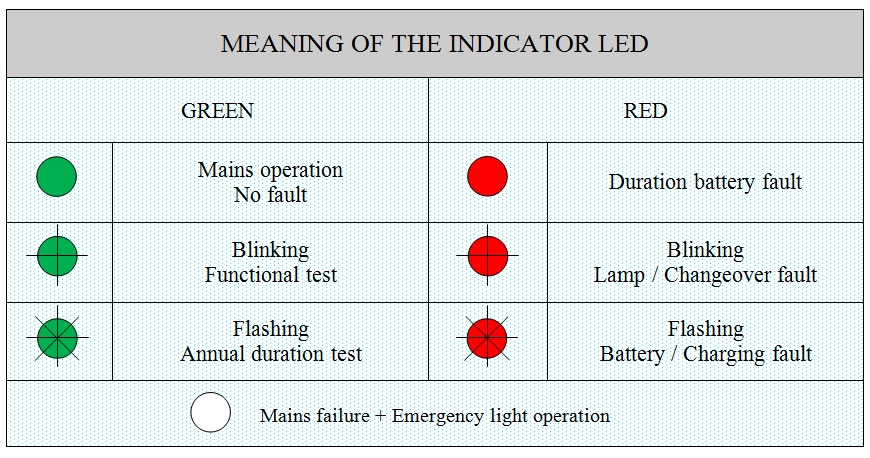
Your lamp’s LED tells a story. Learn to read it.
What Each Light Means
• Solid red light = Charging (normal behavior)
• Green light = Fully charged (expected after full charge)
• Blinking red = Low battery (lamp needs charging)
• Blinking green = Charging fault (critical warning)
A blinking green light while plugged in is not normal. This indicates a faulty charging circuit, triggered protection mode, or battery failure. Stop charging and proceed to manufacturer support.
Rule Out Environmental Factors
Where and how you use the lamp affects performance.
Temperature and Placement
Lithium-ion batteries fail in heat or cold. Don’t leave the lamp in direct sunlight, near heaters, or in freezing rooms. Ideal charging temperature is 10°C to 30°C (50°F to 86°F).
Use on flat, hard surfaces. Tilted or soft surfaces (like beds or couches) can interfere with touch sensors or balance.
Moisture Protection
Never use with wet hands. Avoid bathrooms or kitchens with high humidity. Wipe with a dry cloth; never use water or cleaning sprays.
Moisture in the port or internal circuitry can cause short circuits.
Diagnose Battery and Internal Failure
If all external checks pass, the problem is likely inside.
Signs of Battery Failure
• Lamp worked three days ago, now completely dead
• Charges but dies instantly when unplugged
• Bulge or swelling in the base (rare but serious)
• No response despite known-good cable and outlet
Rechargeable batteries last 2-3 years. After that, capacity drops sharply.
Internal Hardware Red Flags
• Green blinking light with no charging
• No indicator light at all
• Physical damage to port or casing
• Burning smell or discoloration (stop use immediately)
Never Attempt Self-Repair
It’s tempting to open the lamp, but it’s risky and often makes things worse.
Why You Shouldn’t Disassemble
• Voids warranty instantly
• Risk of electric shock (even when unplugged)
• Damage to delicate circuits or connectors
• No replacement parts available to consumers
Lithium-ion batteries can ignite if punctured. Do not pry, cut, or heat the lamp.
Safe Alternatives
Contact the manufacturer for repair or replacement. Look for authorized service centers. Consider recycling if beyond repair.
Contact Manufacturer for Support
When troubleshooting fails, it’s time to go official.
For AuraLED Wireless Brilliance Lamps
Email support@tzumi.com or call 1-855-GO-TZUMI (1-855-468-9864). Have your purchase date and model number ready.
For BRIGHT Rechargeable Lamps
Visit https://bright-products.com or email partnerships@bright-products.com. The address is Holbergs gate 19, 0166 Oslo, Norway (Organization Number: 997 620 992).
What to Provide
• Brand and model of the lamp
• Purchase date or proof of purchase
• Description of symptoms (e.g., “blinking green light”)
• Steps you’ve already tried
If under warranty, you may qualify for a free exchange, though shipping fees could apply.
Prevent Future Charging Issues
Keep your lamp running smoothly with simple habits.
Maintenance Checklist
• Recharge when brightness dims or indicator blinks red
• Avoid letting the battery die completely
• Stick to the provided cable and adapter
• Keep in a cool, dry place
• Charge to 50% if storing long-term
• Clean monthly; wipe the lamp and port gently
Expected lifespan is 4-6 hours runtime per charge, lasting 2-3 years with proper care.
Final Checklist: What to Do Now
| Step | Action |
|---|---|
| 1 | Test with a known-good cable and 5V/1A-2A adapter |
| 2 | Try a different power outlet |
| 3 | Inspect and clean charging port |
| 4 | Charge for 2-3 hours even if no light appears |
| 5 | Test if lamp turns on while plugged in |
| 6 | Observe indicator: red = charging, green = full, blinking green = fault |
| 7 | Rule out cold, heat, or moisture exposure |
| 8 | If all else fails, contact manufacturer with model and symptoms |
Frequently Asked Questions About Rechargeable Lamp Not Charging
Why is my rechargeable lamp not charging even when plugged in?
This could be due to a faulty cable, damaged charging port, depleted battery, or internal hardware failure. Start by testing with a known-good cable and adapter, then inspect the charging port for debris or damage.
What does a blinking green light mean on my rechargeable lamp?
A blinking green light while plugged in indicates a charging fault. This suggests a faulty charging circuit, triggered battery protection mode, or battery failure. Stop charging immediately and contact the manufacturer.
How long should I charge a rechargeable lamp that won’t turn on?
Leave the lamp charging for at least 2-3 hours. A deeply discharged lithium-ion battery may not show signs of life immediately. If there’s still no response after 3 hours, the battery or internal circuitry likely has failed.
Can I fix a rechargeable lamp that won’t charge myself?
No. Attempting to disassemble the lamp voids the warranty and risks electric shock or battery damage. Internal components are not user-serviceable. Contact the manufacturer for repair or replacement options.
How do I know if my lamp battery is dead?
If the lamp turns on only when plugged in but shuts off immediately when unplugged, the battery is not holding charge. This indicates battery failure. Other signs include the lamp working one day and being completely dead the next.
Why does my lamp only work while plugged in?
This confirms that power delivery works (cable, port, and circuit are functional), but the battery cannot hold a charge. The battery is either dead, disconnected, or no longer accepting charge due to age or damage.
Key Takeaways for Fixing Your Rechargeable Lamp
Rechargeable lamps are convenient, but they depend on a chain of components, all of which must work together. When your rechargeable lamp not charging issue arises, start simple: cable, power source, and port. Most issues resolve at one of these checkpoints.
If external components check out, use the indicator light behavior to guide your next steps. Solid red means charging is working. Green means full. Blinking green is a red flag indicating internal failure. Never ignore this warning sign.
Most importantly, don’t attempt self-repair. The risk of voiding your warranty or causing battery damage isn’t worth it. Instead, gather your model number and symptoms, reach out to the manufacturer, and take advantage of warranty support if available. With this systematic approach, you’ll either get your lamp working again or secure a replacement fast.



