
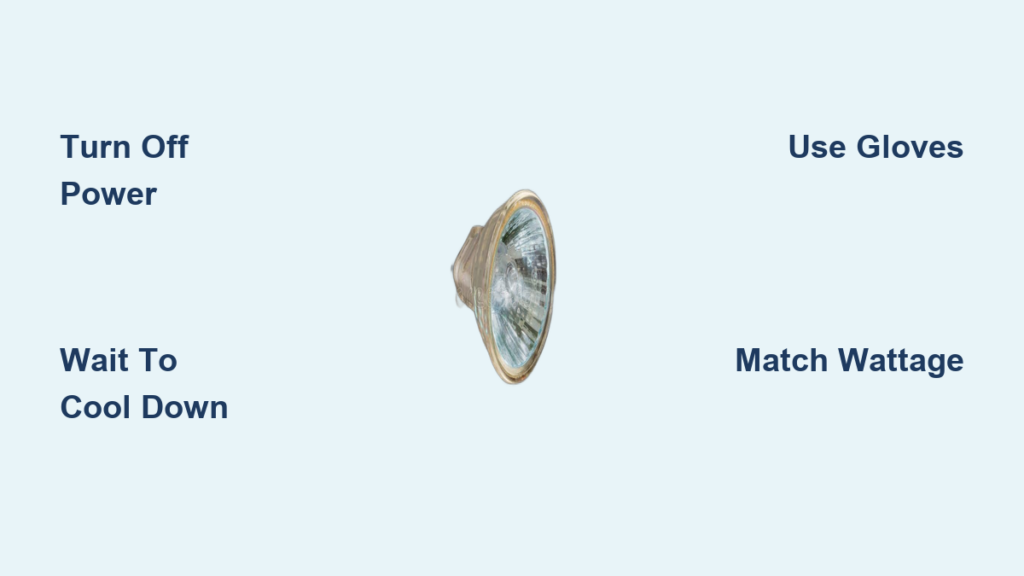
You flip the switch, and nothing happens. No warm glow from your favorite spotlight or under-cabinet light. A burned-out halogen lamp is likely the culprit. While LED lighting is becoming more common, millions of homes still use halogen bulbs for their bright, crisp illumination. Replacing one safely and correctly matters. One wrong move, like touching the glass with bare fingers, can shorten the new bulb’s life or even cause it to shatter.
This guide walks you step by step through how to change a halogen lamp safely and effectively. You will learn how to power down correctly, remove the old bulb without injury, install the new one with precision, and avoid the most common mistakes. Whether it is a G4 under-cabinet light, a GU10 recessed spotlight, or an R7s outdoor floodlight, this guide covers every type. By the end, you will be able to replace any halogen bulb confidently without risk of shock, burns, or early failure.
Power Off and Cool Down Before Replacing
Turn Off Power at the Source
Always start by cutting power to the fixture. For ceiling or wall fixtures, flip the light switch off. But do not stop there. Turn off the circuit breaker or unplug the lamp entirely. Halogen fixtures often use line voltage or low-voltage transformers, and even a small shock can be dangerous. Unplugging or switching off the breaker ensures no current flows during replacement.
Wait for the Bulb to Cool
Halogen bulbs operate at extreme temperatures, often exceeding 250°C. Touching a hot bulb can cause serious burns. Always wait 5 to 20 minutes after turning off the light before handling it. High-wattage bulbs like 300W or 500W floodlights or those in enclosed fixtures need the full 20 minutes. If in doubt, gently hold your hand near the bulb. No heat should radiate from it.
Gather the Right Tools and Replacement Bulb
Essential Tools You Will Need
You do not need many tools, but having the right ones makes the job safer and easier. Gather these supplies before starting.
• Latex or nitrile gloves or a lint-free cloth
• Step stool or ladder for ceiling or outdoor lights
• Screwdriver if removing a cover
• Needle-nose pliers for stuck bulbs or spring clips
• Alcohol wipe in case of accidental skin contact
Choose the Correct Replacement Bulb
Using the wrong bulb can damage the fixture or create a fire hazard. Match these four key specifications exactly.
• Bulb type such as MR16, G9, or R7s
• Base or socket type such as GU10, G4, or E26
• Wattage such as 50W or 150W
• Voltage, typically 12V or 120V
Remove the old bulb and take it to the store. The label on the base has all the information you need for an exact match.
Remove the Old Halogen Bulb

Access the Fixture Safely
Most halogen lamps are in recessed, track, or enclosed fixtures. Remove the cover or shade first. Snap-on trims require pressing tabs and pulling down. Twist-on rings need rotating counter-clockwise to release. Screwed covers require a screwdriver to remove. Outdoor housings may have clips or gaskets. Do not force anything.
Extract by Socket Type
Different socket types require different removal techniques.
For G4, G9, and GU5.3 push-fit bulbs, wear gloves or use a cloth. Grasp the bulb by the base or pins, not the glass. Pull straight out without twisting. If stuck, check for retaining clips or corrosion.
For GU10 twist-lock bulbs, insert fingers or cloth, pull slightly outward, then twist counter-clockwise about 45 degrees. Once unlocked, remove the bulb. Forcing it can bend the pins.
For E26 and E27 screw-base bulbs, turn counter-clockwise until free. If stuck, use a rubber grip pad or pliers, but avoid damaging the base.
For R7s linear double-ended bulbs, press one end inward to release spring tension. Pivot that end out, then slide the other pin free. Handle carefully because these bulbs are long and fragile.
Warning: If the bulb breaks, turn off power immediately. Use needle-nose pliers to remove broken pins. Wear gloves and eye protection.
Install the New Halogen Lamp Correctly
Inspect Socket and Contacts First
Before inserting the new bulb, check the socket for problems. Look for corrosion or burn marks on pins or terminals. Check for loose wires or damaged springs. Ensure proper alignment of socket holes. Replace the socket if damaged. Do not risk poor contact or flickering.
Insert the New Bulb Properly
For push-fit bulbs like G4, G9, and GU5.3, align the pins with the socket. Push gently but firmly until fully seated. You should feel it click into place. No twisting is needed.
For twist-lock bulbs like GU10, insert pins straight in. Push in and twist clockwise about 45 degrees until it locks. If it does not turn easily, realign the pins. Forcing it can damage the socket.
For screw-base bulbs like E26 and E27, align threads and turn clockwise until snug. Do not overtighten. This can crack the base or damage the socket.
For linear bulbs like R7s, insert one end into the fixed holder. Compress the spring on the other side and slide the second pin in. Release slowly. Ensure both ends are secure.
Orient for Optimal Beam Direction
Some halogen bulbs, especially outdoor floodlights, have a small glass knuckle at the back from manufacturing. This must face the rear of the fixture. If installed facing forward, it casts a dark shadow in the beam. Check the bulb orientation before closing the housing.
Pro tip: Use the original cellophane or foam packaging to grip the bulb. This prevents oil transfer and improves control.
Reassemble and Test Your Work
Reattach the Cover or Shade
Reinstall the fixture components carefully. Snap-on trims require pressing until they click. Twist-on rings need turning clockwise until snug. Screwed covers need all screws reinstalled. For outdoor fixtures, inspect the rubber gasket. Clean it, ensure it is undamaged, and seat it properly before closing. A poor seal can let in moisture, leading to corrosion or short circuits.
Restore Power and Verify Operation
Turn the breaker back on or plug in the lamp. Flip the switch and observe. Check that it lights immediately. Verify the brightness is full and steady. Look for any flickering, buzzing, or shadows.
If it does not light, recheck power and the circuit. Verify both pins are fully seated, especially for R7s bulbs. Confirm correct orientation with the knuckle facing the rear.
If flickering occurs, reseat the bulb. Check for weak spring tension or corroded contacts.
Avoid Common Mistakes During Replacement
Several errors commonly cause problems when changing halogen lamps.
Never touch the glass with bare hands. Skin oils create hot spots on the quartz envelope when heated. This leads to cracking, shattering, or early failure. Always use gloves, a cloth, or the bulb packaging.
Match wattage exactly. Using a 100W bulb in a 60W-rated fixture can overheat the wiring, damage the socket, or trigger a fire. Check the fixture label. Never exceed the maximum wattage.
Do not force the bulb. If it does not go in easily, stop. Misaligned pins or a damaged socket are likely. Forcing it can break the bulb or ruin the fixture.
Replace bulbs in pairs. In dual-lamp fixtures like vanity lights, replace both bulbs at once. The second is likely near the end of its 2,000 to 4,000 hour lifespan.
Handle and Store Halogen Bulbs Safely
Clean the bulb after accidental skin contact. If you touch the glass, wipe it with an alcohol wipe or isopropyl alcohol on a lint-free cloth. Let it dry completely before installation.
Store spare bulbs in their original packaging. This protects against breakage and prevents contamination.
Dispose of used bulbs properly. Wrap them in paper or tissue before tossing in the trash. They are not hazardous waste in most areas, but check local rules. Never throw loose glass in the bin.
Special Cases and Upgrade Options

Outdoor Fixtures
Use only bulbs rated for outdoor use. Always inspect the rubber gasket. A damaged seal lets in moisture, causing corrosion and early failure. Ensure the housing is tightly closed after replacement.
Recessed and Ceiling Lights
Use a stable ladder and ensure three points of contact. Some recessed fixtures have thermal cutoffs. If the bulb does not light immediately, wait a few minutes for the sensor to reset.
Dimmable Systems
Ensure the new bulb is dimmable if used with a dimmer switch. Use leading-edge dimmers for magnetic transformers. Use trailing-edge dimmers for electronic transformers. Mismatched dimmers cause flickering, buzzing, or reduced lifespan.
Consider LED Retrofit
While this guide focuses on halogen replacement, LEDs are a smarter long-term option. They use up to 85 percent less energy and last 25,000 to 50,000 hours. They produce far less heat and are available in halogen-compatible bases like GU10, G4, and R7s. Many LED retrofits work without rewiring. Just swap and go.
When to Call a Professional Electrician
Do not attempt repairs if you see scorch marks, melted sockets, or frayed wires. Do not attempt if the bulb fails repeatedly despite correct installation. Do not attempt if the fixture is hardwired and hard to access. Do not attempt if you are uncomfortable working with electricity.
A qualified electrician can inspect wiring, replace transformers, or upgrade the fixture safely.
Extend the Life of Your Halogen Lighting
Clean Fixtures Regularly
Dust and grime on reflectors or lenses reduce light output. Wipe with a dry or slightly damp cloth every few months.
Ensure Proper Ventilation
Enclosed fixtures trap heat. Make sure vents are not blocked by insulation or debris. Overheating shortens bulb life.
Troubleshoot Common Problems Fast
| Issue | Likely Cause | Fix |
|---|---|---|
| No light | Power off or loose connection | Check breaker and reseat bulb |
| Flickering | Poor contact or weak spring | Clean socket or replace if damaged |
| Early burnout | Skin oils or wrong wattage | Replace bulb and handle with gloves |
| Bulb shatters | Contamination or moisture | Replace carefully and ensure dry fit |
| Shadow in beam | Knuckle facing forward | Reinstall with knuckle to rear |
| Fixture hot | Overwattage or poor airflow | Use correct bulb and clear vents |
Key Takeaways for Changing Your Halogen Lamp
Changing a halogen lamp is simple when done right. The key is safety, cleanliness, and precision. Always turn off power at the source and wait for the bulb to cool. Never touch the glass with bare hands. Use gloves, a cloth, or the packaging. Match the replacement bulb exactly in type, base, wattage, and voltage. Insert the new bulb carefully, pushing, twisting, or screwing to lock it in place. For directional bulbs, orient the knuckle toward the rear of the fixture. Reassemble all covers securely, especially outdoor gaskets. Test the light for full brightness and correct beam pattern.
If the bulb does not light or flickers, check the connections and orientation. For recurring failures or damaged fixtures, call a qualified electrician. While halogen technology is fading in favor of LEDs, knowing how to replace these bulbs keeps your lighting functional and safe until you are ready to upgrade.
Frequently Asked Questions About Changing Halogen Lamps
How do I know which halogen bulb to buy?
Remove the old bulb and check the label on the base or the fixture. Match the bulb type, base type, wattage, and voltage exactly. Taking the old bulb to the hardware store ensures you get the right replacement.
Can I touch a halogen bulb with my fingers?
No. Never touch the quartz glass of a halogen bulb with bare hands. Skin oils cause hot spots that lead to cracking, shattering, or early failure. Always use gloves, a lint-free cloth, or the original packaging when handling halogen bulbs.
How long should I wait after turning off a halogen lamp before replacing it?
Wait 5 to 20 minutes. Most bulbs need at least 5 to 10 minutes to cool. High-wattage bulbs or those in enclosed fixtures need the full 20 minutes. Touching a hot bulb can cause serious burns.
Why does my halogen bulb flicker after installation?
Flickering usually means poor contact. Reseat the bulb to ensure both pins are fully engaged. Check for weak spring tension or corroded contacts in the socket. Replace the socket if damaged.
What happens if I use the wrong wattage bulb?
Using a higher wattage bulb than the fixture is rated for can overheat the wiring, damage the socket, or create a fire hazard. Always match the wattage exactly. Check the fixture label for the maximum wattage.
Can I replace halogen bulbs with LED bulbs?
Yes. LED retrofit bulbs are available that directly replace halogen lamps without electrical modification. Look for halogen-compatible bases like GU10, G4, or R7s. LEDs use less energy, last longer, and produce less heat.



