
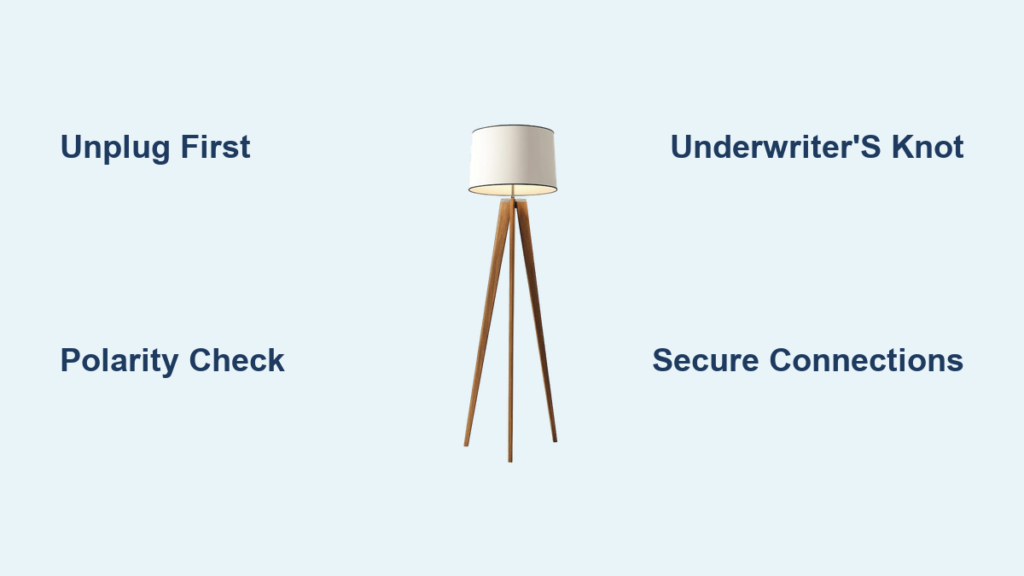
Is your vintage floor lamp flickering, or does the plug feel warm when in use? These warning signs mean it’s time to rewire. Over time, lamp cords degrade, especially in older models with brittle or frayed insulation. The good news is that rewiring a floor lamp is a beginner-friendly DIY project that takes under an hour and costs less than $30 in materials. This guide walks you through every step, from disassembly to final testing, using reliable electrical practices and code-compliant techniques.
Gather Your Tools and Materials
Before touching any wiring, ensure you have the right equipment. Working with electricity demands precision and safety.
Essential Tools
You will need several basic tools to complete this project successfully. A wire stripper calibrated for 18-gauge wire prevents nicking copper strands. A flat-head screwdriver loosens socket terminals, though some sockets may require a Phillips driver. Diagonal cutters trim old cord and cut new lamp wire. A multimeter, while optional, proves useful for testing continuity after rewiring. Safety glasses and rubber-soled shoes protect against sparks and accidental grounding. A tape measure determines proper cord length with service slack. Pliers or a wrench are needed if the base nut is seized.
Pro Tip: Take photos during disassembly. They help you reassemble complex multi-socket lamps correctly.
Choose the Right Replacement Parts
Using incorrect components compromises safety and performance. Match or upgrade your parts wisely.
Select the Correct Lamp Cord
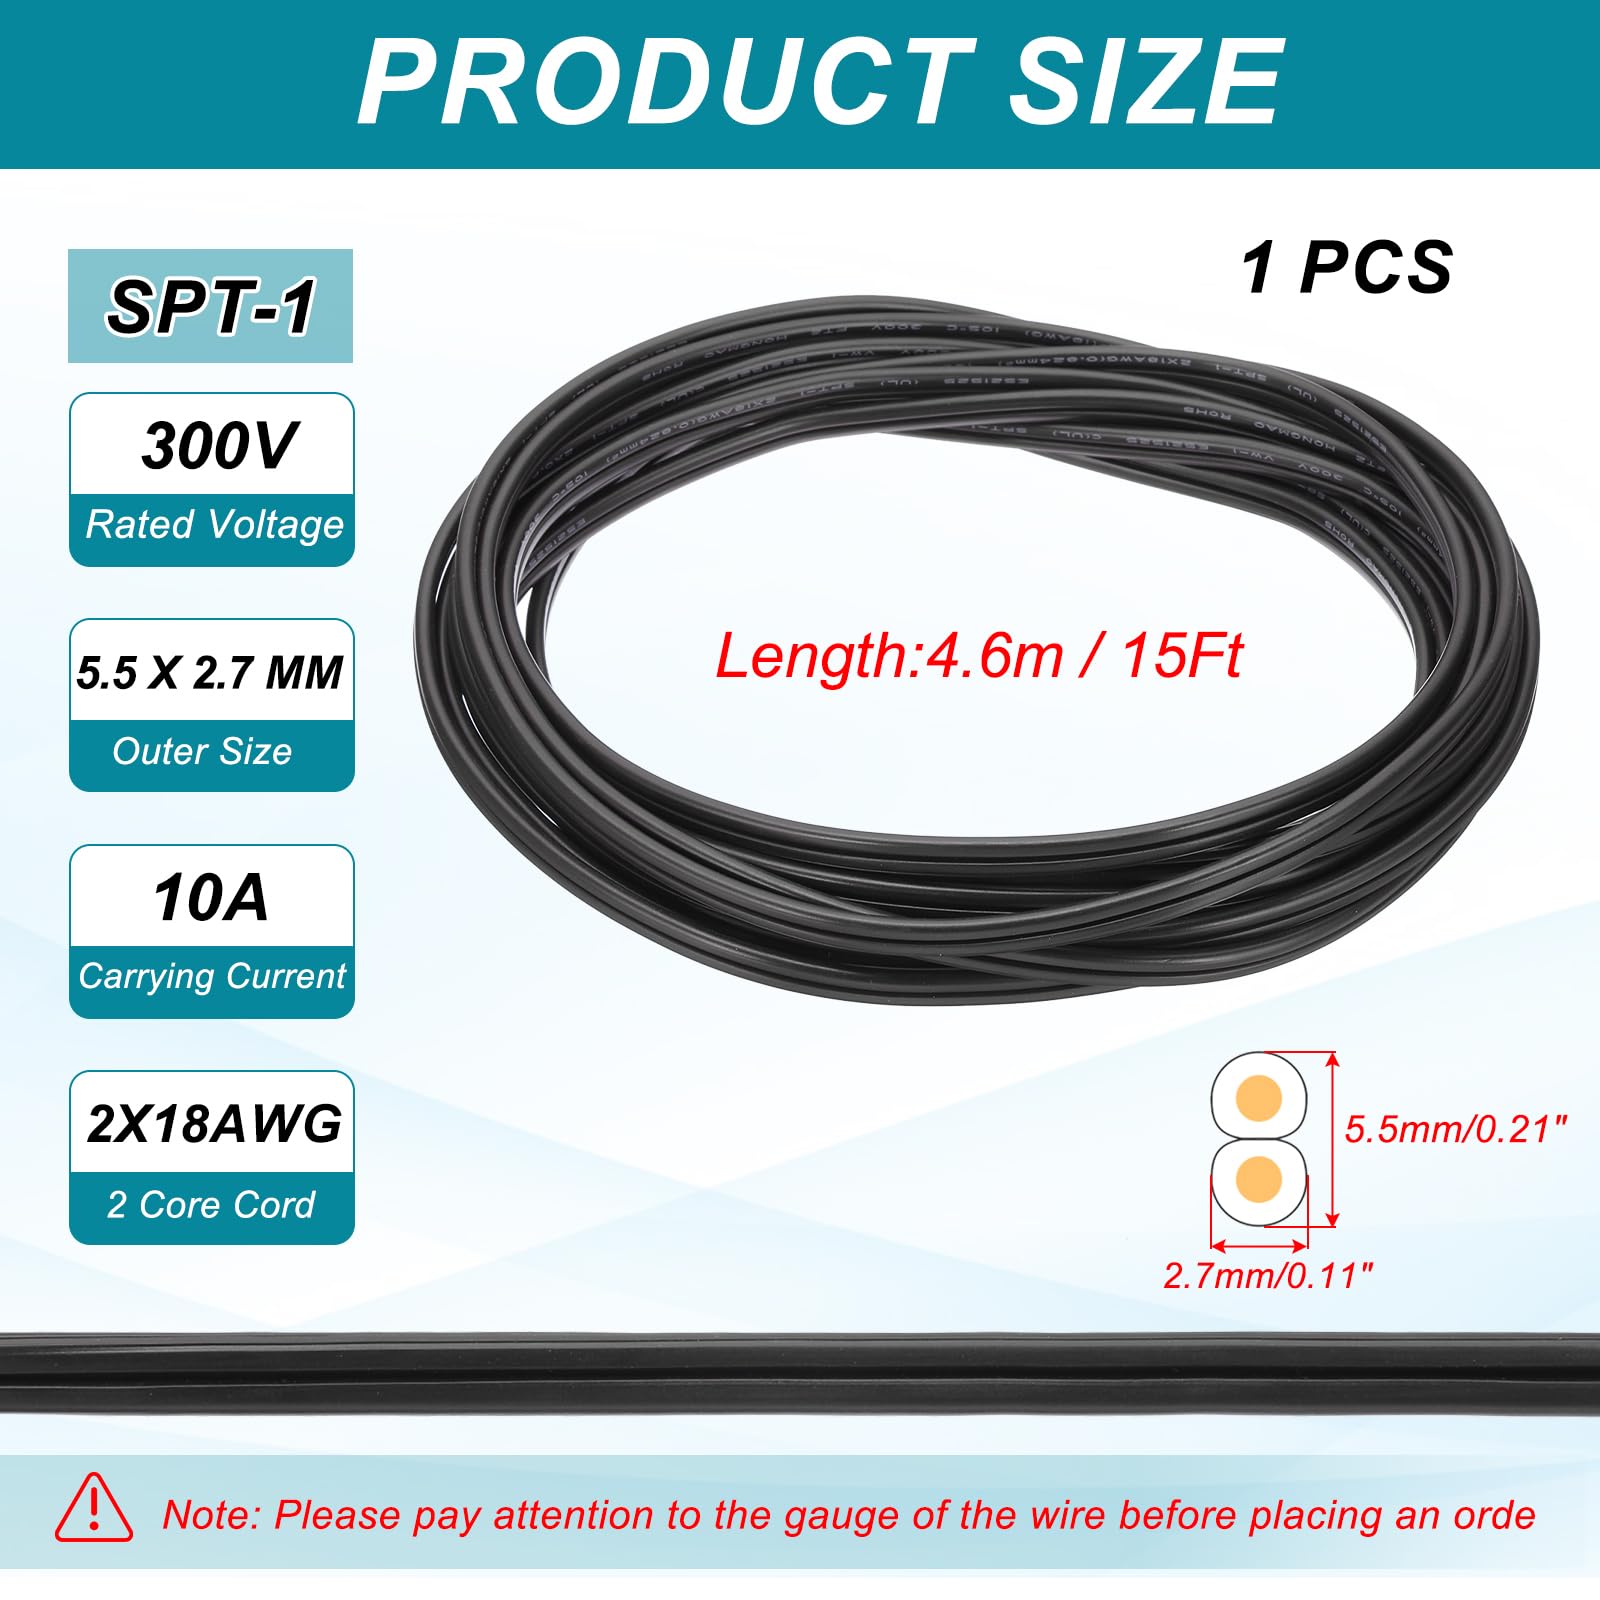
SPT-2 (Stranded Parallel Thermoplastic) in 18 AWG is standard for most floor lamps. For high-wattage lamps like torchières, use 16 AWG instead. The voltage rating should be 300V with a current rating of 10A, which supports up to 1,500W. Insulation identification matters: the ribbed or textured side indicates neutral, while the smooth side indicates hot. Available styles include flat, round, or fabric-covered. For vintage restoration, use fabric-covered SPT-2 cord, but ensure internal conductors meet modern UL standards.
Pick the Correct Socket
E26 (medium base) is standard for most bulbs. E12 (candelabra) suits smaller decorative bulbs. Mogul E39 is found in older industrial lamps, and you can use a $5 adapter to fit E26 bulbs. Replace worn sockets with new ones that include brass (hot) and silver (neutral) terminals.
Install a Polarized Plug
NEMA 1-15P is the standard two-prong plug with a narrow blade for hot and a wide blade for neutral. The narrow blade connects to the smooth wire, and the wide blade connects to the ribbed wire. Ensure the plug has a cord clamp that grips the outer insulation, not the copper wires, to prevent strain.
Expert Note: Bring your old cord and socket to the hardware store to verify compatibility.
Safety First: Pre-Rewiring Precautions
Electrical work carries risk even on small appliances. Follow these rules without exception.
Critical Safety Rules
Always unplug the lamp before starting. Never assume that “off” means safe. Work in a dry, well-lit area away from water or flammable materials. Wear safety glasses and insulated tools. Avoid wearing metal jewelry. Never work on live circuits.
Do Not Rewire If You See
Scorch marks on the socket or base indicate overheating. Brittle, cracked, or exposed wiring poses a shock risk. Melted components or rodent damage require professional attention. Loose or corroded terminals create fire hazards. If any of these are present, consider professional repair, especially for valuable antiques.
Warning: Reversed polarity (hot and neutral swapped) creates a shock hazard even when the lamp is off.
Disassemble the Lamp Step by Step
Proper disassembly ensures easy reassembly and protects fragile parts.
Remove Lamp Components
Unplug the lamp first. Remove the bulb, harp, shade, and finial. Lay the lamp on its side or upside down for access.
Open the Base
Unscrew the base cap or loosen the bottom nut securing the center rod. On threaded models, unscrew the base counterclockwise from the central pipe. Use pliers or a wrench if the base is stuck, but avoid force on glass or marble bases.
Trick: If the base won’t budge, apply penetrating oil or gentle heat to loosen corrosion.
Pull Out the Center Rod
Carefully pull the center rod partway out the top to expose the socket and wiring. Take photos at each stage to guide reassembly.
Replace the Old Wiring
Removing old cord safely prevents damage to the lamp structure.
Use the Pull-Through Method
Cut the old cord near the plug to free it from the base. Tape the end of the new cord to the end of the old cord. Pull the old cord through the center pipe, dragging the new one behind it. Once through, discard the old cord and separate the new one.
Alternative: If no old wire remains, manually feed the new cord from the base upward.
Prepare and Measure the New Cord
Accurate length prevents strain and ensures serviceability.
Measure with Slack
Run the cord from the plug to the farthest socket, then add 12 inches (30 cm). This extra length allows for future repairs and reduces tension on connections.
Cut and Strip Wires
Use diagonal cutters to trim the cord. Split the top 2 inches of outer jacket to expose both inner wires. Strip 1/2 inch (1.25 cm) of insulation from each end using a wire stripper. Twist copper strands tightly to prevent fraying. Form clockwise loops if connecting to screw terminals.
Caution: Use the largest wire stripper setting. Nicked strands reduce conductivity and increase fire risk.
Tie an Underwriter’s Knot for Safety

This knot prevents cord tension from loosening internal connections.
Why It Matters
The underwriter’s knot is required by electrical code in exposed cord applications. It acts as strain relief and prevents wires from pulling out of terminals.
How to Tie It
After splitting the cord, cross the two wires. Loop each wire around the opposite side. Pull tight before inserting into the socket. The knot must sit below the socket base, not inside it.
Alternative: A figure-eight or simple loop knot works if space is tight.
Connect Wires to the Socket
Correct terminal connections ensure safe operation.
Identify Polarity
The hot (smooth wire) connects to the brass terminal. The neutral (ribbed wire) connects to the silver terminal.
Make Secure Connections
Feed wires through the socket base and insulating sleeve. Wrap wires clockwise around terminals. This prevents loosening when tightening screws. Tighten screws fully. No bare copper should extend beyond the screw head. Cover corroded terminals with electrician’s tape if replacement is not possible.
Install the Insulating Sleeve
Slide the plastic or fiber sleeve up into the socket. Snap or screw the metal shell into place to protect internal wiring.
Pro Tip: Wrap terminals with a small piece of tape for added insulation, especially in older sockets.
Wire Multi-Socket Lamps Correctly

Lamps with multiple arms need organized wiring for proper function.
Neutral Wires: All Connected
Join all ribbed (neutral) wires together using a red or yellow wire nut. Include the neutral from the main power cord and each socket.
Hot Wires: Use a 3-Way Switch
For independent control with a switch like the 4042i, the black wire feeds power to the top socket (always on via its own switch). The red wire powers the first cluster, activated in switch position 1. The blue wire powers the second cluster, activated in switch position 2. This setup allows only the top socket on, the bottom cluster on, both clusters on, or all off (except top socket).
Label wires with colored tape during disassembly to avoid confusion.
Install the Plug Correctly
A secure plug prevents fire hazards and electrical faults.
For Round-Cord Plugs
Pry open the plug body. Feed cord through the shell. Split and strip 3/4 inch of insulation. Tie an underwriter’s knot inside if space allows. Connect the smooth (hot) wire to the brass terminal (narrow prong). Connect the ribbed (neutral) wire to the silver terminal (wide prong). Clamp the outer jacket, not the wires. Snap the shell closed.
For Flat-Cord Plugs
Pinch the prongs to release the core. Feed cord through, ensuring the ribbed side aligns with the wide prong. Reinsert core and snap shut. Verify the cord clamp grips insulation only.
Critical: If the clamp bites into copper, the plug can overheat.
Reassemble the Lamp
Put everything back in order carefully.
Step-by-Step Reassembly
Insert the center rod back through the base. Secure with the base nut and tighten. Screw the base back on clockwise. Reattach the socket to the mounting bracket. Replace harp, shade, and finial. Insert a bulb of correct wattage. Do not exceed the rating.
Final Touch: Replace worn felt pads on the base to protect floors.
Test the Lamp Before Use
Never skip this step. Safety depends on it.
Pre-Power Checklist
The lamp must be unplugged during all work. All wires should connect to correct terminals. The underwriter’s knot must be tied and seated. The cord clamp must secure outer insulation only. No exposed copper should be outside screws. The socket shell and sleeve must be fully installed. The bulb must be functional and of correct wattage.
Power-On Test
Plug into a working outlet. Turn on the switch. For a single socket, the light should turn on. For multi-socket lamps, test each switch position. If the lamp does not work, unplug immediately. Recheck polarity and terminal tightness. Test with a multimeter or try a new bulb.
Never bypass the switch or use damaged parts.
Troubleshoot Common Problems
Fix issues quickly and safely.
Lamp Won’t Turn On
Loose wire, reversed polarity, or a bad bulb causes this. Recheck connections, verify hot and neutral placement, and test the bulb.
Light Flickers
Poor terminal contact causes flickering. Tighten screws and ensure wires are fully under terminals.
Switch Doesn’t Work
A faulty switch or wiring error causes switch failure. Replace the socket or test the switch with a multimeter.
Cord Pulls Out
A missing underwriter’s knot causes this. Retie the knot below the socket.
Corroded Terminals
Age or moisture causes corrosion. Clean with contact cleaner or replace the socket.
Warning: Replace cracked or melted parts. Do not repair them.
Preserve Aesthetics in Vintage Lamps
Rewiring does not mean losing charm.
Design Tips
Use fabric-covered cord for period authenticity. Match socket finish (brass, nickel, bronze) to the lamp base. Choose vintage-style plugs for seamless restoration. Keep original harp and finial if undamaged. Ensure all vintage parts still meet modern safety standards.
Maintain Your Rewired Lamp
Longevity depends on care.
Annual Maintenance
Inspect the cord for fraying or kinks. Check socket tightness. Clean terminals with electrical contact cleaner if flickering occurs. Avoid pinching the cord under furniture or rugs. Store in a dry place when not in use. A properly rewired lamp can last 10 to 20 years with care.
Know When to Call a Pro
Some situations require expert help.
Call an Electrician If
Wiring is brittle throughout the lamp. Components show melting or scorch marks. You are unsure about polarity or grounding. The lamp is rare, valuable, or museum-grade. DIY attempts fail despite correct steps. Professional rewiring costs $50 to $150, but rewiring yourself saves 60 to 80 percent.
Frequently Asked Questions About Rewiring a Floor Lamp
Is it hard to rewire a floor lamp?
No, rewiring a floor lamp is considered a beginner-level electrical DIY project if proper safety procedures are followed. With basic hand tools and attention to polarity, most individuals complete the task in 30 to 60 minutes.
What happens if you rewire a lamp incorrectly?
Incorrect wiring can cause reversed polarity (shock hazard even when off), short circuits, overheating and potential fire, or damage to bulbs and internal switches. Always double-check connections and test safely.
What type of wire should I use to rewire a lamp?
Use SPT-2 18-gauge lamp cord, which is standard for residential floor and table lamps. Ensure it is UL-listed and rated for 300V. For heavier-duty applications, use 16-gauge wire.
Can I rewire only part of the lamp?
Yes, you can replace just the plug or socket if the rest of the cord is intact. However, in older lamps, full rewiring is recommended due to material degradation over time.
How do I identify hot and neutral on a lamp cord?
The neutral wire has a ribbed or textured surface, sometimes with writing or dashes. The hot wire has a smooth surface, often with a UL marking or ridge. On plugs, the wide blade is neutral and the narrow blade is hot.
Do I need a special switch for a three-arm lamp?
Yes, for independent or grouped control, a three-way rotary switch (like the 4042i) is required. This allows different combinations of sockets to illuminate based on switch position.
Key Takeaways for Safely Rewiring Your Floor Lamp
Rewiring a floor lamp is more than a repair. It is a safety upgrade that breathes new life into old fixtures. Whether you are restoring a 1930s brass lamp or fixing a flickering modern model, following these steps ensures a safe, code-compliant result.
The three most important points to remember are polarity, strain relief, and secure connections. Always connect the hot (smooth) wire to the brass terminal and the neutral (ribbed) wire to the silver terminal. The underwriter’s knot must sit below the socket to prevent tension from pulling wires loose. Finally, wrap all wires clockwise around terminals and ensure cord clamps grip only the outer insulation.
With attention to detail and adherence to best practices, any functional floor lamp can be restored to safe, reliable operation for decades to come. Gather your tools, follow the steps, and enjoy a safely rewired lamp that illuminates your space for years.



