
Is your projector displaying a dim, flickering image or showing a “Replace Lamp” warning? You are not alone. Projector lamps wear out over time, and replacing one is a common maintenance task that restores your projector brightness. The good news: learning how to install a projector lamp is straightforward and something most users can do at home in under 30 minutes.
This guide walks you through everything you need to know, from identifying when a lamp needs replacement and safely handling the new bulb to installing it correctly and resetting the lamp timer. Whether you own an Epson PowerLite, JVC, BenQ, or another major brand, these universal steps apply with only minor model-specific differences.
When to Replace Your Projector Lamp
Signs Your Lamp Is Failing
If you notice any of these symptoms, it is likely time for a new lamp. The image appears noticeably dim or washed out, making it difficult to see details. Colors look yellowish or faded, which affects the overall viewing experience. You may experience flickering or an unstable picture that comes and go. Many projectors display on-screen warnings like “Replace Lamp” or “Lamp Life Exceeded” when the bulb reaches end of life.
Watch for these additional indicators. The projector may shut down unexpectedly due to overheating. You might notice slow startup or extended warm-up time before the image appears. These are clear signals that the bulb has reached or exceeded its typical 1,500 to 3,000 hour lifespan.
Check Lamp Hours Before Replacing
Do not guess. Verify the actual usage through the projector settings. Navigate to Settings, then Info, and look for Lamp Hours. Most projectors track usage this way. Replace the lamp around 2,000 to 2,500 hours, even if it still works, to maintain optimal brightness. After installing a new lamp, you must reset the timer to avoid false alerts.
Pro Tip: Keep a spare lamp on hand if you use your projector daily for work, school, or entertainment. This minimizes downtime when replacement becomes necessary.
Safety First: Prepare Before You Begin
Unplug and Cool Down
Always unplug the projector from the power source before starting any work. This eliminates the risk of electrical shock during the installation process. Wait at least 60 minutes after use before handling the lamp. Internal components, particularly the lamp itself, can exceed 800°F and cause serious burns. Never rush this cooling step, especially after long presentations or movie nights.
Work in a Clean Environment
Choose a dust-free, well-lit workspace for this task. Dust can clog vents or damage internal components during the installation. Place a soft towel or blanket on your work surface to protect the projector casing when you position it face-down. A clean environment ensures no debris enters the internal chamber.
Handle the New Bulb Correctly
Never touch the glass of the new bulb with bare hands. Skin oils create hot spots that lead to cracking or explosion when the bulb heats up during use. Always handle the bulb by the frame or edges using lint-free gloves or a microfiber cloth. This simple precaution prevents premature failure and ensures safe operation.
Warning: If the old lamp is broken, wear gloves and dispose of it carefully. Many projector lamps contain mercury and must be recycled according to local hazardous waste regulations.
Tools You Will Need
You do not need advanced tools for this job. Gather these basics before starting.
• #2 Phillips screwdriver for removing the lamp cover and securing screws (often included with replacement kits)
• Lint-free gloves or microfiber cloth to prevent oil transfer to the new bulb
• Compressed air can to clean dust from the lamp chamber and vents
• Soft towel to protect the projector surface
• Correct replacement lamp that matches your projector model number
• New air filter if included in your replacement kit
Note: Always confirm compatibility using your projector model number or the existing lamp part number before purchasing.
Step-by-Step Lamp Installation
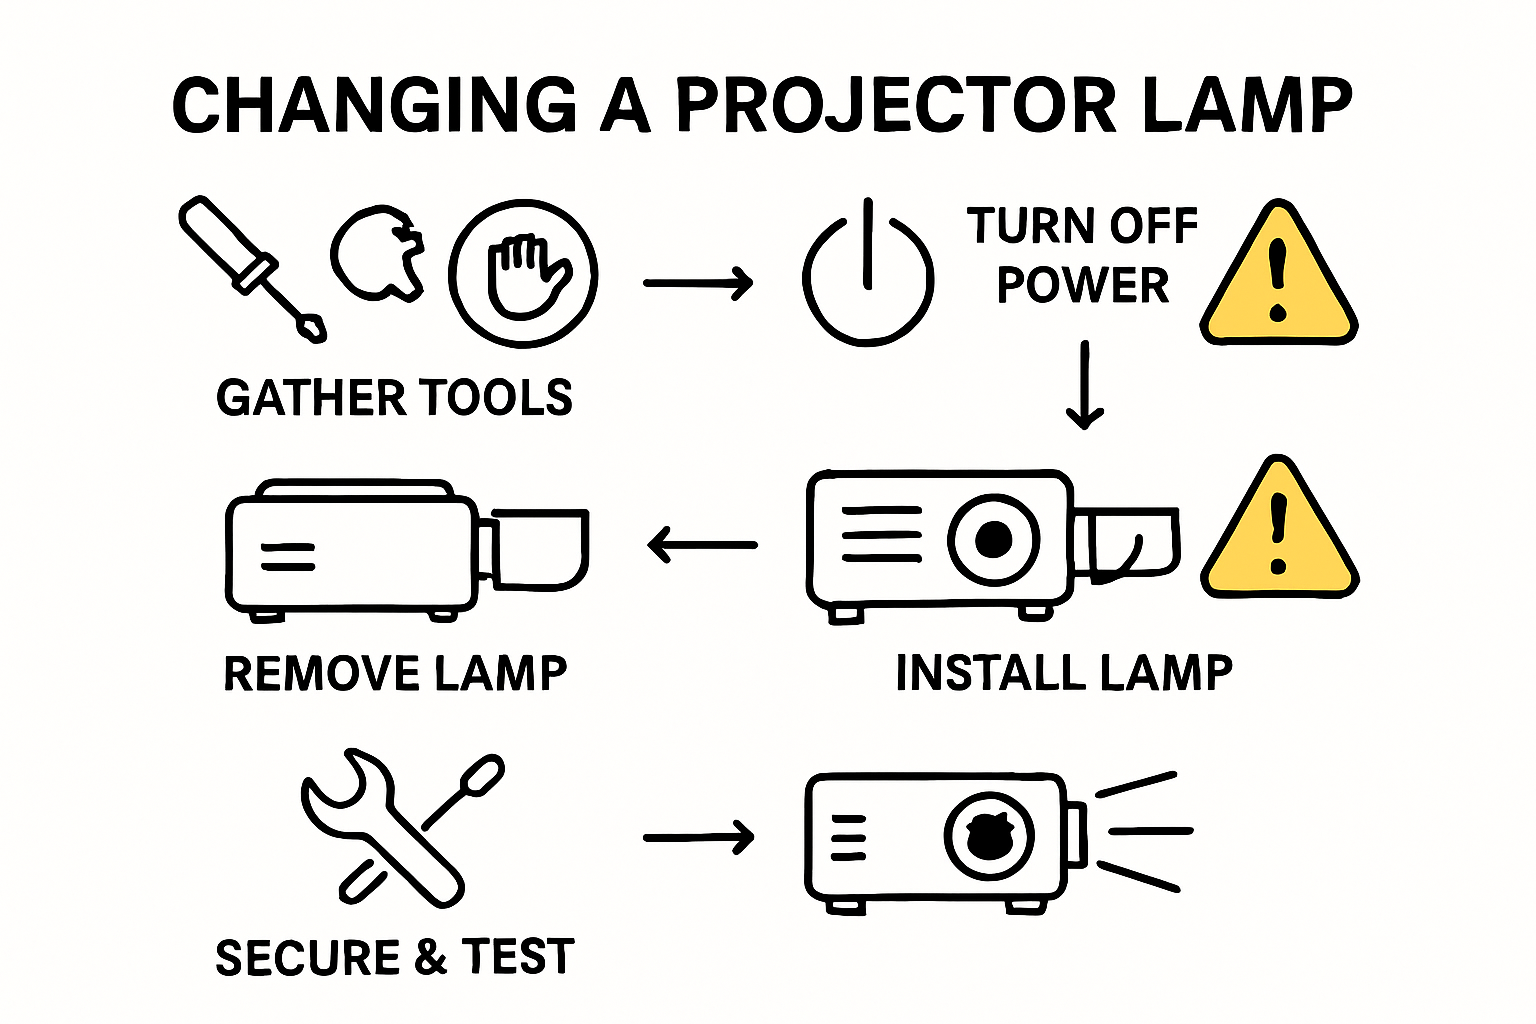
Step 1: Power Off and Cool
Turn off the projector using the remote or power button. Unplug the power cord from the wall outlet. Wait a full 60 minutes for complete cooling. This waiting period is essential for your safety and to prevent damage to internal components.
Step 2: Position the Projector
Place the projector face-down on a soft towel or blanket. Ensure stability during the entire process, especially if the projector is ceiling-mounted. Use a ladder if needed, but prioritize safety at all times. A secure position prevents accidents and makes the installation easier.
Step 3: Open the Lamp Cover
Locate the lamp access panel, usually marked with a lamp symbol. Common locations include the bottom, side, or rear of the projector. Use a Phillips screwdriver to remove the 1 to 2 screws securing the cover. On some Epson models, the screw is captive, meaning it stays attached to the cover rather than fully detaching. Slide or lift off the cover and set it aside with the screws.
Step 4: Remove the Old Lamp Module
Find the retaining screws that secure the lamp module. These are usually located at the top and bottom of the module. Loosen them carefully. They may not fully detach, depending on your model. Grasp the handle or raised section and pull straight out. Do not twist or force the module. Place the old lamp in a safe container for recycling.
Clean the lamp chamber after removal. Wipe the socket and surrounding area with a microfiber cloth. Use compressed air to blow out dust and debris. Clean contacts ensure better electrical connection and cooling performance.
Step 5: Handle the New Lamp Safely
Unbox the new lamp carefully and inspect it for damage. Check for cracks, loose connectors, or dents. Confirm the part number matches your projector model. Never touch the glass bulb. Handle only by the frame or edges using gloves or a lint-free cloth.
Example: A JVC DLA-RS620K requires a PK-2615U lamp as the replacement.
Step 6: Install the New Lamp Module
Align the pins and grooves of the new lamp with the socket in the projector. There is only one correct orientation, so do not force misaligned parts. Gently insert the lamp straight into the chamber. If you feel resistance, stop and recheck the alignment.
Once fully seated, press down the handle until it clicks on Epson models. For BenQ, JVC, and other brands, push firmly to ensure full contact. Reinstall and tighten the retaining screws evenly. Do not overtighten, as this can crack the housing. Reattach the lamp cover, ensuring it is flush and sealed. Secure all screws completely.
Critical: An improperly closed cover may trigger a “Lamp Cover Open” error and prevent startup.
Step 7: Replace the Air Filter

Many replacement kits include a new air filter. Remove the old filter and insert the new one. A clean filter prevents overheating, extends lamp life, and improves airflow efficiency. Replace or clean filters every 1 to 3 months, especially in dusty environments.
Step 8: Reset the Lamp Hour Counter
This step is essential. Without it, the “Replace Lamp” warning will persist even with a brand new bulb.
Epson PowerLite: MENU, then Setup, then Reset, then Reset Lamp Hours, and confirm.
BenQ: MENU, then OPTION, then LAMP TIME. Hold RESET for 3 seconds and select RESET.
JVC: Functions tab, then Reset Lamp Timer, and confirm.
Dell, HP, Optoma: MENU, then Lamp Setting, then Lamp Reset, then select YES.
Panasonic: POWER, then MENU, then OPTION (F/G), then ENTER, then LAMP RUNTIME (5/6).
Toshiba: Hold ON/STANDBY, MENU, and INPUT while plugging in the power cord. The timer resets automatically.
3M, Dukane, ViewSonic: Press and hold RESET on the remote for 3 seconds and confirm.
Test and Verify Installation
Final Checklist
Reconnect the power cable and power on the projector. Watch for the normal startup sequence and confirm no error messages appear. The lamp should illuminate brightly and steadily. Project a test image to check brightness, color accuracy, focus, and clarity. Look for any flickering or distortion. Run the projector for 5 to 10 minutes to confirm stable operation.
Record your installation details. Log the date of replacement, the initial lamp hours (which should show 0 after reset), and the part number used. This information helps track usage and plan your next replacement.
Avoid Common Installation Mistakes
Lamp Does Not Work After Installation? Check These
Projector will not turn on: The lamp cover is not secure. Recheck the cover and screws.
“Replace Lamp” message persists: The timer was not reset. Perform the reset procedure for your specific brand.
Dim or yellow image: The bulb is misaligned or the lamp is counterfeit. Reinstall carefully or verify you purchased a genuine part.
Overheats quickly: The air filter was not replaced. Install a new filter and check that vents are not blocked.
Flickering: There is a loose connection or incompatible lamp. Re-seat the lamp or confirm compatibility.
“Lamp Cover Open” error: The cover is misaligned. Reposition and close fully.
Pro Tip: Always buy OEM or reputable third-party lamps. Cheap knockoffs often fail early or cause error messages.
Extend Your New Lamp Lifespan
Maintenance Best Practices
Use eco mode when full brightness is not needed. This can extend lamp life by up to 50 percent. Avoid frequent on/off cycles, as each startup stresses the bulb. Ensure at least 6 inches of clearance around the projector for proper ventilation. Never block intake or exhaust vents. Use a surge protector to prevent voltage damage.
Handle and store properly. Always use a two-finger grip on the module. Store spare lamps in their original packaging in a cool, dry place away from sunlight.
Where to Buy Replacement Lamps
Recommended Sources
Purchase from manufacturer stores such as Epson, JVC, or BenQ directly. Reputable retailers include B&H Photo Video and Amazon (with verified seller ratings). Always verify compatibility, warranty, and return policy before buying.
OEM vs. Third-Party: OEM lamps cost more but offer guaranteed fit, longer life, and full warranty protection. Aftermarket lamps can be up to 50 percent cheaper, but quality varies and may void your warranty. For critical use in classrooms or business settings, OEM is worth the investment. For home use, reputable third-party lamps are a reasonable choice.
Frequently Asked Questions About Projector Lamp Installation
How long do projector lamps last?
Most projector lamps last between 1,500 and 3,000 hours. In eco mode, some lamps can reach up to 5,000 hours before needing replacement.
Can I replace the lamp myself?
Yes. All modern projectors are designed for user replacement with basic tools. No technical expertise is required, though following proper safety precautions is essential.
Why cannot I touch the bulb glass?
Skin oils create hot spots on the quartz glass when heated. This leads to cracking, explosion, or premature bulb failure. Always handle the bulb with gloves or a lint-free cloth.
Do I really need to reset the lamp timer?
Yes. Without resetting, the “Replace Lamp” warning stays on permanently, even with a new bulb installed. The projector may still function, but the alert remains.
What if I do not replace the air filter?
A clogged filter reduces airflow, causing overheating, automatic shutdowns, shortened lamp life, and potential damage to internal components. Replace the filter with each lamp change.
How do I find the right lamp for my projector?
Check your projector user manual, the manufacturer website, or the old lamp part number. Cross-reference with retailer compatibility tools to ensure a proper match.
Final Tips for Success
Replacing a projector lamp is simple when you follow the right steps. To ensure success, wait for the projector to cool completely before starting. Handle the new bulb with gloves or a cloth, never touching the glass. Align and seat the lamp properly without forcing it. Secure the cover fully to prevent error messages. Reset the lamp timer immediately after installation. Replace the air filter to maintain proper airflow and extend lamp life.
With these practices, your projector will deliver bright, clear images for thousands of hours. Regular maintenance not only saves money but also prevents unexpected failures during important presentations or movie nights.
Remember: A well-maintained projector lasts longer, performs better, and protects your investment. Now that you know how to install a projector lamp, you are ready to keep your system running like new.



