
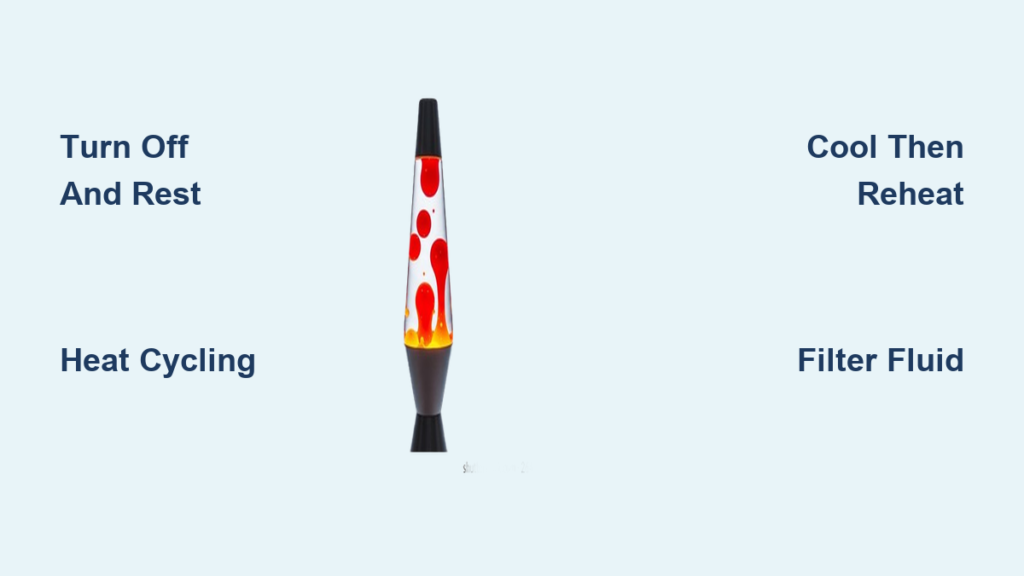
You turn on your lava lamp, expecting the soothing rise and fall of glowing wax towers, only to find a cloudy, lifeless mess. If you’ve recently shaken your lamp, even briefly, that’s likely the culprit. Shaking disrupts the delicate balance between wax, liquid, and heat that makes lava lamps work. The result is tiny wax droplets suspended in solution, permanent cloudiness, and broken flow.
The good news: a shaken lava lamp isn’t always ruined. With the right steps, timing, patience, and sometimes advanced techniques, you can often restore it. This guide covers every proven method, from simple heat cycling to professional-grade filtering, based on verified repair data and real-world testing.
Why Shaking Damages Your Lava Lamp
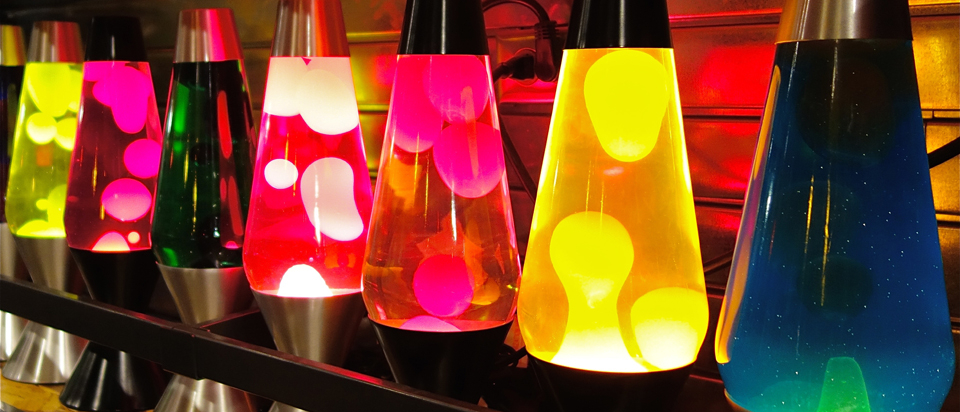
Shaking a lava lamp fundamentally disrupts its internal physics and chemistry. The molten wax breaks into microscopic bubbles that scatter throughout the liquid instead of forming cohesive blobs. Agitation causes the wax and the surrounding master fluid to mix at a molecular level, creating a stable emulsion that does not easily separate. Suspended particles and chemical byproducts from the wax create a permanently cloudy appearance, especially in modern lamps manufactured after 2003. Instead of smooth rising and falling towers, the lamp exhibits erratic, chaotic movement or remains completely stagnant.
The warning against shaking is based on real physical principles. Once the wax is broken into tiny droplets, surface tension prevents spontaneous recombination without external intervention.
Immediate Steps After Shaking Your Lamp
Turn Off and Let It Rest
If you’ve just shaken your lava lamp, immediately turn it off and place it upright in a stable, room-temperature area. Do not attempt to run it. The first critical step is undisturbed rest. Wait at least 24 hours before doing anything else. This pause allows gravity to pull larger wax fragments toward the base and gives emulsified particles time to start separating.
Shaking mixes the wax into microscopic bubbles and creates a stable emulsion with the master fluid. Without heat, these droplets slowly begin to re-coalesce.
Assess the Damage
After 24 hours, inspect the lamp carefully. Slight cloudiness may clear with heat cycling. A milky or opaque appearance likely needs extended recovery or filtering. Visible wax chunks but no flow could respond to cooling and reheating.
If this is a new lamp from Amazon, Walmart, or Spencer’s and it arrived cloudy, do not attempt repairs. Return it instead. Post-2003 Chinese-manufactured Lava Lite lamps rarely self-repair after shipping damage.
Heat Cycling: Your First Repair Attempt
The most common fix is heat cycling, which encourages wax recombination through repeated heating and cooling intervals.
Running 6-Hour On/Off Cycles
Set a timer to run the lamp for 6 hours on, then 6 hours off. Repeat this cycle daily and monitor for improvement over several days to weeks. During operation, watch for a white ring forming at the wax base. This is surfactant buildup causing cloudiness. Over time, wax should slowly form larger blobs instead of fine particles.
Some lamps take weeks to show progress. American-made pre-2003 models respond best to this method. Modern mass-market lamps are less likely to recover with cycling alone.
Effectiveness by Lamp Type
| Lamp Type | Likely to Recover? | Notes |
|---|---|---|
| Pre-2003 USA-made | Yes | Original formula supports self-repair |
| Post-2003 China-made | Unlikely | Lower-quality chemistry, prone to permanent emulsion |
| Mathmos, Neo, vintage | Possible | Depends on storage and wax age |
If no improvement after 30 days, move to stronger methods.
Cooling-Then-Reheating Method
This technique resets the wax structure by fully solidifying it before reheating.
Procedure
Turn off the lamp and allow it to cool completely for 12 to 24 hours. Optionally place the globe in a refrigerator for 1 to 2 hours to fully solidify softer waxes. Return to room temperature, then power on and run a full 2 to 3 hour heat cycle. Cooling forces micro-droplets to clump into larger flakes. Upon reheating, these melt into cohesive blobs that rise properly.
In controlled trials, this method improved flow in 1 to 3 cycles for vintage and Mathmos lamps. It is less effective on modern low-density waxes.
Ultrasonic Treatment for stubborn Cases
An advanced but effective method uses sound waves to merge wax droplets by disrupting surface tension.
How to Use Ultrasonic Cleaning
Remove the globe from the base and submerge the sealed unit in an ultrasonic bath. Run for 30 seconds to 2 minutes, then return to the base and run a full heat cycle. High-frequency vibrations reduce interfacial tension between wax particles. Micro-droplets merge into larger masses, improving flow and clarity.
Combine this with heat cycling for best results. Do not open the globe. Only use on sealed units. Success rates are high in test cases with vintage and Mathmos lamps, variable for modern lamps, and show no benefit if chemical degradation has occurred.
Filtering the Master Fluid
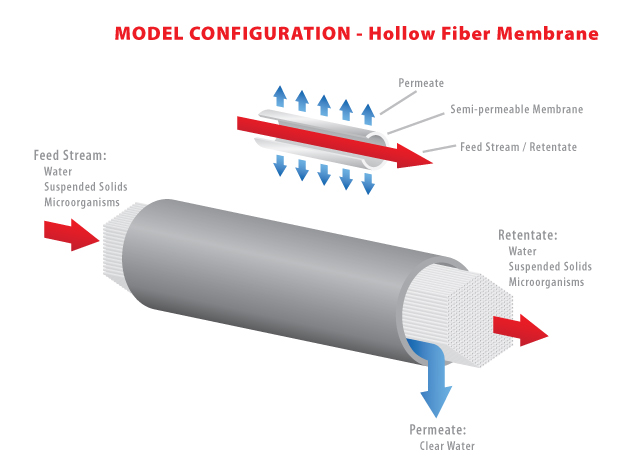
When passive methods fail, filtering removes suspended wax fragments and contaminants to restore clarity.
Choose the Right Filter
Use a hollow fiber membrane filter like the Sawyer Mini. Pore size is 0.1 microns, which effectively traps bacteria-sized particles. This filter type contains no carbon, preserving the surfactants that are critical for proper lava lamp function. Avoid MSR Miniworks filters because they contain carbon, which permanently damages surfactants. Coffee filters, Brita filters, and paper towels are too coarse and may contain carbon.
Preparing for Filtering
Let the lamp cool completely to room temperature. Refrigerate the globe for 1 to 2 hours to solidify the wax. Prepare a clean glass or plastic container to hold the fluid. Clean the filter with rubbing alcohol to prevent contamination. Gently stir any settled sediment under the wax to suspend particles before draining.
Draining and Filtering
Carefully remove the cap using pliers if it’s crimped. Slowly pour fluid into your clean container. Do not pour out the wax. Rinse the globe with distilled water, swirl gently, and drain until the rinse water runs clear.
Attach the hollow fiber filter to a disposable plastic bottle. Insert the filter tip into the fluid container. Squeeze the bottle to draw fluid through the filter. Transfer filtered liquid back into the globe. If the filter clogs, flush it in reverse with clean water or rubbing alcohol.
For large lamps like the Grande size, use a primer bulb inline before the filter for better suction control.
Reassembling and Testing
Reinstall the cap only when the lamp is cool. Never seal a hot globe. Top up with distilled water if needed, keeping the level no more than half an inch below the neck. Use matching master fluid from a lamp of the same origin if available. Run a full 6-plus hour cycle to assess flow.
Adding water changes fluid density. Too much water results in poor wax movement.
Replacing the Master Fluid
When filtering fails or the fluid is discolored yellow or brown, complete replacement may be the only fix.
Commercial Refill Options
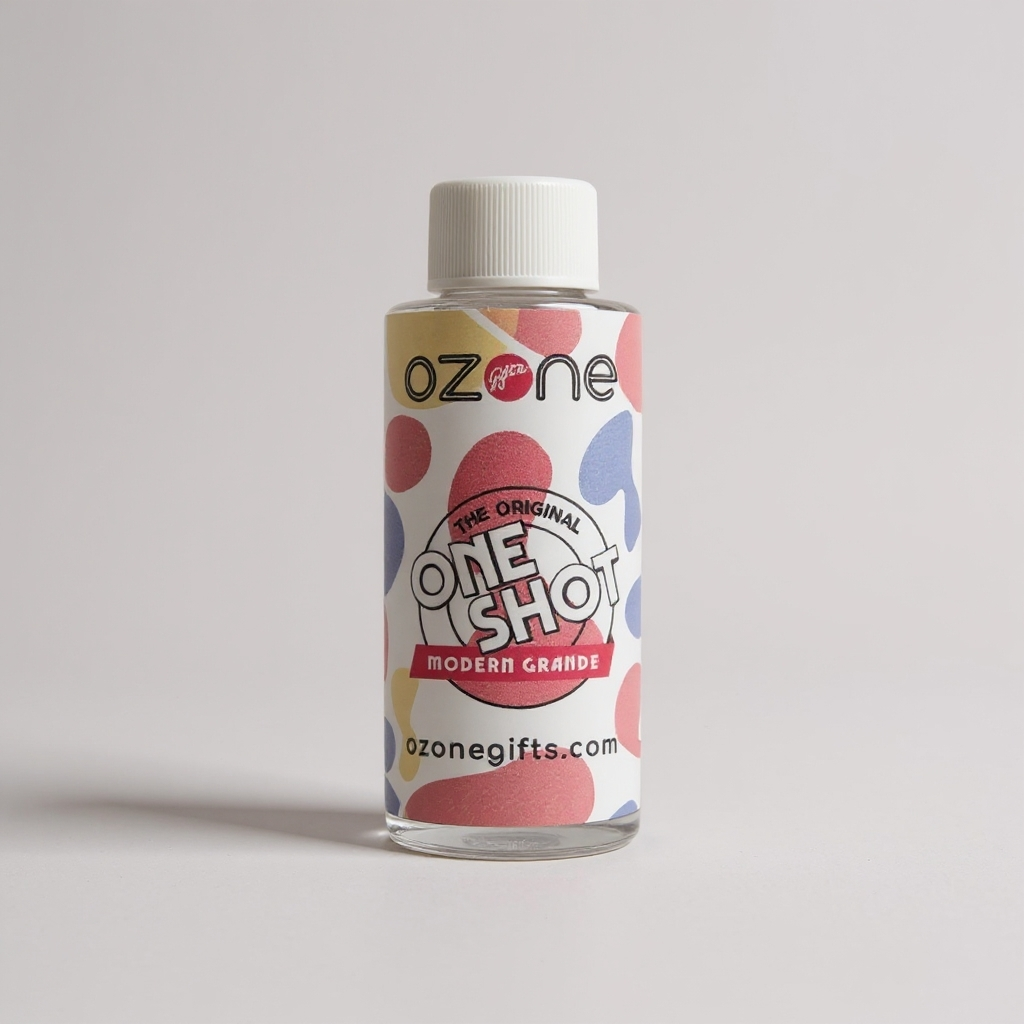
The Ozone Gifts OneShot Kit offers pre-mixed, pH-balanced master fluid. It’s easy to use, allows color customization, and is designed for standard lava lamps. This is the best option for most users.
DIY Fluid Recipe
Only attempt this on non-collectible lamps. Results vary and it may void warranties.
Fill the globe with distilled water, leaving half an inch of headspace. Dissolve Epsom salt gradually until the solution turns slightly cloudy. Add one teaspoon of clear dish soap to reduce surface tension. Reinsert the wax core if removed and reseal. Add the salt solution dropwise via pipette until the wax rises properly. Wait 3 to 5 minutes between drops. Run a full heat cycle to test.
Never use table salt or tap water. Minerals cause clouding and instability. Only use pure Epsom salt.
Critical Warnings to Avoid
Never shake a lava lamp while it’s warm. This causes irreversible emulsion. Never run the lamp more than 8 to 10 hours continuously. This risks overheating, pressure buildup, or fire. Never use tap water. Chlorine and minerals destabilize the fluid. Never seal the cap when hot. This creates pressure differential and increases the risk of leakage or explosion. Never use carbon-containing filters. They permanently damage surfactants.
Maintenance Tips
Place your lamp in a low-traffic area to avoid bumps. Use a timer plug for 6-on/6-off automation. Replace bulbs promptly because weak heat equals poor flow. Store in a cool, dark place. Avoid attics, garages, or direct sunlight.
When to Give Up on Your Lamp
Some lamps cannot be saved. Stop repairing if you see no visible wax after filtering. Discolored fluid indicating oxidation shows permanent chemical breakdown. Persistent foaming or separation after multiple repairs signals irreversible damage. Wax stuck to the glass that won’t melt indicates complete failure.
Lamps stored 30 or more years in poor conditions rarely recover fully. Accept partial restoration or consider replacement.
Key Takeaways for Fixing Your Shaken Lava Lamp
A shaken lava lamp isn’t automatically doomed. With patience and the right tools, most can be revived, especially vintage models. The severity of damage depends on how long the lamp was shaken and whether it was warm or cool at the time. Start with heat cycling and progress to filtering or fluid replacement only if needed. Prevention remains key: never shake a lava lamp, keep it upright, and store it in stable conditions.
Frequently Asked Questions About Shaken Lava Lamps
How long does it take to fix a shaken lava lamp?
Minor cases may clear within a few days of heat cycling. Severe cloudiness can take weeks or months to improve. If no progress occurs after 30 days of consistent cycling, move to advanced methods like filtering or fluid replacement.
Can all lava lamps be saved after shaking?
No. Pre-2003 American-made lamps have the best recovery rates. Post-2003 Chinese-manufactured lamps often have permanent damage due to formulation changes. Vintage Mathmos and Neo lamps respond variably depending on their age and storage conditions.
Does putting a lava lamp in the freezer help?
Placing the globe in a refrigerator for 1 to 2 hours can help, but never freeze it. The cold helps force wax micro-droplets to coalesce into larger masses, which then melt more cohesively during the heating cycle.
What happens if you don’t fix a shaken lava lamp?
The lamp will remain cloudy with poor or no flow. The wax may stay suspended as tiny particles rather than forming rising towers. In some cases, the emulsion becomes permanent over time.
Is it worth repairing an old lava lamp?
If the lamp is a vintage or collectible item, repair is often worth the effort. Pre-2003 American-made lamps have a high success rate with proper treatment. Modern mass-market lamps are often cheaper to replace than repair.
Can you use tap water to top up a lava lamp?
No. Never use tap water. Chlorine and minerals destabilize the fluid chemistry and cause clouding. Always use distilled water for any top-ups or DIY fluid mixtures.



