
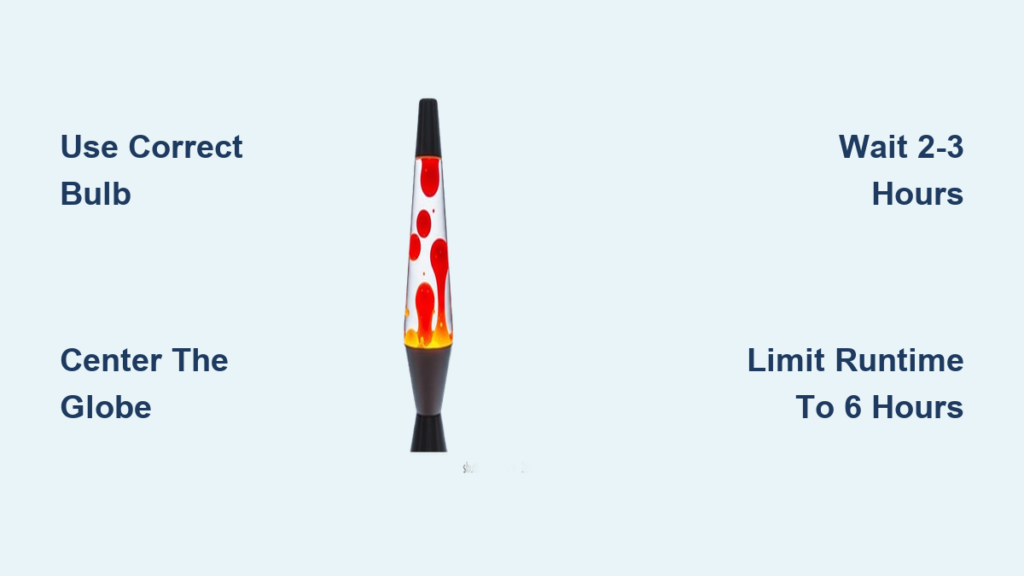
You just unboxed your new lava lamp, ready to bring some retro vibes into your space, but it is not moving. No blobs. No flow. Just still wax sitting at the bottom. Do not panic. This is completely normal. Knowing how to set up a lava lamp properly makes all the difference between a mesmerizing centerpiece and a confusing paperweight. Most issues stem from incorrect assembly, wrong placement, or simply not waiting long enough for the warm-up process. In this guide, you will learn the exact steps to assemble, position, power on, and maintain your lava lamp for smooth, rhythmic lava motion.
Assemble the Base and Bulb Correctly
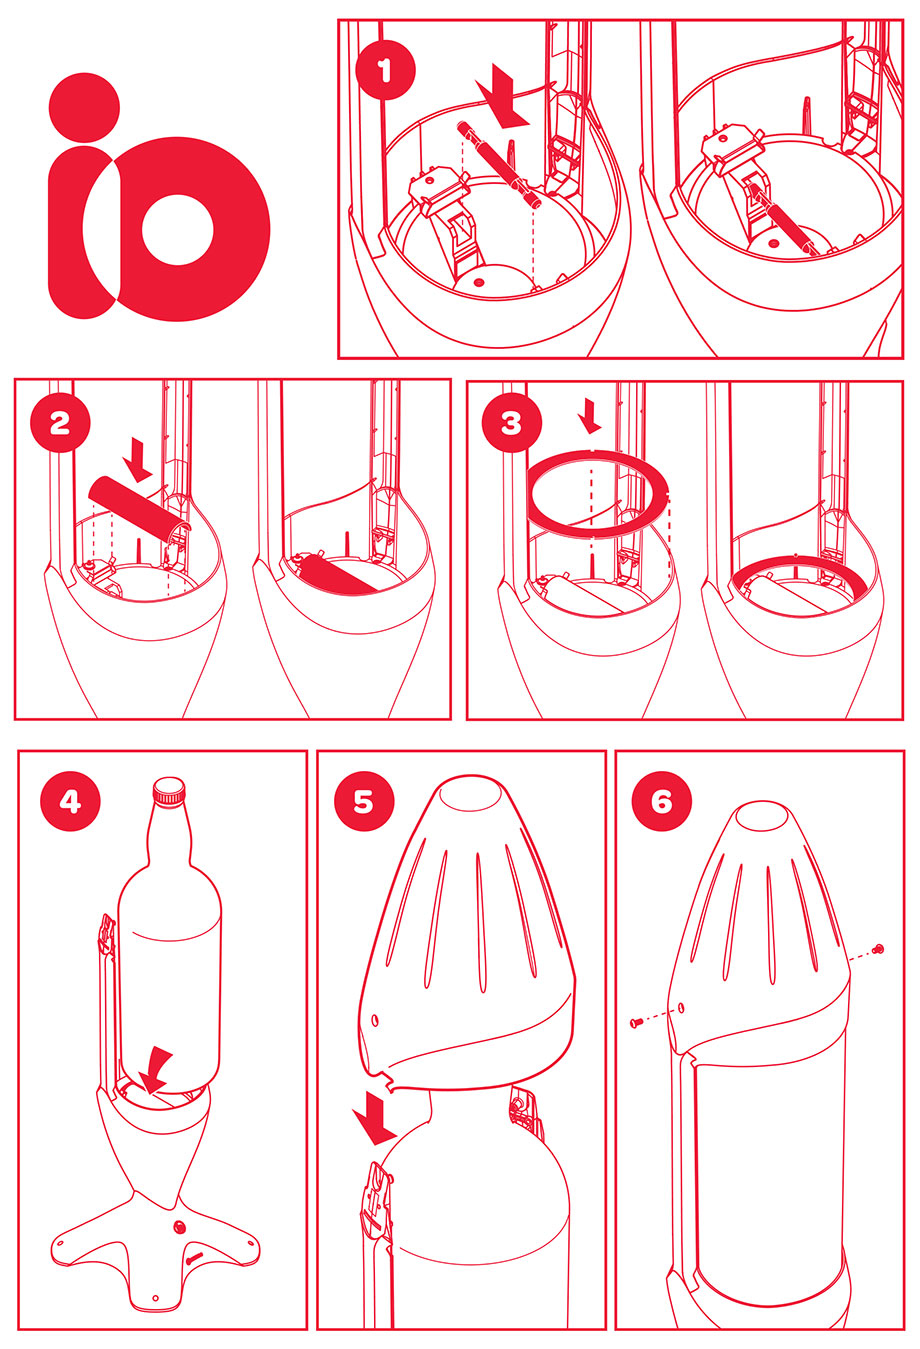
Proper assembly is the foundation of a well-functioning lava lamp. Before you plug anything in, take a few minutes to set up each component correctly.
Insert the Correct Wattage Bulb
Unpack the base and locate the light bulb, which is typically 25W, 40W, or 60W depending on your model. Screw the incandescent bulb into the socket inside the base clockwise until snug. Do not use LED bulbs because they do not generate enough heat to melt the wax. Confirm the wattage matches your model by checking the packaging or manual.
Why this matters: Too low a wattage will not heat the wax enough to create flow. Too high a wattage can overheat the lamp and damage the globe or cause cloudiness.
Avoid Common Assembly Mistakes
Do not force the bulb into the socket. Hand-tight is sufficient. Ensure the base is unplugged during assembly. Never operate the lamp without the globe in place because this risks overheating the socket and could create a fire hazard.
Position the Globe for Proper Alignment

One wrong placement can stop the lava flow before it even starts. The globe must sit correctly on the base for the internal components to work as intended.
Center the Globe on the Base
The metal cap on the bottom of the globe must rest directly on the base, aligned over the bulb. The open neck faces upward, which is where the top cap goes. Make sure the globe sits straight and does not wobble. An uneven placement disrupts the internal heating process.
Why Upright Alignment Matters
Tilting the globe can dislodge the internal metal coil, which helps distribute heat evenly across the wax. If the coil floats or sticks to the side, the wax will not flow properly. An uneven base leads to unbalanced heating and sluggish performance.
Pro Tip: If your lamp has been moved or shipped, let it sit upright for 24 hours before turning it on. This allows the coil to settle back into the correct position.
Secure the Top Cap Before Powering On
That small metal cap is not just decorative. It plays a key role in maintaining the proper temperature inside the globe.
Place the Top Cap Over the Neck
Slide the small metal cap over the open top of the glass globe. It should fit snugly, covering the seal but not obstructing heat from rising. The cap helps retain heat within the globe and protects the internal seal from dust and damage.
Never operate the lamp without the top cap in place. This can cause overheating and significantly reduce the lifespan of your lamp.
Plug In and Wait for Warm-Up
Now it is time to bring your lamp to life, but patience is essential. The warm-up process takes much longer than most people expect.
Connect to a Standard Outlet
Plug the lamp into a 120V outlet in the US or 230V in the UK, depending on your region. Use a wall outlet directly rather than an overloaded power strip. Turn on the switch, which is located on the cord or base depending on your model.
Expect a Slow Warm-Up
During the first 30 minutes, the wax stays pooled at the bottom with no movement. Between 30 and 60 minutes, you will see softening begin with small bubbles or stalagmite shapes forming. After 1 to 2 hours, partial blobs rise and collapse. Full rhythmic flow with smooth, rounded blobs moving up and down typically develops after 2 to 3 hours.
Important: Do not assume your lamp is broken if nothing happens in the first hour. True lava motion requires time, and each lamp warms up at its own pace.
Choose the Best Location for Your Lamp
Where you place your lava lamp affects its performance more than you might think. The wrong location can prevent proper heating and cause lasting damage.
Ideal Placement Conditions
Place your lamp on a flat, level surface to prevent tipping and ensure even heating. The ideal room temperature is between 68°F and 72°F, as cold rooms delay warm-up significantly. Keep the lamp away from drafts, fans, AC vents, and open windows because airflow cools the globe and disrupts convection. Avoid direct sunlight, which can discolor the liquid and overheat the lamp. Choose a low-traffic area to reduce the risk of bumps or falls.
Locations to Avoid
Never place your lamp near radiators, heaters, or fireplaces. Avoid wobbly tables or uneven shelves. Do not set it up in garages or basements unless the space is climate-controlled. Keep it away from other heat-emitting electronics.
Monitor the Warm-Up Process
Understanding what is normal during startup prevents premature troubleshooting. Knowing the timeline helps you distinguish between a broken lamp and one that simply needs more time.
What to Expect Over Time
At 0 to 30 minutes, the wax is fully settled with no movement. From 30 to 60 minutes, edges soften and small bubbles form. Between 60 and 120 minutes, the wax starts rising and forms partial blobs. After 120 to 180 minutes, full lava flow develops with smooth, round blobs moving rhythmically.
When to Worry
If there is no movement after 3 hours, check the room temperature, verify the bulb wattage and function, and confirm whether the coil has settled. Let the lamp sit upright for 24 hours if the coil appears dislodged. If the wax forms tiny fragments instead of blobs, the lamp is likely overheating. Turn it off immediately and allow it to cool.
Limit Runtime to Protect Your Lamp
Even though your lamp looks cool running, it needs rest. Continuous operation causes problems that can permanently affect performance.
Why Time Limits Matter
Running the lamp longer than 6 hours increases the risk of overheating, cloudy liquid, permanent wax fragmentation, and bulb burnout. The wax inside the globe is sensitive to prolonged heat exposure.
Use a Timer for Safety
Plug your lamp into a smart plug or outlet timer to automatically shut off after 6 hours. This prevents accidental all-night operation and extends both the bulb and globe life. Many enthusiasts run their lamps for 4 hours on and 8 to 12 hours off for optimal performance.
Maintain Your Lava Lamp for Years of Use
A few simple habits keep your lava lamp flowing smoothly for years. Proper care prevents common problems like cloudiness and premature wear.
Do This and Avoid That
Do let the lamp cool before moving it. Do clean the globe with a soft, dry cloth. Do replace bulbs with the same wattage and type. Do keep the lamp upright at all times. Do not shake or tilt the lamp while it is hot. Do not submerge the base in water. Do not use LED or halogen bulbs. Do not place the lamp near heat or cold sources.
Cleaning Tips
Wipe the globe with a lint-free cloth and avoid paper towels, which can scratch the glass. Clean the base with a slightly damp cloth, but never spray liquid directly onto electrical components. Never immerse the base in water.
Troubleshoot Common Lava Lamp Problems
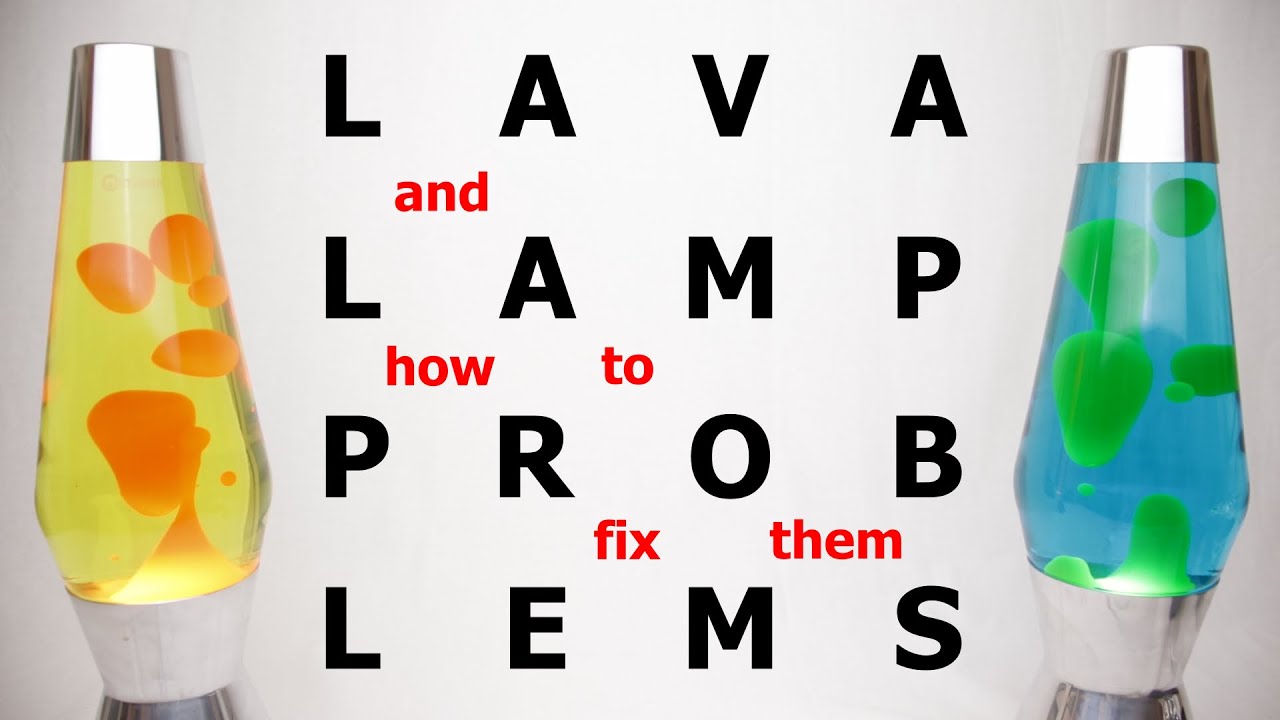
Even with perfect setup, issues can arise. Here is how to fix them fast without unnecessary worry.
No Movement After 3 Hours
Cold rooms below 68°F, wrong bulb wattage, or a displaced internal coil can cause this problem. Move the lamp to a warmer room, verify the correct incandescent bulb is installed, and turn off the lamp. Let it sit upright for 24 hours before restarting to allow the coil to settle.
Cloudy Liquid
Shaking the lamp while it is hot or reaching the end of the lamp is typical lifespan causes cloudiness. Never shake a warm lamp. If cloudiness persists despite proper handling, replacement may be needed.
Small, Fragmented Blobs
Overheating from prolonged use or excessive ambient heat causes this issue. Turn off the lamp for at least 6 hours. Relocate it away from heat sources and limit sessions to 4 to 6 hours.
Wobbly or Unstable Globe
An uneven surface or misaligned globe causes wobbling. Re-center the globe on the base and place the lamp on a level table or shelf.
Follow Safety Precautions
Your lava lamp gets hot, and the glass can break. Treat it with respect to prevent accidents and injuries.
Essential Safety Rules
Never touch the globe while the lamp is on or cooling because surface temperatures can exceed 140°F. Keep the lamp away from children and pets. Do not use damaged cords or bulbs. Never open or modify the globe because the liquid is sealed and pressurized.
Emergency Response
If you notice smoke, leaking fluid, or an excessive heat or burning smell, unplug the lamp immediately and discontinue use. Never operate the lamp without the globe in place because this can melt the socket or cause a fire.
Frequently Asked Questions About Setting Up a Lava Lamp
How long does a lava lamp take to start working?
A lava lamp typically takes 2 to 3 hours to fully warm up and develop smooth, rhythmic blob movement. The first 30 minutes show no movement at all. Small bubbles appear between 30 and 60 minutes. Partial blobs form after 1 to 2 hours.
Can I use an LED bulb in my lava lamp?
No, you should not use LED bulbs in a lava lamp. LED bulbs do not generate enough heat to melt the wax. Only use incandescent bulbs of the correct wattage specified for your model, typically 25W to 40W.
Why is my lava lamp not moving even after hours?
If your lamp shows no movement after 3 hours, check three things. First, verify the room temperature is above 68°F. Second, confirm you are using the correct wattage incandescent bulb. Third, ensure the internal coil has settled by letting the lamp sit upright for 24 hours.
How long can I leave my lava lamp on?
You should limit runtime to a maximum of 6 hours per session. Running the lamp longer increases the risk of overheating, cloudy liquid, and reduced bulb and globe lifespan. Using a timer helps automate this limit.
Why did my lava lamp turn cloudy?
Cloudiness occurs when the lamp is shaken while hot or when it has been operated continuously for too long. Always let the lamp cool for at least 1 hour before moving it. Limit sessions to 6 hours or less to prevent this issue.
Key Takeaways for Setting Up Your Lava Lamp
Setting up a lava lamp correctly requires attention to assembly, placement, and patience during the warm-up process. Always use the correct incandescent bulb with the proper wattage for your model. Position the globe centered and upright on a flat, level surface away from drafts, sunlight, and heat sources. Allow 2 to 3 hours for the lamp to fully warm up before expecting smooth lava flow. Limit operation to 6 hours per session to prevent cloudiness and extend the lifespan of both the bulb and globe.
With proper setup and care, your lava lamp will deliver soothing, retro motion for years. Remember that patience, placement, and power management are the keys to peak performance. Whether you are using a classic 17-inch model or a mini desk version, following these steps ensures you get the full hypnotic experience without guesswork or frustration.



