Chicks are born without the ability to regulate their body temperature, making a heat lamp or other supplemental heat source essential during their first weeks of life. Without proper warmth, baby chicks can quickly become chilled, leading to poor growth, illness, or even death. But a common question among new poultry keepers is: how long do chicks need a heat lamp? The answer is not one-size-fits-all. It depends on feather development, ambient temperature, chick behavior, and breed.
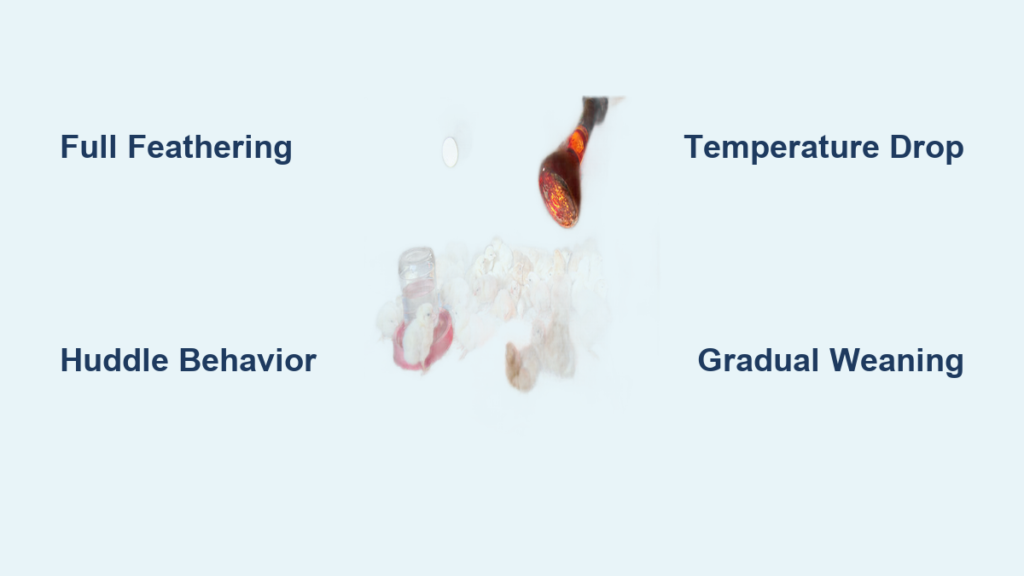
Most chicks require heat for 6 to 12 weeks, with full feathering being the key sign of readiness. While age-based guidelines suggest reducing heat weekly and removing it by 6 weeks, relying solely on age can be misleading. Observing your chicks’ behavior and physical development gives a far more accurate picture. This guide breaks down the science, signs, and strategies to help you confidently wean your chicks off heat at the right time.
Recognize When Chicks Are Too Cold
Chicks cannot tell you when they are too cold, but their actions speak clearly. If your chicks are huddling tightly together under the heat source, especially piling on top of each other, they are too cold. Constant, loud peeping is another red flag. Content chicks make soft, quiet noises.
Other cold stress signs include:
- Lethargy or reluctance to move away from the lamp
- Pale combs or dull eyes
- Reduced eating or drinking
- Fluffed-up down, trying to trap body heat
When chicks are cold, they burn energy just to stay warm. This energy should be going toward growth and immune development. Address this immediately by checking the temperature at chick level and adjusting the lamp height or wattage.
Identify Signs of Overheating in Chicks
On the flip side, chicks that are too hot will huddle far from the heat source. They may pant or breathe rapidly with wings held away from their bodies. You might see them lying flat on the bedding with legs stretched out, a sign they are trying to cool down.
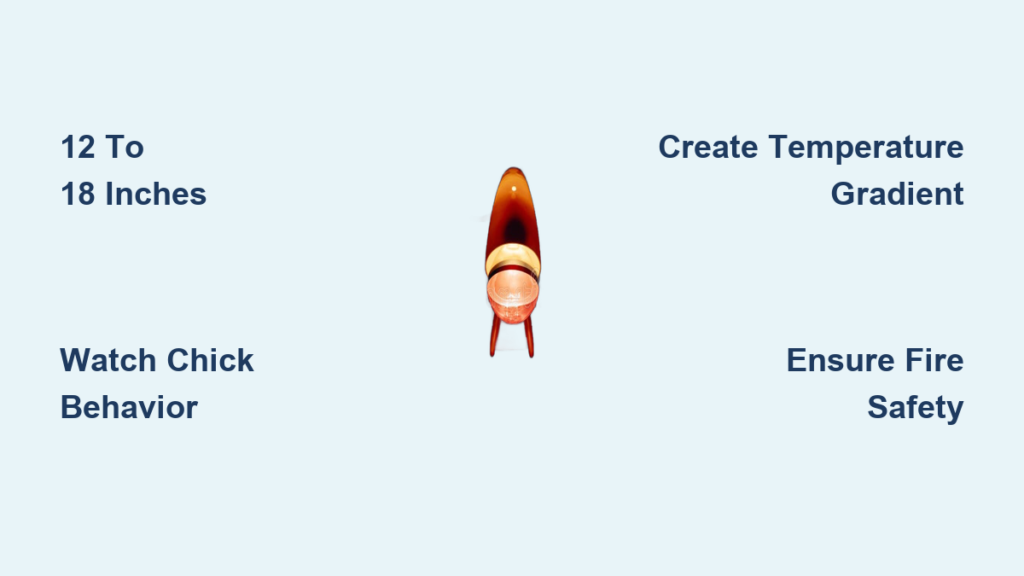
Overheating stresses chicks just as much as cold does. It can lead to dehydration, poor weight gain, and increased mortality. If you see these signs, raise the heat lamp or switch to a lower-wattage bulb. Always provide a temperature gradient so chicks can move between warm and cooler zones.
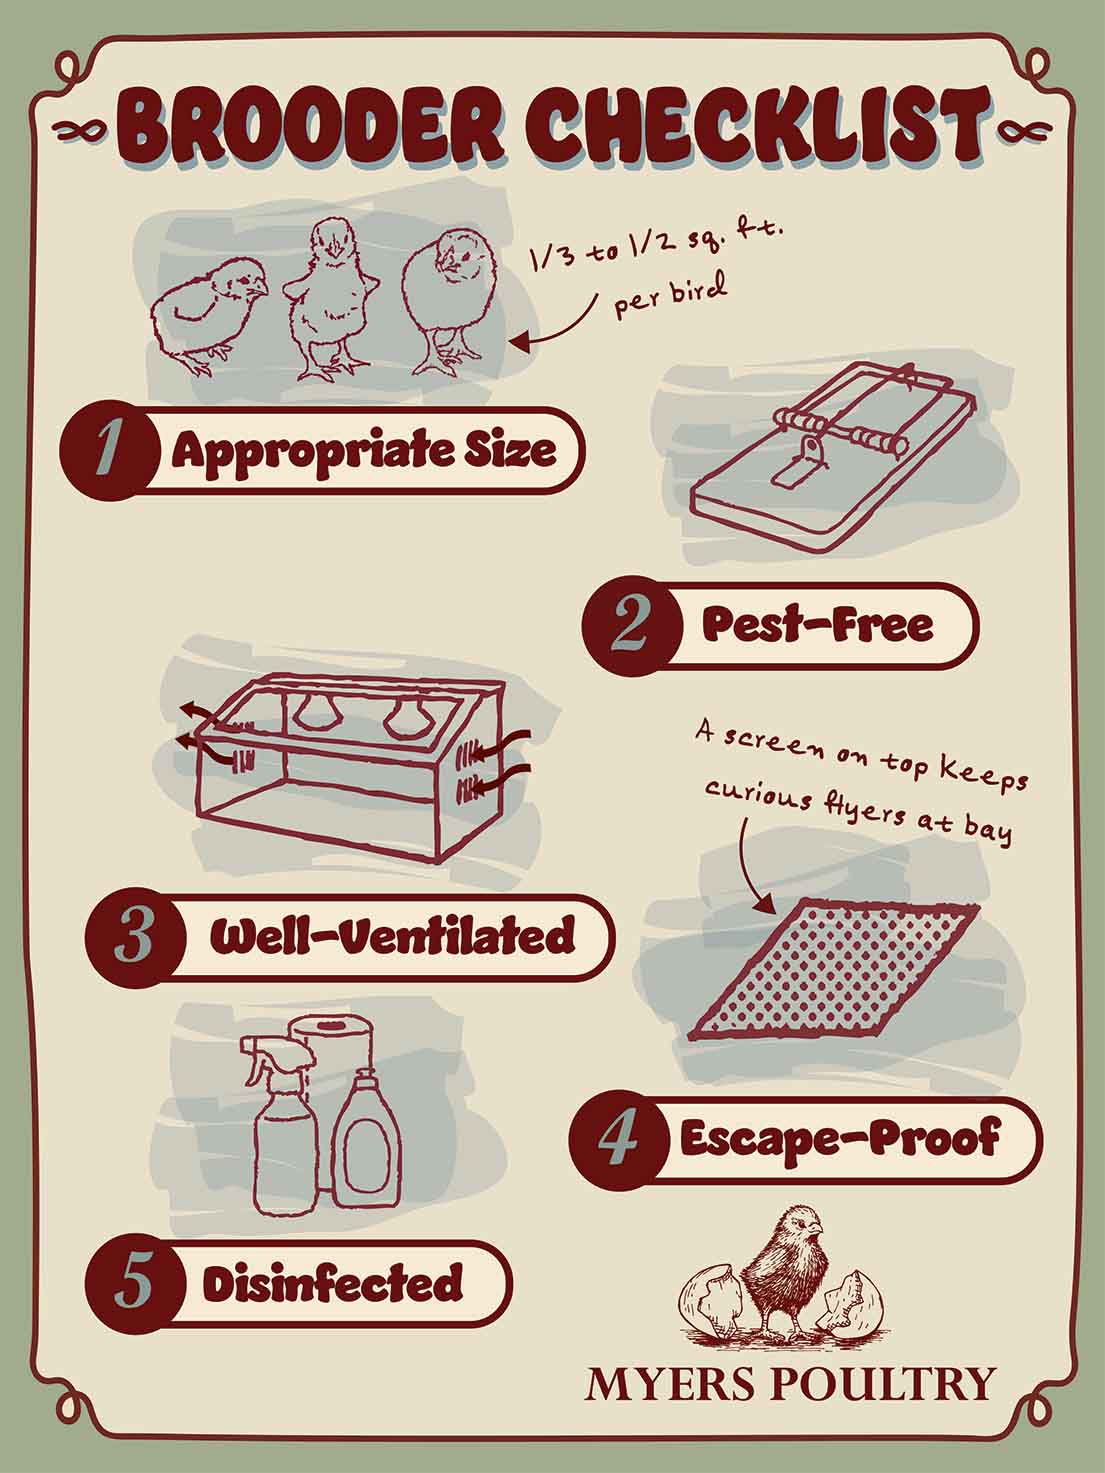
The perfect brooder setup allows chicks to spread out evenly. Some should be under the heat source while others explore the cooler edges. They should be active, eating, drinking, and fluffy. This balance means they are comfortable and can self-regulate.
Pro Tip: Spend a few minutes each day observing your chicks. Their behavior is your most accurate thermometer, more reliable than any gauge.
Track Feather Development Week by Week
Around 1 to 2 weeks old, chicks begin developing pin feathers. These are tiny shafts pushing through the down. They are the first sign of future insulation. At this stage, chicks still rely heavily on external heat, but you can start monitoring progress.
Check under the wings and along the back. If you see mostly fluffy down, heat is still essential. As pin feathers emerge, they look like bristles or quills that eventually unfurl into proper feathers.
By 5 to 6 weeks, most standard breeds are fully feathered and can maintain body heat on their own. This is provided the environment is not extreme. If your chicks still have visible down, especially on the wings or back, they likely need more time under the lamp.
Bantam or slower-growing breeds may take 8 to 12 weeks to fully feather. Do not rush the process. Premature heat removal in unfeathered chicks leads to stress and health issues.
Expert Note: Even at 6 weeks, if chicks are not fully feathered, they still need heat.
Follow the Weekly Temperature Schedule

From day one, chicks need a warm brooder. Set the heat lamp to maintain 93 to 95°F at chick level. Measure this with a digital thermometer placed 2 inches above the bedding.
Use a red or infrared bulb to reduce light stress and pecking. Chicks will spend most of their time directly under the lamp, moving out only to eat or drink.
Safety Check: Ensure the lamp is at least 12 inches above bedding and securely fastened to prevent fire risk.
By week 2, reduce the temperature by about 5°F, aiming for 88 to 90°F. In week 3, drop to 83 to 85°F. This gradual decline mimics how a mother hen would naturally reduce contact over time.
Monitor behavior closely. If chicks are evenly spread and active, the temperature is right. Adjust lamp height or switch to a lower-wattage bulb if needed.
At 4 to 5 weeks, aim for 75°F. By week 6, most chicks can handle 70°F if fully feathered. This is the weaning window. Start turning off the lamp for short periods during the day and watch how chicks respond. If they huddle or vocalize, restore heat. If they remain active and spread out, you are on track.
Wean Chicks Off Heat Gradually
Do not remove heat abruptly. Start the weaning process at 3 to 4 weeks, depending on feathering and ambient conditions.
Try turning off the lamp for 1 hour per day. Gradually increase the off-time: 2 hours, then 4, then half a day. Watch for signs of stress during each phase.
Shortcut: Use a timer to automate heat cycles and reduce your workload.
Once chicks tolerate 6 to 8 hours without heat, try a full 24-hour test. Ensure the brooder or coop stays above 65°F during this time.
If chicks sleep scattered, eat normally, and show no huddling, they are ready. If they cluster or appear lethargic, restore heat and try again in a few days.
In cooler regions or during spring months, chicks may need heat at night even after 6 weeks. If nighttime temperatures dip below 50°F, consider using a safe ceramic heater or heating plate temporarily.
Choose Safer Heat Alternatives
Traditional heat lamps pose serious fire risks, especially if bedding ignites or the bulb breaks. Heating plates are a safer alternative.
These mimic a mother hen’s warmth, allowing chicks to huddle underneath. Surface temperature stays around 125°F, reducing burn and fire risk. They also encourage natural behavior and can be raised as chicks grow.
Bonus: Many include auto shut-off if overheating occurs.
For enclosed coops or nighttime warmth, ceramic heat emitters provide infrared heat without light. This maintains a natural day-night cycle, improving sleep and development.
They require a ceramic socket and are more expensive upfront, but last longer and are far safer than incandescent bulbs.
Avoid seed starting mats. They are not designed for chicks and pose a fire hazard. Regular heating pads can overheat and lack moisture protection. Unsecured heat lamps are the top cause of brooder fires.
Safety Rule: Never leave a heat lamp unattended. Use guards, ratchet mounts, and non-flammable bedding like wood shavings.
Adjust for Breed and Environment
Large-bodied breeds like Plymouth Rocks or Orpingtons develop faster and may drop heat by 5 to 6 weeks. Their greater mass helps retain heat, reducing dependency.
Smaller or bantam breeds lose body heat quickly and may need warmth up to 10 to 12 weeks. Slow-feathering varieties like Silkies also take longer to develop full insulation.
Pro Insight: Body mass matters. Larger chicks need less supplemental heat.
Start with play dates on warm, sunny days. Let chicks explore the coop or run for a few hours, then return to the brooder. Gradually extend outdoor time. Once they spend full days outside without huddling, they are ready for full-time outdoor living. This is provided nighttime temperatures stay above 50°F and shelter is draft-free.
Prevent Health Problems from Poor Heating
Chicks under 12 to 14 days old cannot generate enough metabolic heat to survive cold exposure. Hypothermia sets in fast, causing lethargy, huddling, and death if not corrected.
Ensure consistent heat during the first two weeks. Never expose day-old chicks to drafts or cold floors.
Cold-stressed chicks burn calories to stay warm instead of growing. This leads to lower weight gain, delayed feathering, and weaker immunity. Maintaining proper brooder temperatures ensures energy goes toward development, not survival.
Poor ventilation and temperature swings increase ammonia buildup and respiratory infections. Combine this with cold stress, and chicks become vulnerable to E. coli, Salmonella, and coccidiosis. Keep the brooder clean, dry, and well-ventilated without direct drafts on chicks.
Final Checklist: When to Remove the Heat Lamp
Confirm full feathering. No down should be visible, especially on wings and back. Pin feathers should be fully unfurled into mature feathers.
Verify ambient conditions. Indoor or outdoor temperatures should stay above 65°F during the day and above 50°F at night. Use a thermometer in the coop to confirm.
Test for 24-hour heat independence. Chicks must handle a full day and night without heat, showing even distribution in the brooder, normal eating and drinking, no huddling or vocalizing, and independent sleeping on perches.
Consider season and housing. Spring-hatched chicks often wean faster as outdoor temperatures rise. Fall or winter chicks may need extended heat support. Ensure the coop is windproof, dry, and draft-free before removing heat. Add straw bales or insulated walls in cold climates.
Frequently Asked Questions About Heat Lamps for Chicks
At what age can I stop using a heat lamp for chicks?
Most chicks can stop using a heat lamp between 6 and 8 weeks, but age alone is not the best indicator. Full feathering is the primary sign that chicks can regulate their own body temperature. Some breeds, especially bantams or slow-feathering varieties, may need heat for 10 to 12 weeks.
How do I know if my chicks are warm enough without a heat lamp?
Watch for signs of cold stress. If chicks are huddled together, vocalizing loudly, or reluctant to move away from the heat source, they still need warmth. If they spread out evenly throughout the brooder, are active, and spend time away from the heat, they are likely ready to wean.
What temperature should a chick brooder be at week by week?
Start at 93 to 95°F for week one. Drop approximately 5°F per week: 88 to 90°F in week two, 83 to 85°F in week three, 78 to 80°F in week four, 75°F in week five, and 70°F by week six. Measure temperature at chick level, not at the top of the brooder.
Can I use a heating plate instead of a heat lamp?
Yes, heating plates are a safer alternative to traditional heat lamps. They mimic a mother hen’s warmth and have much lower fire risk. Surface temperature stays around 125°F, and many models include automatic shut-off features.
What happens if I remove the heat lamp too early?
Removing heat too early causes cold stress. Chicks burn energy to stay warm instead of growing. This leads to stunted growth, delayed feathering, weakened immunity, and in severe cases, hypothermia and death. Always wait until chicks are fully feathered.
Key Takeaways for Heat Lamp Use with Chicks
There is no fixed age when all chicks can live without a heat lamp. The decision must be based on feather development, behavior, and environment, not the calendar. Most chicks need 6 to 8 weeks of supplemental heat under ideal conditions, but bantams and slow-feathering breeds may need 10 to 12 weeks.
Full feathering is the most reliable indicator that chicks can maintain body temperature independently. Watch your chicks daily and respond to their behavior. If they huddle, add heat. If they spread out comfortably, you can begin weaning.
Prioritize safety throughout the brooding period. Use secured heat lamps with guards, or upgrade to safer alternatives like heating plates. Never leave heat sources unattended, and ensure proper ventilation without drafts.
When your chicks are fully feathered, active, and comfortable without heat, you will know they are ready to thrive on their own.