
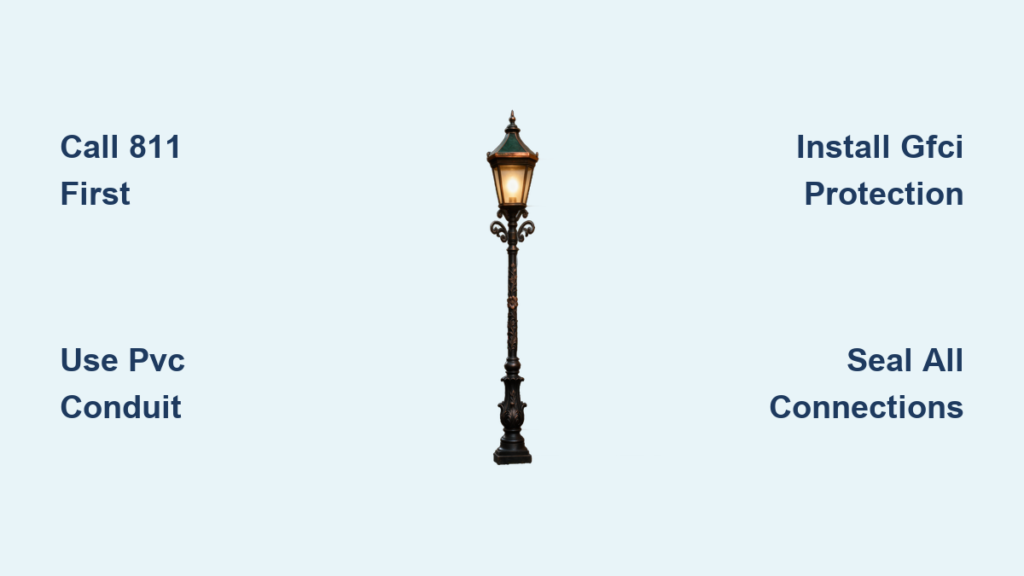
Installing a lamp post transforms your outdoor space by adding safety, security, and curb appeal. Whether you’re lighting a driveway, garden path, or front entryway, wiring a lamp post requires careful planning, code-compliant materials, and proper installation techniques. This guide covers everything from selecting the right wire and conduit to making weatherproof connections that last for decades. You’ll learn which tools you need, how deep to dig, and exactly how to connect the electrical components without triggering GFCI trips or creating fire hazards. By the end, you’ll have the knowledge to tackle this project confidently or communicate effectively with a licensed electrician.
Plan Your Lamp Post Installation
Choose the Ideal Location and Call 811
Selecting the right spot for your lamp post is the first critical decision. Driveway entrances, walkway curves, and front entry points are prime locations where lighting improves visibility and aesthetics. Mark your chosen spot with stakes or spray paint before beginning any excavation work. Always call 811 at least 72 hours before digging to have underground utility lines marked. Hitting a buried gas, water, or electrical line can result in serious injury, costly repairs, and legal consequences.
Check Permits and Code Requirements
Outdoor electrical work typically requires a permit, especially when connecting directly to your main electrical panel. Contact your local building department to confirm permit requirements, frost depth mandates, GFCI protection rules, and minimum burial depths. The National Electrical Code requires 18-inch minimum burial depth for conduit and direct burial cable, though local codes may be stricter. Non-compliance can result in fines or forced removal of your installation.
Gather Tools and Materials
Essential Tools for the Job
Having the right tools makes the difference between a frustrating weekend project and a smooth installation. You will need a post-hole auger or digger for excavation, a trenching shovel for running wiring channels, and a torpedo level to ensure your post stands perfectly vertical. Additional essential tools include a 50-foot fish tape for pulling wires through conduit, a wire stripper for preparing cable ends, a drill with 7/64-inch bit for mounting holes, and a circuit tester to verify power is off. A wheelbarrow for mixing concrete and a hacksaw for cutting PVC conduit round out the toolkit.
Pro tip: Keep a damp rag nearby to wipe concrete off tools immediately. Once it dries, removal becomes extremely difficult.
Select Proper Electrical Components
Using code-compliant materials is essential for safety and longevity. For wiring, you have two main options: 12/2 or 14/2 UF-B cable for direct burial, or 12-gauge THWN-2 conductors inside ¾-inch PVC conduit. The conduit method is strongly recommended because it allows for future wire upgrades without re-digging and provides superior protection against moisture and physical damage. Avoid ROMEX entirely since it is not rated for outdoor or buried use.
Key components to purchase include a photocell for automatic dusk-to-dawn operation, a GFCI breaker or outlet for required protection, weatherproof PVC junction boxes, and lever nuts (Wago style) which outperform traditional wire nuts for outdoor splices. Use 12-gauge wire for any run over 100 feet to prevent problematic voltage drop.
Dig Posthole and Trench
Excavate to Code Depth
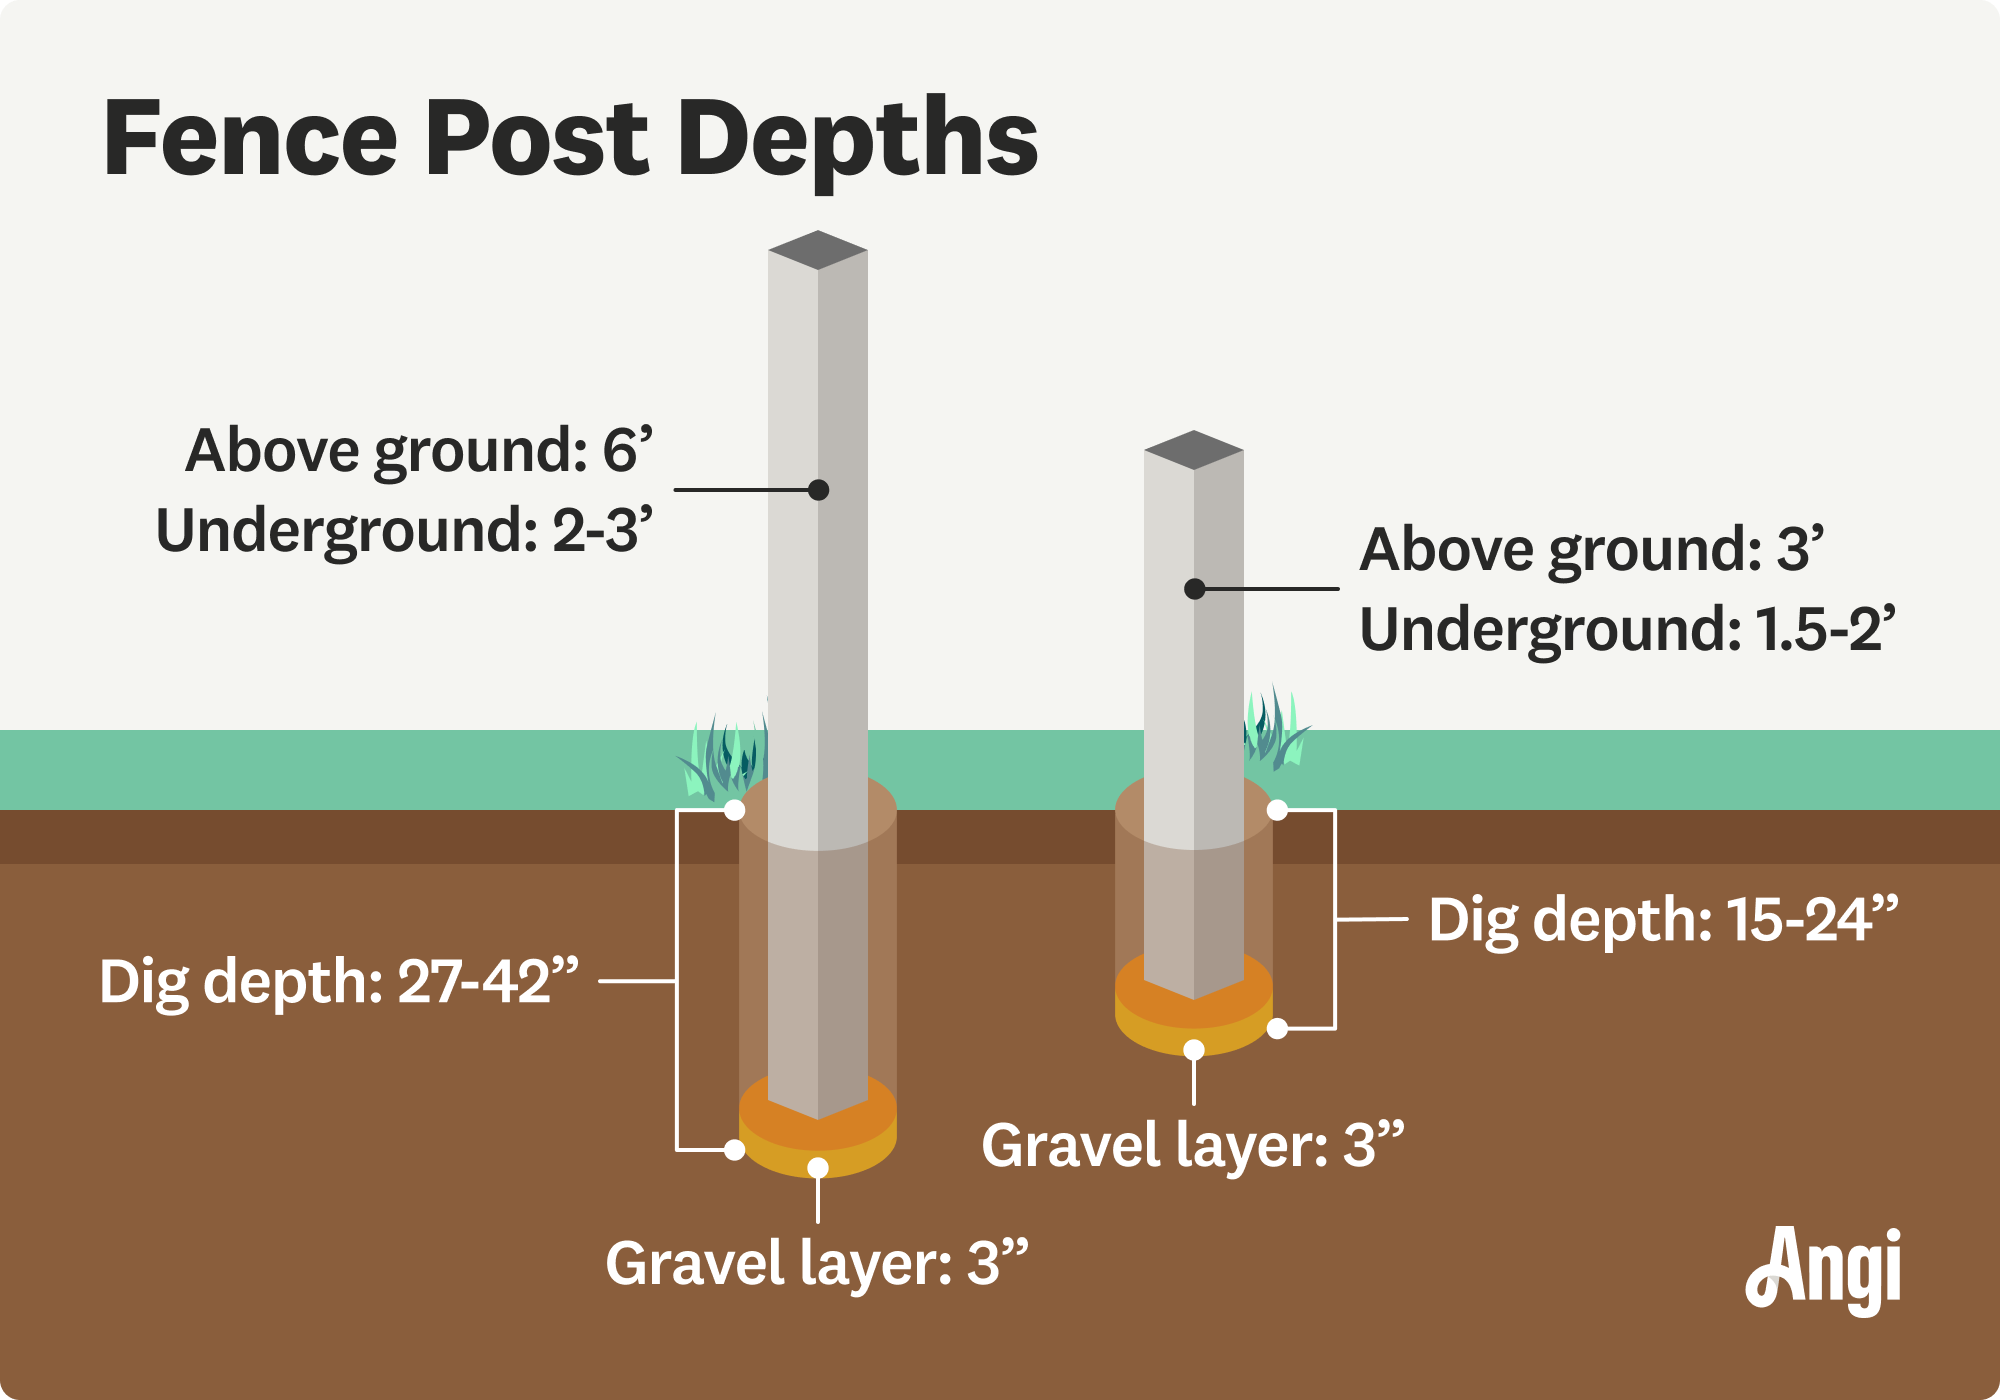
For an 8-foot metal or wooden post, dig a hole 10 to 12 inches wide and 24 to 32 inches deep, depending on your local frost line. In cold climates, go 30 or more inches deep to prevent frost heave from displacing your post. Add a 6-inch layer of crushed rock or gravel at the bottom for drainage, and tamp firmly using a sledgehammer or hand tamper. In sandy soil, use a pack mix of stone dust and gravel rather than pea gravel alone, which does not compact well.
Run the Wiring Trench
Dig a trench from your power source to the post location, maintaining a minimum depth of 18 inches as required by the NEC. If running under concrete such as a sidewalk, 12 inches is acceptable. Leave 6 to 12 inches of extra conduit length beyond both ends to allow for future adjustments or repairs. Never cut conduit flush with the ground; always stub it up or connect to a sealed junction box to prevent water infiltration.
Install the Lamp Post
Set Wooden Posts Without Concrete
For cedar or other wood posts, do not use concrete because it traps moisture and accelerates rot. Insert the post into the hole, backfill with native soil, and tamp every 6 inches using a 2×4. Use a strap-on level to keep your hands free while checking plumb, then brace with stakes and clamped boards until the soil settles.
Secure Metal Posts in Concrete
For aluminum, steel, or cast iron posts, route conduit through the side inlet before placing the post. Ensure the photocell hole faces upward and any crossmember is parallel to the road for symmetry. Insert the post, then pour 12 inches of concrete over the gravel base. Add one quart of water to initiate setting, adjust the post to plumb, then add more water. Use a torpedo level to check alignment in two directions, brace securely, and allow 2 to 48 hours for proper curing.
Expert note: Mark the post 12 inches from the bottom with a pencil before setting to ensure consistent burial depth.
Run Wiring Through Conduit
Why Conduit Is the Superior Choice
While UF-B cable can be buried directly, THWN-2 conductors inside PVC conduit offer significant advantages. Wires can be replaced or upgraded without re-digging, which becomes invaluable years down the line. Conduit also provides better protection from moisture, physical damage, and rodent activity. The slightly higher initial investment pays off in longevity and flexibility.
Install Conduit Correctly
Use ¾-inch Schedule 40 or 80 PVC conduit for your installation. Dry-fit all pieces before applying glue to ensure proper alignment. Seal every joint with conduit glue or caulk to prevent moisture ingress. Always stub conduit 6 or more inches above ground level rather than leaving ends flush. Use plastic conduit-to-box connectors such as Halex-style fittings for secure transitions.
Solve Shallow Inlet Problems
Many lamp posts have side inlets positioned only 3 inches below grade, which violates the 18-inch burial requirement. The solution is to run conduit above grade before entering the post, which must be done before setting the post in place. Alternatively, mount a weatherproof PVC junction box 12 inches above ground on the post, run conduit into the box, splice the THWN wires inside, then feed the remaining wire up through the post.
Pull Wires Through the Post
Using the Pre-Installed Pull String
Many lamp posts come with a pull string already threaded through the channel. Strip 6 inches of insulation from your wire ends, then loop the black, white, and ground wires through the string. Secure everything with electrical tape, then pull slowly from the top until the wires emerge. Never yank the wire because sudden force can cause snagging or insulation damage.
Fish Tape Method
If your post lacks a pull string, insert fish tape from the top down until it exits the side inlet. Attach your wires to the hook using electrical tape, then pull the fish tape back up through the post. Apply wire lubricant for long or tight runs to prevent damage and make pulling easier.
Make Electrical Connections

Connect Wires at the Post
Inside the post or junction box, follow this wiring sequence for a photocell-controlled fixture with an optional outlet. Connect all white (neutral) wires together: the supply, photocell white, fixture white, and outlet neutral if present. Use a lever nut for reliability and wrap with electrical tape. For hot connections, join the supply black to the photocell black (line) and the outlet line terminal. Connect the photocell red (switched hot) to the fixture black and any downstream black wires. Finally, bond all ground wires together and attach to the grounding screw in the box or post.
Wiring cheat sheet: Photocell red goes to fixture black. Photocell black goes to supply black. Join all whites together. Bond all grounds.
Weatherproof All Connections
Moisture in connections is the primary cause of GFCI tripping. Use adhesive gaskets in the photocell housing, form an S-curve in wires to reduce strain, seal any gaps with silicone caulk, and wrap all splices in electrical tape for an additional moisture barrier. Taking these precautions during installation prevents headaches later.
Connect to Electrical Panel
Install a Dedicated Circuit
Warning: Panel work should be performed by a licensed electrician unless you are fully qualified. Install a 15 or 20-amp breaker matching your wire gauge, then run conduit or cable from the post to the panel. Connect the black (hot) wire to the breaker terminal, the white (neutral) wire to the neutral bus bar, and the ground wire to the grounding bus bar.
Enable GFCI Protection
If your lamp post includes an outlet, use a GFCI outlet with a weatherproof cover. Connect the line (incoming) and load (protected downstream) terminals correctly, then install a four-screw weatherproof cover plate for full protection. If the GFCI trips during rain, inspect for moisture in the conduit or splices and reseal any compromised connections.
Mount the Light Fixture
Prepare and Position the Lantern
Use a clamp-on shelf to support the fixture during installation rather than letting it hang by the wires, which can damage connections. Pre-drill mounting holes with a 7/64-inch drill bit, then install the photocell first using two screws. Position the fixture, mark the remaining holes, drill, and secure with three mounting screws.
Level and Align the Fixture
Place a torpedo level on the fixture base to check alignment. Adjust by slightly loosening the mounting screws rather than bending the fixture itself. If the alignment is significantly off, recheck the post plumb and make corrections before final tightening. Ordering the post and lantern from the same manufacturer ensures finish and hardware compatibility.
Test and Finalize Installation
Conduct Safety Checks
Before restoring power, verify that no copper is exposed, all connections are tight, grounding is complete, and wires are neatly tucked inside the post. These final checks prevent shorts, shocks, and equipment damage.
Test Functionality
Restore power at the breaker, then cover the photocell with black tape to simulate darkness. The light should turn on within 10 to 30 seconds. If it does not, turn off power and check for loose neutrals, improperly connected switched hot wires, or a tripped GFCI.
Seal and Finish
Turn power off one final time, fully tighten all screws, and apply caulk around any cedar sleeves or top caps. Install the decorative finial for weather protection and visual appeal. Add mulch or decorative stone around the base for a polished, finished look.
Frequently Asked Questions About Wiring a Lamp Post
Do I need a permit to install a lamp post?
Permit requirements vary by location, but most municipalities require a permit for outdoor electrical work, especially when connecting directly to the main panel. Check with your local building department before starting.
Can I use indoor electrical wire for a lamp post?
No. Indoor wire such as ROMEX is not rated for outdoor use. You must use UF-B cable for direct burial or THWN-2 conductors inside PVC conduit for code compliance.
How deep does the wiring need to be buried?
The NEC requires a minimum of 18 inches burial depth for conduit and direct burial cable. If running under concrete, 12 inches is acceptable.
Why does my GFCI keep tripping after rain?
This indicates moisture intrusion in the conduit, splices, or junction box. Inspect all connections, extend any conduit ends that are flush with soil, and reseal with caulk or weatherproof boxes.
Can I install a lamp post myself or should I hire an electrician?
Trenching, post setting, and basic wiring are feasible for experienced DIYers. However, panel connections should be performed by a licensed electrician to ensure safety and code compliance.
Key Takeaways for Wiring Your Lamp Post
Wiring a lamp post is a rewarding DIY project that enhances your home’s safety and appearance for decades. Use THWN-2 wires inside PVC conduit rather than direct burial cable for superior protection and future upgradeability. Always install a weatherproof junction box when the post inlet is too shallow, and ensure GFCI protection is in place for any outdoor circuit with an outlet. Dig your posthole and trench to code depth, typically 18 inches minimum, and 30 or more inches in cold climates to prevent frost heave. While most of the installation is DIY-friendly, hire a licensed electrician for panel connections to guarantee safety and compliance. With proper installation and annual inspections, your lamp post will provide reliable, beautiful illumination for 20 years or more.



