Bringing home baby chicks is an exciting experience, but without proper warmth during their first few weeks, they won’t survive. Chicks cannot regulate their body temperature for the first 12 to 14 days, making a heat lamp essential to mimic the warmth of a mother hen. The right setup keeps them healthy, active, and growing strong, while a poorly installed lamp can lead to overheating, dehydration, or even fire.
This guide walks you through safely setting up a heat lamp for chicks. You’ll learn how to choose the best bulb, position the lamp correctly, monitor temperature, and prevent common dangers. Whether you’re raising 3 bantams or 25 layers, this plan ensures your brooder provides safe, consistent heat from day one to full feathering.
Choose the Right Heat Source for Your Chicks
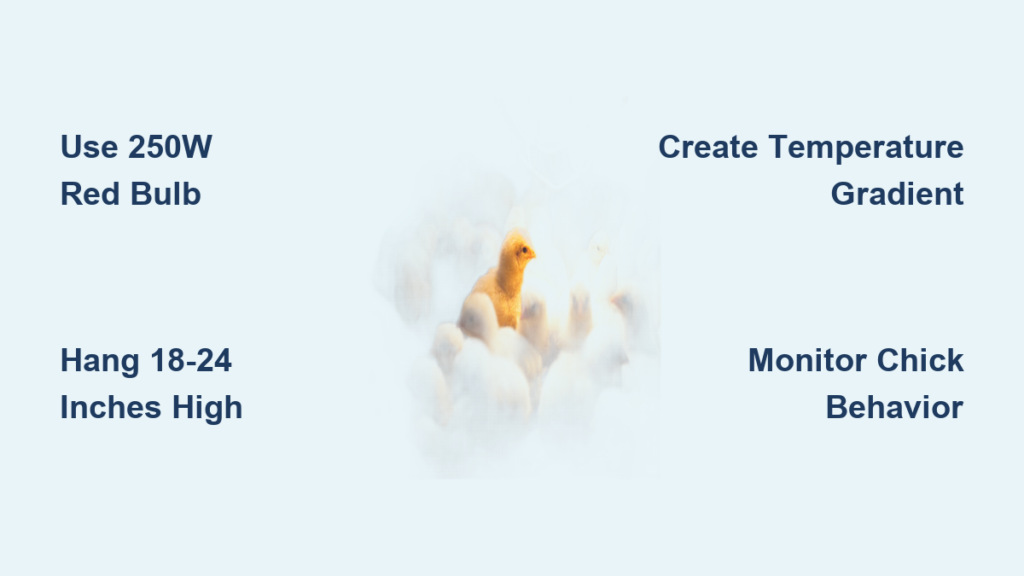
Selecting the appropriate heat source is the foundation of a successful brooding setup. The most common option for backyard flocks is the infrared heat lamp, which is affordable, effective, and widely available. A 250W red infrared bulb works ideal for the first 4 to 6 weeks, emitting deep-penetrating warmth while reducing stress and pecking due to its calming glow.
Ceramic heat emitters produce heat without light, making them better for nighttime use or sensitive breeds. They last longer and pose less fire risk but cost more upfront. Use a ceramic emitter with a dimmer switch for precise temperature control.
Brooder mats offer floor-level warmth with zero fire hazard, great for small broods or supplementing overhead heat in drafty rooms. However, they may not provide enough warmth in cold environments below 60°F.
Combine a red infrared lamp for weeks 1 to 4 with a ceramic emitter for weeks 5 to 8 for safer, more efficient weaning.
Assemble a Safe Heat Lamp System

Your heat lamp is more than just a bulb. It requires a complete system designed for safety and performance. Use only porcelain sockets rated for 250W, as they resist heat and won’t melt like plastic alternatives.
The essential components include a porcelain socket rated for high-wattage bulbs, an aluminum reflector 8 to 12 inches in diameter to direct heat downward, a metal wire guard that completely encloses the bulb, a mounting clamp with vinyl-coated grips, aircraft cable or metal chain for height adjustment, and a red infrared bulb at 250W.
Avoid plastic fixtures, zip ties, or twine entirely. These materials can melt or snap under heat and weight, creating serious fire hazards.
Install the Heat Lamp in a Safe Location

Place your brooder in a dry, draft-free room such as a garage, basement, or shed, but never outdoors unless fully protected. Keep the lamp at least 2 feet away from walls, bedding, curtains, and wood shavings. Flammable materials near a hot bulb are the leading cause of coop fires.
Avoid placing waterers or feeders directly under the lamp. Splashes can crack a hot bulb, and chicks may overheat while eating. Ensure good ventilation to reduce ammonia from droppings, but block cold drafts that chill chicks. Mesh-sided brooders or lidded enclosures with airflow gaps work best.
Position the Lamp to Create a Temperature Gradient
Hang the lamp over one end of the brooder, not the center. This creates a warm zone around 95°F under the lamp and a cooler zone at 75 to 80°F at the opposite end. Chicks will move between zones to self-regulate their body temperature, which is normal and healthy behavior.
Start with the lamp 18 to 24 inches above the floor. Use chains or aircraft cable for easy height adjustments as chicks grow. If chicks are crammed under the lamp or crowding the far corner, the temperature needs adjustment.
Monitor Temperature for Optimal Chick Comfort
Place a digital thermometer on the brooder floor just outside the direct heat zone. This gives a true reading of what the chicks actually feel. Check temperatures multiple times daily, especially during the first week.
Follow this weekly cooling schedule. Week one targets 95°F starting at 18 to 24 inches height. Week two targets 90°F, raising the lamp 2 to 3 inches. Week three targets 85°F, raising another 2 to 3 inches. Week four targets 80°F and evaluate weaning. Week five and beyond targets 75°F and down with gradual reduction.
Adjust based on chick behavior, not the calendar. Cold drafts or breed differences significantly affect heating needs.
Observe Chick Behavior Daily
Thermometers help, but chicks tell the real story through their actions. If chicks are huddling tightly under the lamp, peeping constantly, fluffing up their feathers, or showing lethargy, they are too cold. Lower the lamp or switch to a higher-wattage bulb.
If chicks are avoiding the warm zone, crowding at edges, panting with open-beak breathing, holding wings out from their body, or lying flat and appearing drowsy, they are too hot. Raise the lamp or reduce wattage.
When chicks are evenly spread across the brooder, actively feeding, drinking, and resting with quiet natural vocalizations, the temperature is just right.
Select the Best Bulb Type
Red infrared bulbs at 250W work best for weeks 1 through 6, reducing pecking and promoting calm. Clear incandescent bulbs are cheap but increase stress and pecking behavior, making them not recommended. Ceramic emitters work well for weeks 4 and beyond or for nighttime use, though they need a dimmer and cost more.
In cold rooms or unheated garages, stick with 250W red infrared. For indoor setups above 65°F, a 150W red or 125W clear bulb may suffice. Replace bulbs showing black spots, flickering, or cracks immediately, and keep spares on hand.
Prevent Fires and Electrical Hazards
Heat lamps cause dozens of coop fires each year. Use only metal chains or aircraft cable, never rope, twine, or zip ties. Mount to ceiling joists or metal poles, not flammable wood beams.
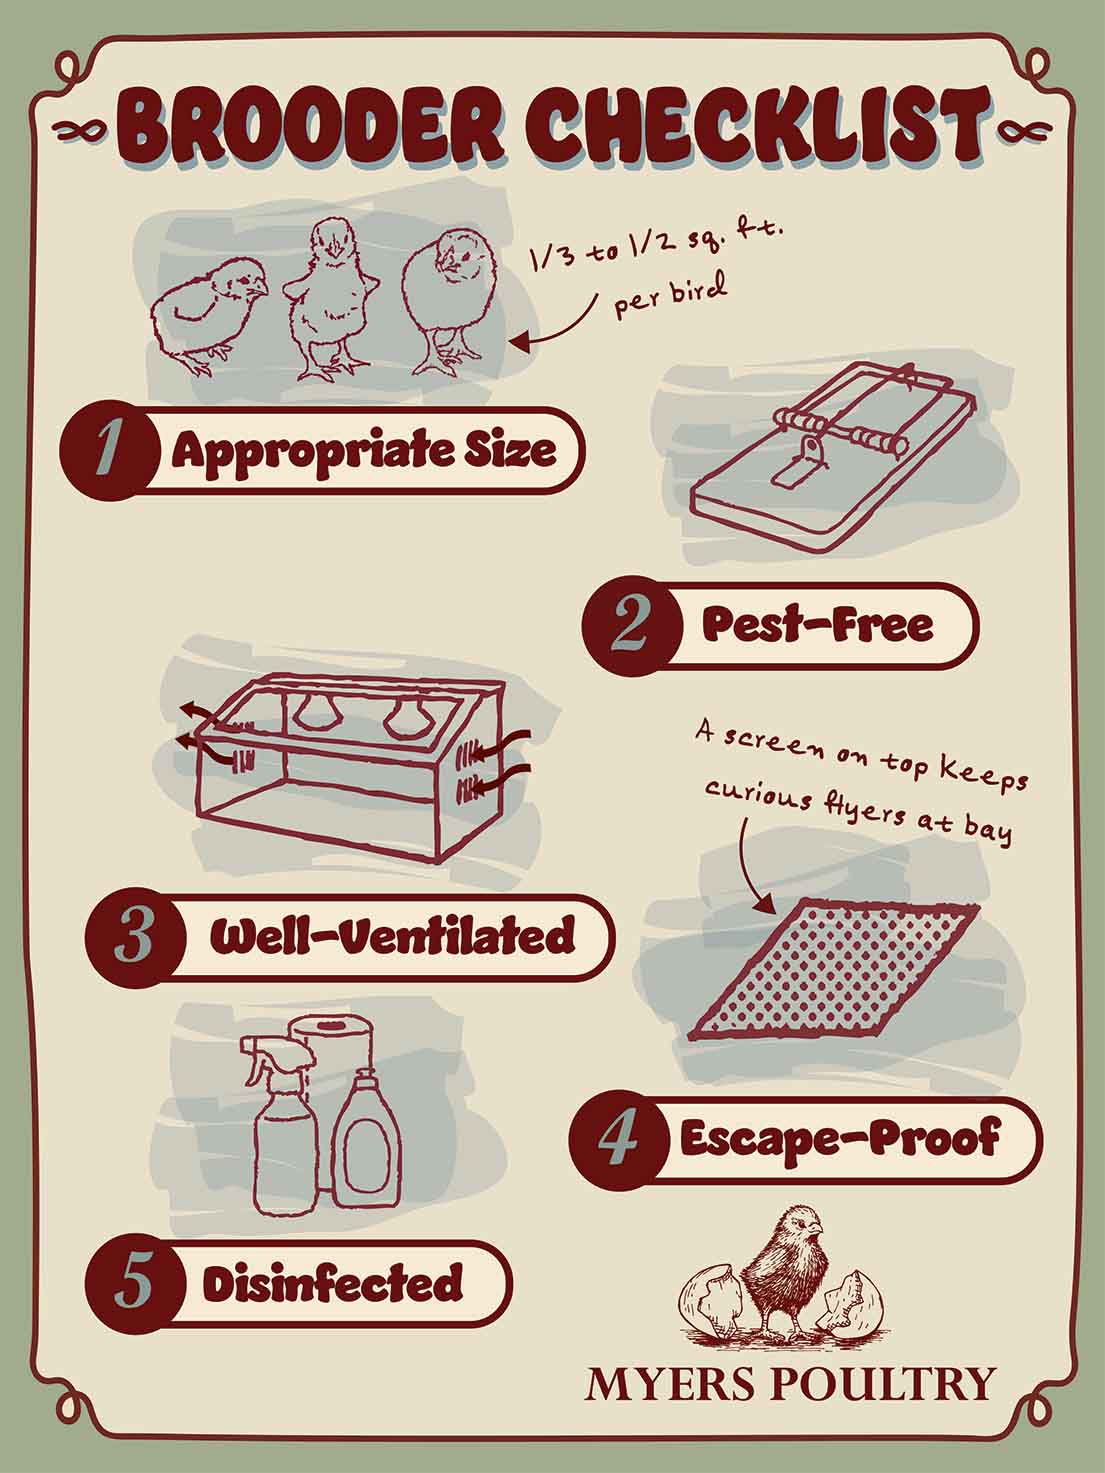
Install a top cover of hardware cloth or chicken wire over the brooder to prevent a fallen lamp from touching bedding. Plug into a GFCI-protected outlet on a dedicated circuit. Secure cords with clamps to prevent chewing or tripping. Inspect daily for overheating, melting, or loose connections.
Design a Functional Brooder
Use a galvanized stock tank or wooden box lined with hardware cloth. Avoid plastic totes, which can melt under prolonged heat.
Minimum space per chick is 6 square inches for weeks 1 to 2, about 1 square foot per 18 chicks. Weeks 3 to 4 require 1 square foot each. Weeks 5 and beyond require 1.5 to 2 square feet each.
Use pine shavings or paper towels for the first 3 to 5 days for non-slip, absorbent flooring. Never use cedar, which is toxic to chicks. Change bedding daily and remove wet spots immediately to prevent chilling and ammonia buildup.
Place feeders and waterers in the middle of the brooder, not under the lamp. For ducks or geese, keep waterers far from the lamp since splashes can cause a hot bulb to explode.
Ventilate Without Creating Drafts
Good ventilation removes ammonia from droppings, which can damage respiratory health and stunt growth. Use mesh panels or a lid with air gaps to allow fresh air in while retaining heat.
Avoid placing the brooder near open windows or fans that blow directly on chicks. If you smell strong ammonia, ventilation is insufficient.
Wean Off Heat Gradually
Most chicks are ready to wean by 6 to 8 weeks, but only if fully feathered with no bare skin, ambient coop temperature is above 65°F, and no signs of huddling overnight.
Start weaning at week 4 by raising the lamp 2 to 3 inches per week, or turn it off for 1 to 2 hours daily, increasing time gradually. The final test is overnight without heat. If chicks spread out and act normally, they are ready.
In cold climates, continue using a 60W ceramic emitter in the coop until maturity.
Maintain Your Brooder Daily and Weekly
Daily tasks include checking temperature and chick behavior, refilling feed and water, inspecting lamp stability and cords, removing wet bedding, and smelling for burning or hot wires.
Weekly tasks include deep cleaning feeders and waterers with vinegar or bleach solution, replacing all bedding, and evaluating feather growth and activity.
Replace bulbs every 60 to 90 days even if they still work, as efficiency drops over time. Porcelain sockets and reflectors last 3 to 5 years with proper care.
Frequently Asked Questions About Setting Up a Heat Lamp for Chicks
What temperature should a heat lamp be for chicks?
Start at 95°F for week one, then decrease by 5°F each week until reaching 75°F or ambient temperature by weeks 5 to 6. Always measure temperature at chick level, not at the top of the brooder.
How far should a heat lamp be from chicks?
Hang the lamp 18 to 24 inches above the floor initially. Adjust higher to decrease heat or lower to increase heat based on behavior and thermometer readings.
Can I use a regular light bulb for chicks?
Standard household bulbs are not recommended. Use only infrared or ceramic heat bulbs rated for high-wattage use in porcelain sockets. Clear bulbs increase stress and pecking behavior.
When can I turn off the heat lamp for chicks?
Wean chicks off heat gradually starting around week 4, removing the lamp entirely by weeks 6 to 8 when fully feathered and ambient temperature is above 65°F.
How do I know if chicks are too hot or too cold?
Too cold chicks huddle tightly, peep constantly, and have fluffed feathers. Too hot chicks avoid the warm zone, pant, and hold wings away from their body. Properly heated chicks spread evenly throughout the brooder.
Key Takeaways for Setting Up a Heat Lamp for Chicks
Setting up a heat lamp for chicks requires the right equipment and careful attention to safety. Use a 250W red infrared bulb in a porcelain socket with a metal wire guard, hung 18 to 24 inches high over one end of the brooder to create a temperature gradient.
Monitor temperature with a thermometer at chick level and adjust height weekly by raising 2 to 3 inches per week. Watch chick behavior as the best indicator of comfort. Prioritize fire safety by using metal supports, GFCI outlets, hardware cloth covers, and chain suspension.
Combine proper heating with clean bedding, fresh feed, clean water, and adequate ventilation. Consider upgrading to ceramic emitters or brooder mats for safer long-term use. With the right setup and daily observation, you’ll raise strong, thriving chicks ready for life in the coop.