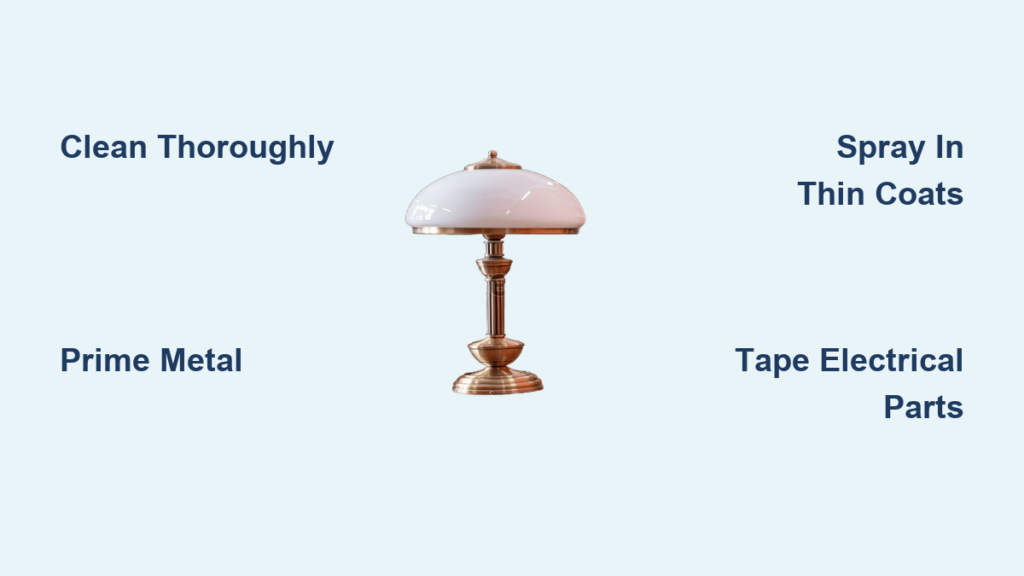
Is your brass lamp looking outdated or too shiny for your modern decor? You do not need to replace it. Painting a brass lamp can transform it into a custom-designed piece that matches your style perfectly. This affordable update breathes new life into old fixtures, turning $5 thrift store finds into high-end-looking lighting for less than $25 each. Whether you are aiming for sleek matte black, bright white, or a vintage gold-antique finish, the key to success lies in proper prep, the right primer, and spray application.
In this guide, you will learn every step from disassembling and cleaning to adding elegant finishing touches. By the end, your painted lamp will look professional, last for years, and become a standout decor piece in your home.
Assess Your Lamp Before Painting
Not every brass lamp is a good candidate for painting. Take time to inspect the lamp first.
Check for Damage and Function
• Ensure the base is structurally sound with no dents, cracks, or wobbly joints
• Test the electrical components by plugging it in and turning the switch
• Confirm the bulb socket works properly before committing to the project
• Avoid lamps with damaged cords or cracked sockets for safety reasons
• Ideal candidates are secondhand lamps from yard sales or thrift stores, often under $10
Pro Tip: If the lamp works but looks tired, it is a perfect candidate for a paint makeover.
Remove Dust and Grease From the Surface
Brass collects oils from hands and household dust, which block paint adhesion. Skipping this step causes peeling within weeks.
Clean With Vinegar and Cloth
• Unplug the lamp and remove the bulb, harp, and shade first
• Soak a soft cloth in white vinegar and wipe down the entire brass surface
• Focus on crevices, grooves, and threaded areas where grime hides
• For older lamps with flaking paint, gently scrape loose chips with a stiff brush
• Use 220-grit sandpaper to feather edges without sanding down to bare brass
• Wipe again with vinegar to remove sanding residue
• Let the lamp dry completely on a clean towel overnight
Warning: Never skip cleaning. Oil and residue cause paint to peel within weeks.
Tape Off Electrical Parts
Protect everything you do not want painted, especially anything that conducts electricity.
Use Delicate-Surface Painter’s Tape
• Wrap Frogtape for Delicate Surfaces around the plug
• Tape the cord near the base and socket threads
• Cover the metal collar where it meets the socket
• Avoid covering the bottom of the base if it will rest on a surface
• Cover your work area with newspaper or a drop cloth
Visual Cue: You should only see exposed brass where paint is intended.
Build a DIY Spray Booth
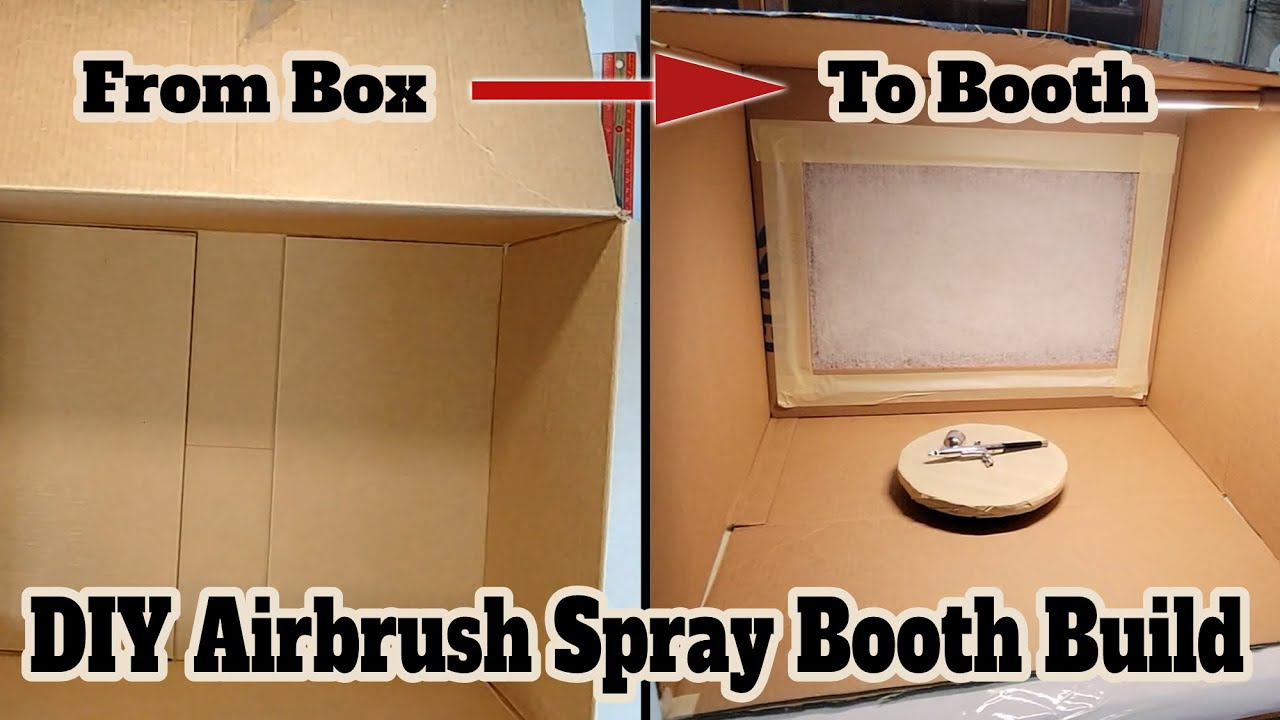
Spray paint drifts everywhere. Contain it to avoid mess and waste.
Create a Cardboard Spray Area
• Cut open a large cardboard box on three sides to create a semi-enclosed workspace
• Place the lamp inside, resting on its side or on crumpled paper
• Work outdoors or in a garage with good airflow
• Wear disposable gloves, an N95 mask, and protective eyewear
• Keep spray cans upright and away from sparks or flames
Safety Musts: Always work in a well-ventilated area and wear proper protective gear.
Prime the Brass for Paint Adhesion

This is the most critical step. Primer ensures paint sticks to the metal surface.
Choose the Right Metal Primer
• Zinsser Bulls Eye 1-2-3 Spray Primer offers superior adhesion
• Rust-Oleum Clean Metal Primer works well for rust-prone areas
Apply Primer Evenly
• Shake the can for one full minute before use
• Hold the can 8 to 12 inches from the surface
• Spray in light, sweeping motions without soaking the surface
• Rotate the lamp to coat all angles including undersides and details
• One coat is usually enough if applied uniformly
• Let dry 1 to 2 hours before applying paint
Result: The primer reveals texture and flaws, creating a smooth base for color.
Apply Spray Enamel Paint
Now comes the transformation. Choose your finish and apply carefully for professional results.
Pick a Durable Topcoat
• Rust-Oleum Gloss Protective Enamel provides high shine and ceramic-like finish
• Behr Premium Interior/Exterior Spray Paint offers excellent coverage and wide color range
Spray in Thin Coats
• Use the same technique as priming with light, even passes
• Apply 2 to 3 coats, waiting 1 to 2 hours between each coat
• Three coats are recommended for white or light colors to prevent brass bleed-through
• One coat may suffice for darker shades like brown or black
• Keep the can moving to avoid drips
• Rotate the lamp frequently to catch shadows and recessed areas
Pro Tip: Spray painting eliminates brush strokes and provides a factory-like finish.
Add Antique Accents for Vintage Charm
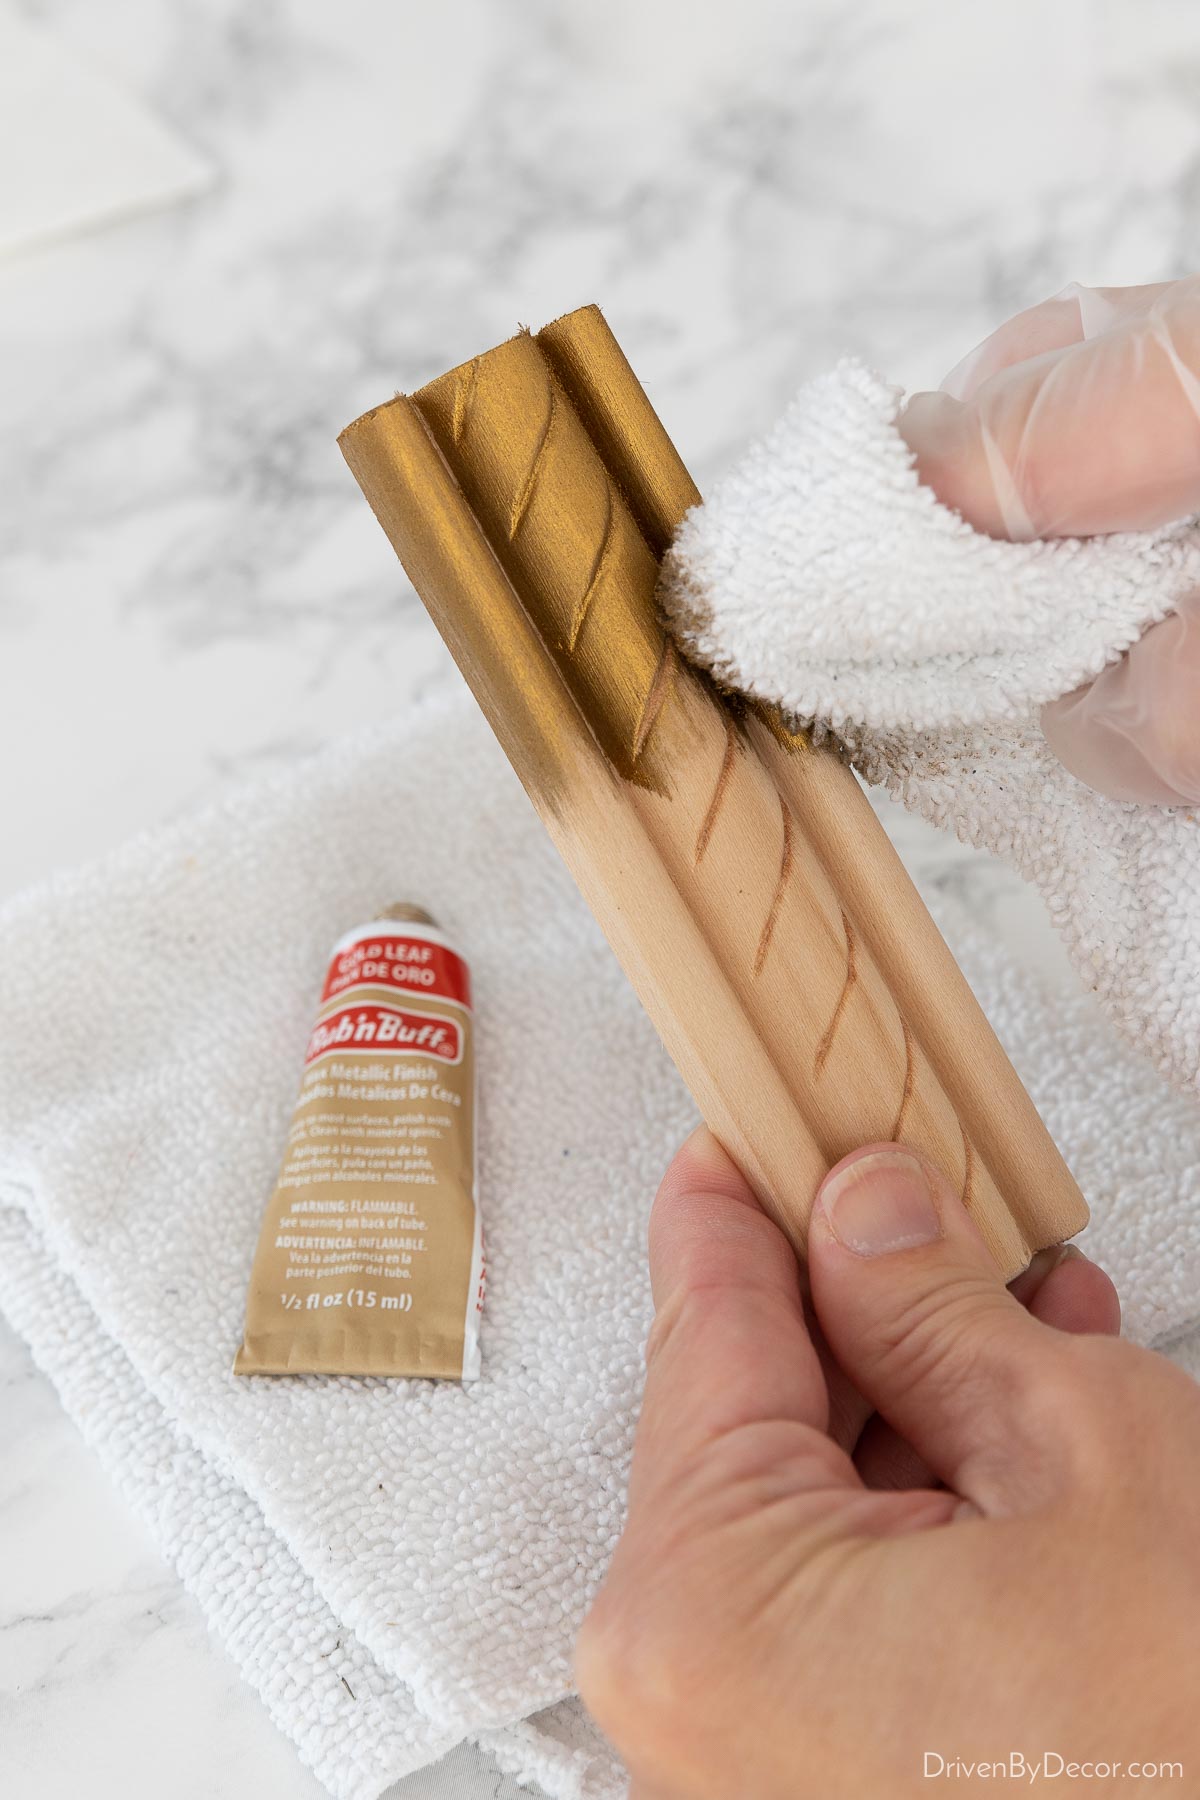
Give your lamp vintage character with metallic wax highlights.
Use Rub ‘n Buff for Detailing
• Choose Antique Gold, Copper, or Gunmetal depending on your style
• Apply a tiny amount to an old rag or your fingertip
• Rub gently into raised carvings, edges, or ornate patterns
• Wipe away excess with a clean cloth
• Let dry 30 minutes before handling
Expert Note: Less is more. Build the effect gradually. Over-application looks messy.
Modify Lamp Shades if Needed
Affordable shades often do not fit vintage or odd-sized lamps.
Fix IKEA Shade Fit Issues
• Problem: Center hole too wide for the harp
• Solution: Buy wide metal washers from a hardware store
• Apply Gorilla Glue to the inside ring of the shade
• Press washer into place and let cure for 24 hours
• The shade will now fit snugly and will not wobble
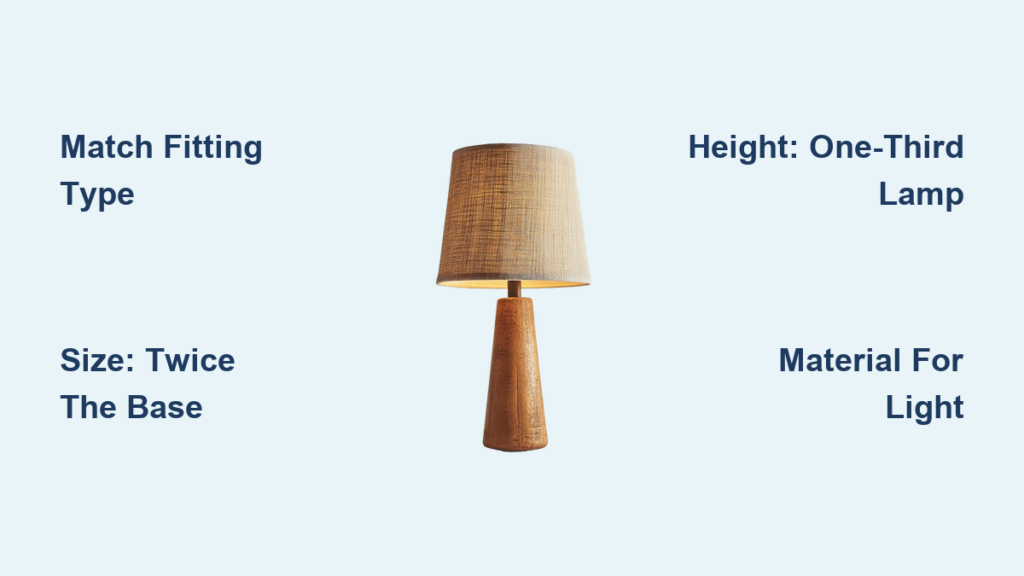
Choose the Right Shade Style
• Drum shades offer modern, clean lines
• Burlap or rattan provides rustic, coastal, or farmhouse appeal
• Shade width should be twice the base width
• Shade height should be one-third of total lamp height
Reassemble Your Painted Lamp
Wait at least 24 hours after the final coat to let paint fully cure.
Put It All Back Together
• Reattach the harp to the socket carefully
• Slide on the shade and ensure it sits straight
• Insert an LED bulb which runs cooler and is safer for painted surfaces
• Plug in and test the switch
Checklist: Verify no paint on electrical contacts, shade sits straight, and cord is undamaged.
Choose the Right Color for Your Room
Your lamp should enhance the room, not clash with it.
Match Paint to Room Decor
• Bright white creates a crisp, modern look ideal for bedrooms or offices
• Matte black or charcoal provides bold, industrial contrast with wood or concrete
• Gloss brown or bronze offers warm, rustic appeal for cabins or traditional spaces
• Metallic finishes using spray paint or Rub ‘n Buff add glam accents
Test First: Spray a small amount on cardboard to see how the color looks in natural and artificial light.
Avoid Common Painting Mistakes
Even small errors can ruin a professional look. Learn what to watch for.
Top Errors and Fixes
• Peeling paint? You skipped cleaning or primer. Go back to prep.
• Drips? You sprayed too close or held the can too long in one spot.
• Uneven coverage? You did not rotate the lamp or applied thick coats.
• Shade wobbles? The hole is too big. Use the washer modification.
• Wrong color? Always test-spray on cardboard first.
Prevention: Slow down. Rushing leads to rework.
Ensure Long-Lasting Results
A well-painted lamp can last years with the right care and maintenance.
Durability Tips
• Use high-quality enamel designed specifically for metal surfaces
• Never use wall paint or craft paint as these chip easily
• Keep lamps out of high-moisture areas like bathrooms unless fully sealed
• Dust gently with a dry or slightly damp cloth, avoid harsh cleaners
• If paint starts chipping, it is likely due to poor prep, not the paint brand
Warning: Proper preparation is the key to preventing paint failure.
Save Money and Reduce Waste
Why spend $150 per lamp when you can DIY for a fraction of the cost?
Total Cost Breakdown
| Item | Cost |
|---|---|
| 2 brass lamps from yard sale | $10 |
| 2 IKEA shades | $28 |
| Primer and paint | $6 |
| Washers and glue | $1 |
| Total | $45 |
That is $22.50 per lamp, an 85% savings over retail pricing.
Final Tips for Painting Success
• Prep is everything: Clean thoroughly, dry completely, tape carefully, prime properly
• Spray, do not brush: This gives a smooth, drip-free finish
• Work patiently: Thin coats beat rushed applications every time
• Add flair: A touch of Rub ‘n Buff makes it look designer
• Protect your work: Let paint cure 24+ hours before use
Frequently Asked Questions About Painting Brass Lamps
Can I paint a brass lamp without sanding?
You do not need to sand to bare metal, but you should clean with vinegar to remove oils and use a quality metal primer. Light sanding with 220-grit paper helps smooth flaky paint edges.
What type of paint sticks best to brass?
Spray enamel designed for metal surfaces works best. Rust-Oleum and Behr brands are recommended. Always use a metal-specific primer first for proper adhesion.
How long does painted lamp paint last?
With proper prep, cleaning, priming, and quality enamel, painted lamps can last for years without chipping. The key is not skipping the cleaning and priming steps.
Can I use regular wall paint on a brass lamp?
No. Wall paint and craft paint chip easily on metal surfaces. Always use high-quality spray enamel designed for metal to ensure durability.
Do I need to remove the lamp shade before painting?
Yes. Remove the shade, harp, and bulb before painting. Tape off electrical components to protect them from overspray.
How long should I wait before reassembling the lamp?
Wait at least 24 hours after the final paint coat to allow full curing. For best results, wait 48 hours before handling extensively or installing shades.
Key Takeaways for Painting Your Brass Lamp
Painting a brass lamp is a highly effective DIY project that combines affordability, creativity, and practicality. Success hinges on meticulous cleaning to remove oils and grime, proper priming with a metal-specific primer, and careful application of spray enamel in thin, even coats. With the right tools and techniques, even beginners can achieve professional-looking results that transform outdated brass into custom-designed lighting.
Whether you are refreshing a family heirloom or flipping a thrift store find, this project proves that small changes make the biggest impact. Gather your materials, follow these steps, and enjoy your beautiful new lamp.