You’ve found the perfect lamp base, but the shade just does not fit your style. Maybe you are building a lighting piece from scratch and need a frame that matches your vision. How to make a lamp frame becomes an achievable DIY project when you understand the right materials, tools, and techniques. This guide walks you through every step from selecting materials to mounting your finished lamp.
A custom lamp frame lets you design exactly what you envision, whether it is a sleek drum shape for a modern living room or an artistic wire sculpture for a statement pendant. This guide covers selecting materials, shaping the structure, reinforcing for durability, and finishing with professional results.
Choose the Right Frame Material
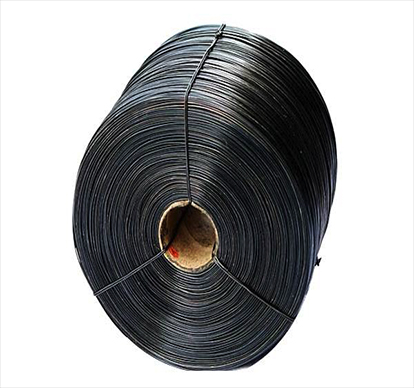
Selecting durable, workable materials is the first step in building a stable lamp frame. Your choice depends on the shade is weight, desired look, and tools available.
Metal Wire vs. Rigid Rods
Lightweight wire works well for small or decorative frames. Many beginners start with repurposed coat hangers, but these are best reserved for temporary or low-stress projects like paper lanterns. For lasting results, upgrade to annealed steel wire or aluminum rod, which hold their shape better under load.
Sturier options like galvanized steel tubing or pre-bent metal rings are ideal for heavier fabrics, glass panels, or large drum shades. These resist sagging and provide a clean, professional silhouette.
• Use double-wrapped wire or parallel rods along the top and bottom edges to increase rigidity without adding bulk.
Natural and Alternative Materials
For bohemian or organic aesthetics, bamboo, rattan, or wooden dowels can form elegant frames. These require drilling and gluing at joints but deliver a warm, handcrafted feel. Ensure the wood is dry and sealed to prevent warping.
Plastic or acrylic rods offer lightweight durability and can be heat-bent into curves. They work well for modern, translucent designs and resist corrosion over time.
Pick a Frame Shape and Style
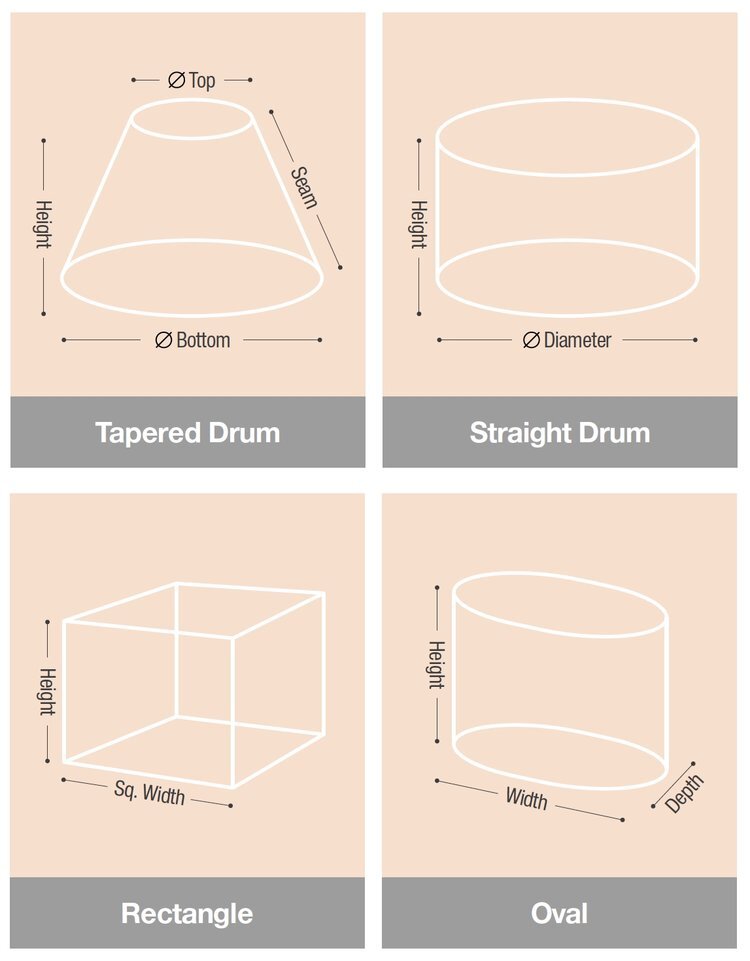
Your lamp is purpose and decor determine the ideal shape. Each style has structural implications and hardware needs.
Common Lamp Frame Shapes
• Drum: Cylindrical with equal top and bottom diameters. Best for modern interiors and even light diffusion.
• Empire: Tapered from wide bottom to narrow top. Classic look requires precise angle cuts in support wires.
• Square or Rectangular: Geometric and contemporary. Needs strong corner joins using mitered dowels or metal brackets.
• Conical: Narrow at the top, flaring outward. Ideal for task lighting like desk lamps.
• Freeform: Artistic, sculptural shapes made with hand-bent wire. Great for pendants or accent lights.
Match Shape to Shade Material
Fabric shades work well with drum, empire, or square frames using dual rings and vertical supports. Paper or parchment require lighter wire frames but need reinforced edges to prevent tearing. Glass or wood veneer demand rigid frames with welded joints or mechanical fasteners.
Before assembly, lay out your design on paper. Mark dimensions and symmetry points to avoid lopsided results.
Gather Essential Tools and Supplies
Having the right tools ensures precision and safety during construction.
Must-Have Tools
• Round-nose and chain-nose pliers for bending and twisting wire.
• Wire cutters to trim metal cleanly without fraying.
• Measuring tape and ruler for consistent sizing.
• Mandrels such as pipes, cans, or dowels to wrap wire around for perfect circles.
• Vise or clamp to hold material steady while shaping.
• Chalk or fabric marker to mark cut and bend points.
Adhesives and Fasteners
• Spray adhesive for even fabric application.
• Fabric glue or epoxy for strong, flexible bonds.
• Double-sided tape for quick attachment to lightweight materials.
• Wire ties or crimp connectors to secure joints without soldering.
Always wear safety glasses when cutting wire since fragments can fly.
Build the Basic Frame Structure
Start with the core geometry: top and bottom rings connected by vertical supports.
Form Top and Bottom Rings
- Measure your desired diameter.
- Wrap wire around a same-sized can or pipe to create a perfect circle.
- Overlap ends by 1 to 2 inches and twist tightly with pliers.
- Repeat for both top and bottom rings.
For larger frames, use pre-made lampshade rings from craft stores. They are affordable and save hours of bending.
Attach Vertical Supports
Space 3 to 8 support wires evenly around the rings, using more for larger frames. Cut supports to match the shade is height. Insert one end into the top ring loop and twist to secure. Align vertically and attach to the bottom ring.
Gently press on the frame to check stability. If it wobbles, add diagonal bracing or use thicker wire.
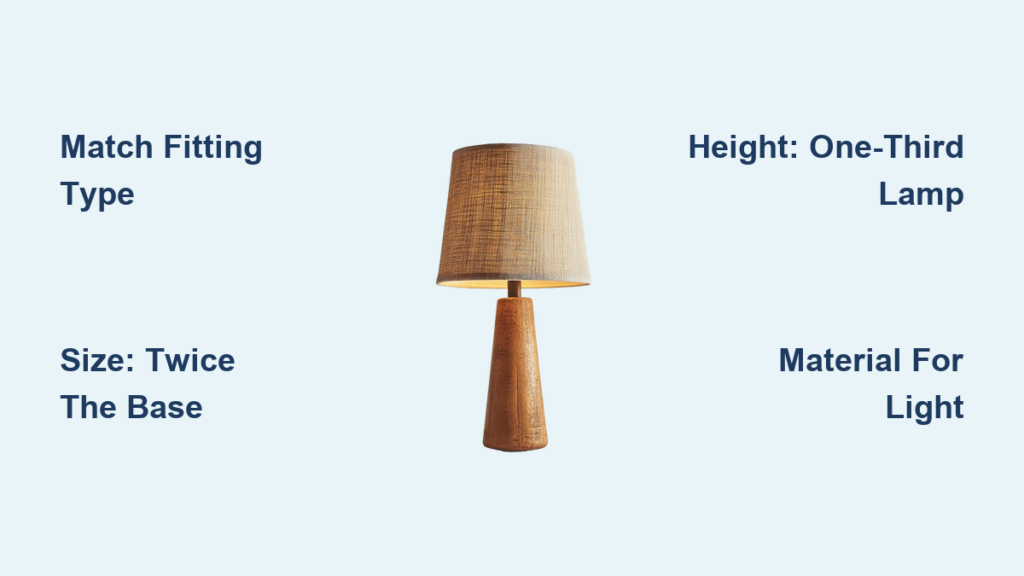
Install the Correct Fitting Type
:max_bytes(150000):strip_icc()/types-of-lampshade-fittings-6742943-final-2-53530431336341488a799406cb5c33a5.png)
Your frame must connect safely to standard lamp hardware. Choose based on lamp type.
Spider Fitting
Spider fittings are most common for table and floor lamps. They attach to a harp that clips onto the socket. This requires a central mounting ring at the top of the frame. Purchase a ready-made spider fitter and solder or screw it to the top ring is center.
Uno Fitting
Uno fittings sit directly on the light bulb socket. The shade mounts close to the ceiling. The frame must be lightweight and centered precisely. Attach the uno fitter to the top ring using epoxy or rivets.
Clip-On Fitting
Clip-on fittings clip onto candelabra bulbs. They are only suitable for very light shades like tissue paper. They are not recommended for daily use since they can loosen over time.
Always test fit the harp or socket before applying shade material.
Reinforce for Long-Term Durability
Even strong frames can sag over time. Reinforcement prevents deformation.
Add Internal Bracing
Insert a third horizontal ring midway down for tall shades. Use triangulated supports at corners of square frames. For drum shades, space vertical supports every 2 to 3 inches.
Strengthen Joints
Solder or weld connections for permanent, rigid joins. If soldering is not possible, double-wrap joints with thin wire and seal with epoxy. For wood or bamboo, use wood glue plus screws at stress points.
Hang a weight equal to your shade material to simulate long-term stress before finalizing.
Prepare for Shade Application
A smooth, clean frame ensures the shade adheres evenly and lasts.
Clean and Prime the Frame
Wipe with rubbing alcohol to remove oils and dust. For metal frames, apply a primer or rust-resistant spray if painting. Spray interior with matte white paint to improve light reflection.
Add a Stiffening Liner
Insert poster board, plastic sheet, or stiff fabric inside the frame. This prevents fabric from stretching and improves shape retention. Cut the liner to match the frame is height and circumference.
Use a lampshade lining kit for a time-saving shortcut. These come pre-cut and sized for common dimensions.
Attach the Shade Material
Now comes the transformation from frame to finished shade.
Wrap Fabric or Paper
- Lay material face-down and place the frame on top.
- Apply spray adhesive to one section of the frame.
- Carefully wrap the material around, using clothespins to hold it in place.
- Work in sections, smoothing out bubbles as you go.
- Overlap seams slightly and glue for a seamless finish.
Trim and Finish Edges
Leave one-half inch excess at top and bottom. Fold edges over the rings and glue securely. Cover raw edges with bias tape, binding tape, or decorative trim.
Use iron-on bias tape for a crisp, no-sew finish.
Customize the Aesthetic
Make your lamp a design standout with creative touches.
Paint and Finish the Frame
Spray paint the interior gold or silver to warm or cool the light output. Use matte black for dramatic, focused lighting. Try hammered metal finish for industrial appeal.
Personalize the Shade
Stenciling or block printing adds patterns to plain fabric. Ombre dyeing creates gradient effects. Patchwork using scraps gives boho charm. Vintage paper like sheet music or maps provides character when backed with flame-retardant film.
Seal paper shades with water-based fire retardant spray for safety.
Ensure Safety and Compatibility
A beautiful lamp must also be safe to use.
Prevent Heat Damage
Use LED bulbs only since they emit minimal heat and reduce fire risk. Maintain 2 to 3 inches between bulb and shade interior. Avoid plastics or untreated paper near hot bulbs.
Check Electrical Fit
Ensure the frame does not block socket access or pinch wires. Never modify sockets or cords unless certified. Use UL-listed components for new builds.
Operate the lamp for 30 minutes, then check for excessive heat near the shade.
Mount and Test the Final Lamp
The last step brings it all together.
Attach to Lamp Base
- Slide the harp onto the socket.
- Place the shade onto the harp.
- Secure with the finial, the decorative knob on top.
- Ensure the shade sits straight and does not wobble.
Evaluate Performance
Turn on the lamp and assess balance, light diffusion, and heat. The lamp should not lean. The glow should be even. The shade should feel warm after 30 minutes, not hot.
Recheck joint tightness and ring symmetry to fix any wobble.
Maintenance and Longevity Tips
Keep your handmade lamp looking great for years.
Cleaning
Dust with a microfiber cloth or vacuum brush attachment. Spot clean fabric with damp cloth and mild soap. Avoid soaking since water can warp frames or loosen glue.
Repair and Refresh
Re-tighten loose wires with pliers. Re-glue peeling fabric edges. Replace finials or trims to update the look.
Frequently Asked Questions About Making Lamp Frames
What is the best material for a sturdy lamp frame?
Annealed steel wire, aluminum rod, or pre-made metal rings work best for lasting frames. Avoid coat hangers for permanent projects since they are too flimsy and can sag over time.
Can I make a lamp frame without soldering?
Yes. Wire wrapping, epoxy, and mechanical fasteners like screws or rivets create secure joints without soldering. These methods work well for beginners or temporary installations.
How do I choose the right lamp shade shape?
Consider your lamp is purpose and room decor. Drum shades suit modern spaces. Empire shapes complement traditional decor. Square frames offer contemporary geometric appeal. Conical shades work best for task lighting.
What type of fitting do I need for a table lamp?
Most table lamps use spider fittings. These attach to a harp that clips onto the socket. The spider fitter requires a central mounting ring at the top of your frame.
How do I prevent heat damage to my lamp shade?
Use LED bulbs exclusively. Maintain at least 2 to 3 inches of clearance between the bulb and shade material. Avoid placing highly flammable materials like untreated paper near incandescent bulbs.
Where can I buy lamp frame components?
Craft stores like Michaels and Joann Fabrics carry spider fitters, ring kits, and binding tape. Online retailers like Amazon and Etsy offer rare shapes, custom sizes, and vintage fittings.
Key Takeaways for Building Your Own Lamp Frame
Making a lamp frame is both functional and creative. Choose sturdy materials like steel wire or pre-made rings rather than flimsy coat hangers. Match your frame shape to both the shade material weight and your room decor style. Reinforce joints through soldering, double-wrapping, or mechanical fasteners to prevent sagging over time.
Pre-made components like lampshade rings and spider fitters simplify construction and yield professional results. Take time to test stability before attaching shade material. Always prioritize safety by using LED bulbs and maintaining proper clearance between bulbs and flammable materials.
Now that you know how to make a lamp frame, the only limit is your imagination. Start with a simple project and expand to more complex shapes as your skills grow.