Installing a pendant lamp can completely transform the look and feel of any room. Whether you want bright task lighting over a kitchen island or a cozy glow above your dining table, pendant lamps offer versatility and style. This guide covers both plug-in and hardwired installation methods, so whether you rent or own your home, you can install your pendant light with confidence. You will learn exactly which tools you need, how to wire it safely, and what height ensures the perfect lighting for every space.
Choose Between Plug-In and Hardwired Pendants
There are two main ways to power a pendant lamp, and your choice depends on your living situation and ceiling setup.
Plug-in pendants require no electrical wiring. They hang from ceiling or wall hooks and plug into a standard wall outlet. This makes them perfect for renters or anyone who wants a temporary lighting solution. The cord runs visible along the ceiling or wall, which you can hide with decorative chains or cord covers.
Hardwired pendants connect directly to your home’s electrical system through a ceiling junction box. This creates a clean, permanent look with no visible cords. Hardwired options work best for homeowners who want to upgrade their kitchen, dining room, or living area with a permanent fixture.
Pro Tip: Renters should always choose plug-in models to avoid modifying the electrical system. Homeowners with existing ceiling boxes can go with hardwired fixtures for a sleeker appearance.
Gather the Right Tools for Your Installation

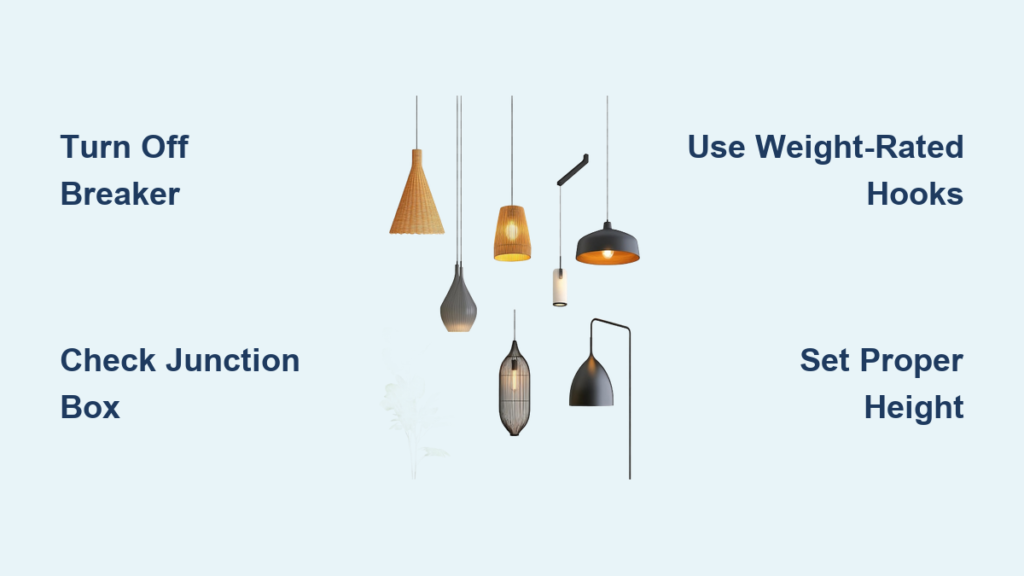
For plug-in pendant installation, you will need a few basic items. Your pendant lamp comes with everything needed for hanging, but you may need to purchase ceiling or wall hooks rated for the lamp’s weight. Other helpful items include a measuring tape, a sturdy ladder, adhesive cord clips, and optionally a decorative chain to hide the cord along the ceiling.
For hardwired installation, gather these tools before starting. You will need wire strippers, a voltage tester, several screwdrivers, a level, wire nuts, electrical tape, safety glasses, and a stud finder. Always turn off power at the breaker before beginning any electrical work.
Warning: Never rely on the wall switch alone to ensure power is off. Always verify with a voltage tester.
Prioritize Electrical Safety Before Starting

Electrical safety should be your top priority throughout this project. Before touching any wires, you must turn off the circuit at your breaker panel. Use a voltage tester to confirm no current is flowing through the ceiling wires. Even if the light switch is off, the circuit could still be live.
In older homes built before the 1970s, grounding wires may be absent. If your junction box is metal and was previously grounded, it can serve as a ground point. When in doubt about your home’s wiring, consult a licensed electrician before proceeding.
Wear safety glasses whenever you drill into ceilings or handle fixtures. Use a stable ladder, even for small jobs. Having someone nearby to hold the ladder adds an extra layer of safety.
Pick the Perfect Location for Your Pendant
Where you hang your pendant affects both function and atmosphere. For dining tables, center the lamp directly above the table for balanced light during meals. Over kitchen islands, align the pendant with the island center, not the countertop edge. In reading nooks, position the lamp lower for focused task lighting.
For hallways and entryways, mount pendants at mid-height around 60 to 66 inches from the floor to avoid head clearance issues. In bedrooms, use soft-glow pendants like the Akari A-Series for ambient lighting that creates a calming atmosphere. Always avoid placing pendants where they might block doors, windows, or walkways.
Ideal Height: Keep pendants 28 to 34 inches above dining tables and kitchen countertops for the best balance of light and clearance.
Install a Plug-In Pendant Lamp Step by Step
Mark Where the Hooks Will Go
Decide exactly where your lamp will hang, typically centered over a table or island. Use a measuring tape to mark the precise spot on your ceiling or wall. Ensure the surface can support the lamp’s weight. For drywall installations, use wall anchors rated for the lamp’s weight to prevent pull-out.
Mount the Ceiling or Wall Hooks
Install hooks along the cord’s path to guide it toward the nearest outlet. Use a pencil to mark each hook position before screwing them in firmly. If using drywall anchors, insert them first, then screw in the hooks. Make sure all hooks are level and secure before hanging the lamp.
For a decorative touch, use a matching chain to conceal the cord along the ceiling. This creates a more polished look while keeping the cord hidden.
Hang and Fine-Tune the Lamp
Drape the pendant’s cord through the hooks, allowing a gentle sag for that classic swag effect. Plug the lamp into the outlet and turn it on to test the lighting and height.
If the cord sags too much or hangs unevenly, add more hooks to control the drape. Use adhesive clips or cord covers to route excess cord neatly along the wall. Finish by ensuring the lamp is stable and the cord is not stretched or pinched.
Install a Hardwired Pendant Lamp Properly
Locate and Prepare the Ceiling Box
Most hardwired pendants require an existing ceiling electrical box. Use a stud finder to confirm it is securely anchored, especially if your fixture is heavy. If no junction box exists at your desired location, do not attempt to install one yourself. Adding new wiring requires a licensed electrician.
Remove Any Existing Fixture
If you are replacing an old light, unscrew the mounting plate and carefully disconnect the wires. Identify the ceiling wires before proceeding. Black or red wires are hot, white or gray wires are neutral, and bare copper or green wires are ground. Trim and strip three-quarters of an inch of insulation from each wire if they appear frayed.
Attach the Mounting Bracket
Secure the new mounting bracket to the junction box using the provided screws. Use a level to ensure it is perfectly straight before tightening fully. Some pendants require direct attachment to a ceiling joist, in which case you should use appropriate screws or anchors for stability.
Connect the Wires Correctly
Match and connect the wires by color. Black fixture wire connects to black ceiling wire, white to white, and ground to bare copper or the grounding screw in the box. Twist like-colored wires together clockwise and secure with wire nuts. Wrap each connection with electrical tape for extra insulation.
Pro Tip: Pre-loop the ground wire around the grounding screw before tightening for a secure bond.
Secure and Test the Fixture
Tuck all wires neatly into the junction box. Align the pendant with the mounting bracket and fasten with cap nuts or screws. Ensure the fixture hangs straight before final tightening.
Attach the shade or diffuser per manufacturer instructions. Install the correct bulb, with LED recommended for efficiency and low heat. Restore power at the breaker and flip the wall switch. If the light does not turn on, turn off the power and recheck all wire connections before trying a new bulb.
Set the Correct Hanging Height
Proper height prevents glare and accidental head bumps while maximizing light output. Follow these clearance guidelines for different spaces.
| Location | Height Above Surface |
|---|---|
| Dining table | 28 to 34 inches |
| Kitchen island | 28 to 34 inches |
| Reading nook | Adjustable, lower for focus |
| Hallway | 60 to 66 inches from floor |
| Bedroom | Lower for ambient glow |
For rooms with high ceilings over 9 feet, increase the drop length to maintain visual balance. When hanging multiple pendents over an island, space them 24 to 30 inches apart and hang them slightly higher to avoid a cluttered appearance.
Ensure Proper Structural Support
Different ceiling types require different mounting approaches. Drywall requires anchors unless you can screw directly into a joist. Wood joists provide the strongest hold when you can mount directly into them. Concrete or tile ceilings require masonry bits and special anchors designed for masonry.
For heavy pendants, always anchor into a joist or use a fan-rated junction box specifically designed to support weight. This prevents the fixture from falling over time.
Manage Cords for a Clean Appearance
Excess cord on plug-in models can look messy if not managed properly. Use adhesive clips to run the cord along baseboards or ceiling edges. Install a cord cover that matches your wall color for seamless integration. Drape cord through a decorative chain for a vintage aesthetic.
Keep all cords away from high-traffic areas to prevent tripping hazards. Test that the cord does not stretch or pinch when the lamp hangs at its final position.
Perform Regular Maintenance
After installation, keep your pendant in top condition with basic maintenance. Dust the fixture regularly with a soft, dry cloth. Avoid harsh cleaners, especially on glass, stone, or fabric shades. Check wire connections once a year for hardwired units and tighten any loose screws.
Inspect plug-in cords for fraying or damage and replace if compromised. Replace bulbs promptly with the correct wattage, and consider upgrading to dimmable LED bulbs for energy savings and adjustable ambiance.
Troubleshoot Common Problems
Light Does Not Turn On
If your pendant fails to light up, first confirm the breaker is on and the switch is functioning. Turn off power and recheck all wire connections, tightening any loose wire nuts. Replace the bulb with the correct type if it has burnt out.
Fixture Hangs Crooked
An uneven mounting bracket causes this issue. Remove the fixture and reinstall the mounting bracket using a level to ensure it is straight. Tighten all screws fully before rehanging the pendant.
Flickering or Humming
Flickering usually indicates a loose connection or an incompatible dimmer switch. Recheck all wiring connections and ensure your bulb and fixture are both dimmer-compatible. Humming often stems from a low-quality transformer in plug-in models or a non-dimmable bulb on a dimmer circuit. Upgrade to compatible components to resolve this.
Know When to Call a Professional
Hire an electrician if no ceiling junction box exists at your desired location, if wiring looks damaged or outdated, if you are unsure about grounding or connections, or if the fixture is heavy and requires ceiling reinforcement. Adding new electrical circuits or boxes must always be done by a licensed electrician.
Alternative Option: Use Taskrabbit to find vetted professionals for fixture installation, placement advice, and cord management at a fraction of contractor rates.
Key Takeaways for Installing Your Pendant Lamp

Installing a pendant lamp is a satisfying DIY project that instantly elevates your space. Remember these essential points. Plug-in pendants work best for renters and require no electrical work. Hardwired pendants offer a permanent, clean look but require basic electrical knowledge. Always turn off the breaker and verify power is off with a voltage tester before working with wires. Maintain 28 to 34 inches of clearance above tables and countertops. Use weight-rated hooks and anchors that can support your specific fixture. Test all connections and level the fixture before finishing.
With the right tools and safety precautions, you can install your pendant lamp in 30 minutes if you are experienced or 2 to 3 hours as a beginner. The total cost ranges from $50 to $200 per fixture depending on the style you choose. Pick your perfect pendant, select its ideal spot, and light up your home with confidence.
Frequently Asked Questions About Installing Pendant Lamps
Can I install a pendant lamp myself without an electrician?
Yes, you can install a plug-in pendant lamp yourself without an electrician since it simply plugs into a standard outlet. For hardwired pendants, you can do the installation yourself if you are comfortable with basic electrical work, but any new wiring or box installation requires a licensed electrician.
What height should a pendant light hang above a table?
A pendant light should hang 28 to 34 inches above the surface of a dining table or kitchen countertop. This provides adequate headroom while delivering optimal task lighting without causing glare.
How do I know if my ceiling can support a pendant lamp?
Check whether your ceiling has an existing junction box for hardwired fixtures. For plug-in lamps, ensure the ceiling or wall can support the weight using appropriate anchors. Drywall alone cannot hold heavy fixtures, so mount into studs or use rated anchors.
Do I need to turn off the breaker to install a plug-in pendant?
No, plug-in pendants do not require turning off the breaker since they simply plug into an existing outlet. However, you should still turn off the wall switch controlling that outlet as an extra precaution during installation.
How do I hide the cord on a plug-in pendant lamp?
You can hide the cord using adhesive clips that route it along baseboards or ceiling edges. Cord covers that match your wall color provide seamless integration. Decorative chains offer a vintage look while concealing the cord along the ceiling path.