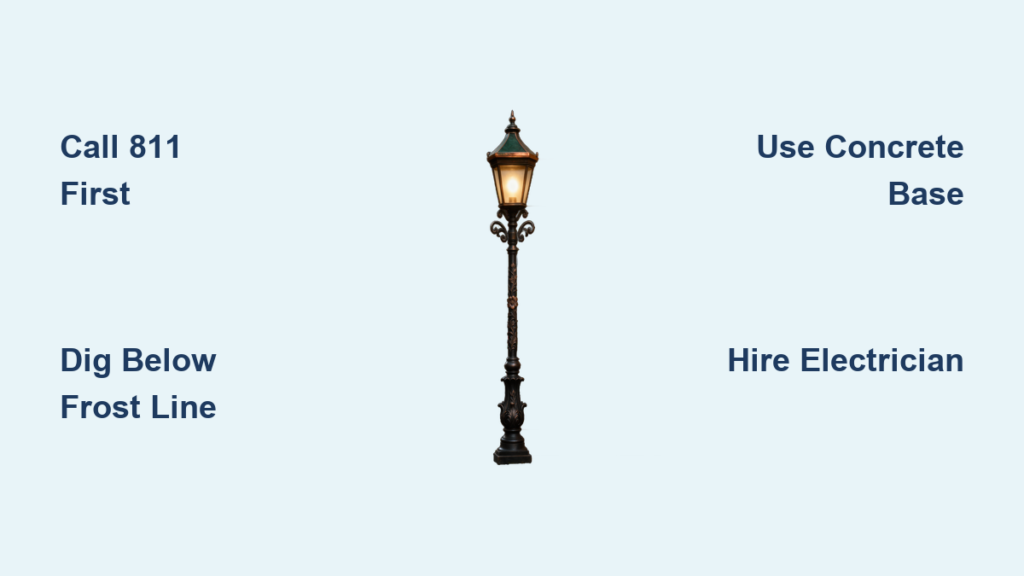
Installing a lamp post transforms your outdoor space, adding security, charm, and nighttime visibility to your property. Whether you need to illuminate a driveway, walkway, or garden entrance, learning how to install a lamp post correctly ensures a safe and lasting result. This guide walks you through every phase, from planning and excavation to electrical wiring and final assembly.
Call 811 Before Digging Underground
Before any digging begins, contact your local utility marking service by dialing 811 in the U.S. This free service identifies buried gas, water, electrical, and communication lines to prevent dangerous accidents and costly repairs. Wait for professionals to mark safe zones before proceeding with your project.
Check Permit Requirements
Most jurisdictions require a permit for outdoor electrical installations. Contact your local building department to confirm trench depth requirements, electrical code compliance, and inspection needs. Skipping permits risks fines or failed home inspections when you sell your property later.
Choose the Optimal Location
Select a location that enhances safety and curb appeal while providing adequate lighting coverage. Position the post near entry points, driveways, or walkways for maximum visibility. Avoid placing it where light shines directly into neighboring windows or causes glare for drivers. Use mason line and stakes to preview alignment before digging.
Select the Right Post Height and Style
Standard above-ground height ranges from 8 to 9 feet, with approximately 44 inches buried for stability. Choose a style that complements your home architecture, such as Victorian or Gothic designs for classic homes or modern styles for contemporary exteriors. Match the finish to your existing railings, trim, or door hardware.
Dig the Post Hole Correctly
The hole diameter should measure 12 to 16 inches, with a depth of 30 to 36 inches to extend below the frost line in cold climates. Use a post-hole auger for speed in hard or rocky soil, or a manual digger for softer ground. Lay excavated soil on a tarp for easy cleanup and backfilling.
Add a Drainage Base Layer
Place 4 to 6 inches of crushed rock or gravel at the bottom of the hole to prevent water accumulation and reduce frost heave. This simple step extends the life of your post significantly. Optional landscape fabric beneath the gravel stops soil from mixing into the drainage layer.
Run the Electrical Trench
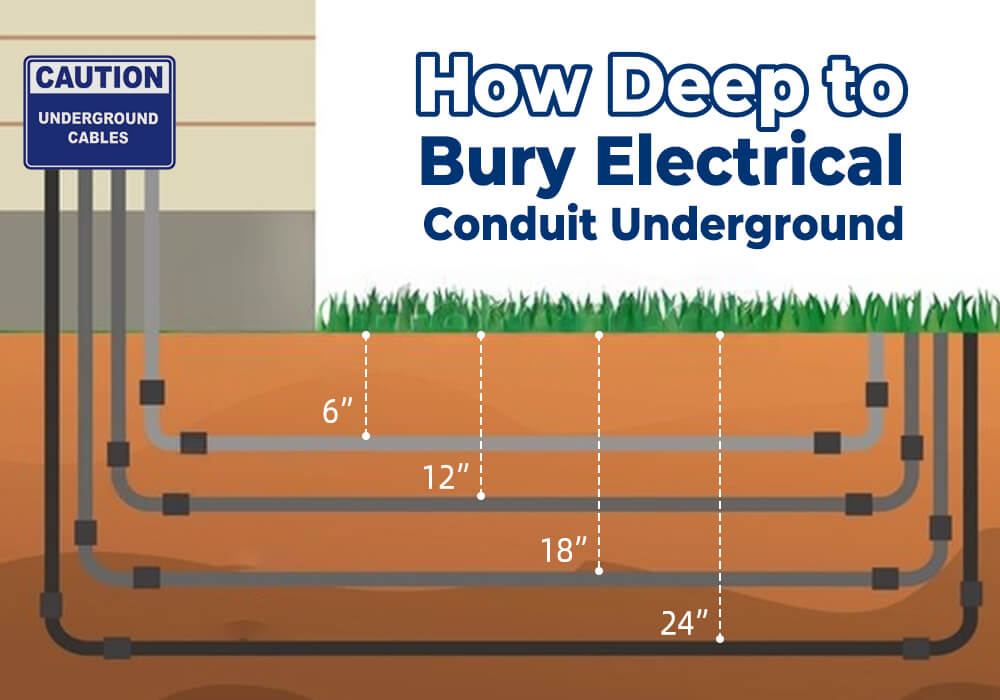
Dig the trench 18 inches deep and 6 to 8 inches wide, following most electrical code requirements with PVC conduit. Slope the trench slightly downward away from the house to prevent water pooling. Use ¾-inch Schedule 40 PVC conduit with PVC elbows at house and post ends, securing joints with PVC cement after dry-fitting.
Set the Post in Concrete
Most lamp posts require concrete for long-term stability. Pour ½ to 1 bag of fast-setting concrete over the gravel base, then add water gradually until absorbed. Feed wires through the post base knockout, insert the post, and check plumb with a 2-foot level on all sides. Brace with wooden stakes, fill remaining space with concrete in layers, and allow 24 to 48 hours to cure before removing braces.
Backfill Cedar Posts Without Concrete
Solid cedar naturally resists rot, but concrete traps moisture and accelerates decay due to wood shrinkage. For cedar posts, backfill with native soil instead, compacting every 6 inches using a tamper or 2×4. Check plumb continuously during backfilling and remove braces once fully compacted.
Pull Wires Through the Conduit
/pull-wire-through-conduit-3969936-hero-cea39ec1798140c59beec45e6003cbbd.jpg)
Use 12-gauge UF-rated underground feeder wire for 15 to 20 amp circuits. Attach the wire to fish tape or pull string and thread from the breaker panel to the post location. Leave 9 feet of extra wire at the post end for routing up the pole, and seal conduit ends temporarily to block debris and moisture.
Thread Wire Through the Post
Most posts include a pre-installed pull string. Tie your wires securely to the string with electrical tape, then pull upward from the base to the top. Leave 6 to 9 inches of slack at the top for making connections. If no string exists, feed manually using a fish rod.
Turn Off Power Before Wiring
Always shut off the circuit at the breaker panel before beginning electrical work. Confirm wires are dead using a voltage tester, and tape over the photocell during testing to simulate night mode. Remember that electrical panel connections must be completed by a licensed electrician to meet NEC and local code requirements.
Mount the Light Fixture Level
Slide the lantern onto the mounting base and use a torpedo level to align the fixture left-right and front-back. Adjust the base slightly until the bubble centers in both directions, then secure with the three included screws. Ensure the photocell faces north to avoid false daylight triggers.
Make Weatherproof Electrical Connections
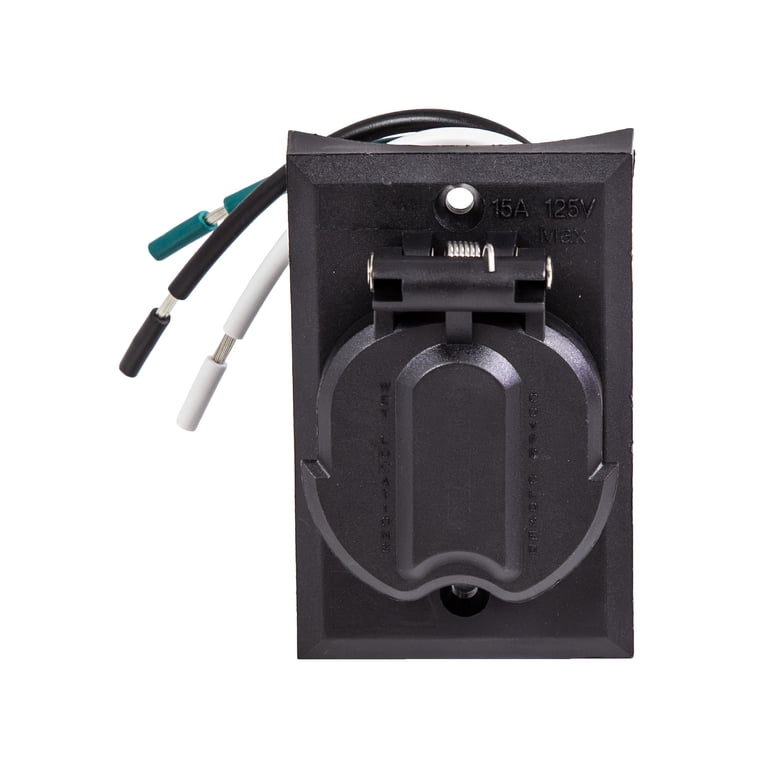
Match black wire to red (photocell switched-hot), white to white (neutral), and bare copper to green or bare fixture ground. Strip ½ inch of insulation, twist wires together with wire nuts, and wrap all connections in electrical tape. Cover with a weatherproof sleeve or silicone sealant for protection against moisture.
Seal the Top and Base
Install a cedar sleeve or post cap to seal the top and prevent water intrusion. Fasten with finish nails and caulk around the joint. Apply silicone sealant around the base where the post meets concrete to prevent freeze-thaw damage.
Install Crossbar If Applicable
Insert the crossbar into the post and apply waterproof silicone around the joint. Ensure it runs parallel to the road or as desired for aesthetic alignment. Tighten locking screws and coat with Hammerite paint within 3 to 9 months to prevent rust from iron filings.
Handle Concrete Surface Mounting
When installing on existing concrete, core drill into the slab for conduit entry and use expansion anchors or epoxy-set bolts. Mount the post on a surface-mounted base plate and route conduit above ground or embed in new pour. Consult a professional for structural and electrical integration.
Add Automation Features
Install a photocell for automatic dusk-to-dawn operation or use a timer for scheduled lighting. Choose LED fixtures with built-in photo-sensors for energy savings. Ensure the circuit is GFCI-protected if required by code.
Choose the Right Bulb
Select LED bulbs with the correct base type (E27 or B22) as specified by your fixture. Choose warm white (2700K to 3000K) for cozy ambiance or cool white (4000K to 5000K) for bright, modern light. LEDs last 15,000 to 25,000 hours and reduce energy use significantly.
Estimate Time and Cost
The total project takes approximately 4 to 5 hours, including setup and curing time. Concrete requires minimum 2 hours for fast-set products and 24 to 48 hours for full strength. Material costs range from $471 to $1,050 for DIY installation, excluding electrician fees and permits.
Maintain Your Lamp Post for Longevity
Clean the fixture and post annually to remove dirt and cobwebs. Inspect for loose screws, corrosion, or damaged wires and replace bulbs promptly. Reapply caulk or sealant as needed and coat stainless steel locking points with metal paint within 3 to 9 months to prevent rust.
Troubleshoot Common Issues
If the light does not turn on, check for a burnt bulb, tripped breaker, loose wire, or faulty photocell. Flickering lights indicate moisture in the junction box or a failing photocell. A leaning post results from shallow holes, poor compaction, or inadequate concrete and requires resetting with proper depth and bracing.
Final Safety and Compliance Checklist
Hire a licensed electrician for panel connection and grounding. Use only UL-listed wet-location fixtures and follow NEC standards for burial depth, wire gauge, and GFCI protection. Never use the lamp post as a ladder support or tie-down point.
Enhance Curb Appeal with Landscaping
Plant drought-tolerant ground cover around the base and add mulch, stones, or decorative edging. Mount house numbers, hanging baskets, or small planters for added charm. Match the post finish to other exterior metalwork for a cohesive look.
Frequently Asked Questions About Installing a Lamp Post
Do I need a permit to install a lamp post?
Most jurisdictions require a permit for outdoor electrical installations. Contact your local building department to confirm permit requirements and any inspections needed before proceeding.
How deep should I dig the hole for a lamp post?
Dig the hole 30 to 36 inches deep to extend below the frost line in cold climates. The diameter should measure 12 to 16 inches for proper stability.
Can I install a lamp post on existing concrete?
Yes, use core drilling into the slab for conduit entry and heavy-duty expansion anchors or epoxy-set bolts to mount the post. Surface-mount the base plate and route conduit above ground.
Should I use concrete to set the post?
Use concrete for metal, composite, and most wood posts for long-term stability. However, avoid concrete with solid cedar posts to prevent moisture trapping and rot.
When should I hire an electrician?
Hire a licensed electrician to connect wiring to the main electrical panel and ensure compliance with NEC and local codes. DIYers can handle digging, setting, and basic wiring.
Key Takeaways for Installing Your Lamp Post
Successful lamp post installation requires careful planning, proper excavation below the frost line, and a stable concrete or gravel foundation. Always call 811 before digging, obtain necessary permits, and follow local electrical codes. While DIYers can handle the groundwork and basic wiring, always hire a licensed electrician for final panel connections to ensure safety and code compliance. With proper installation and annual maintenance, your lamp post will provide reliable, elegant lighting for decades while boosting your property’s security and curb appeal.