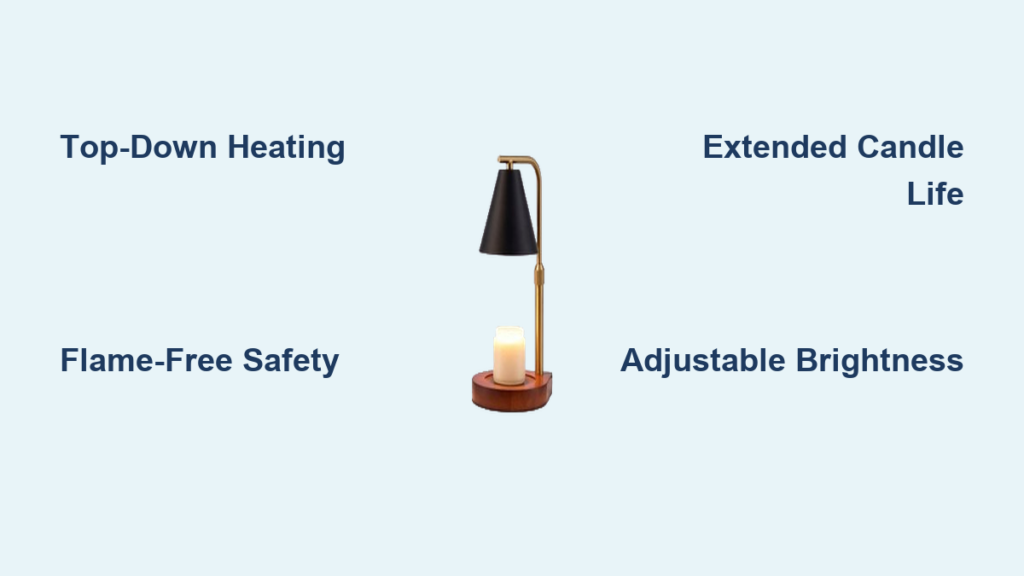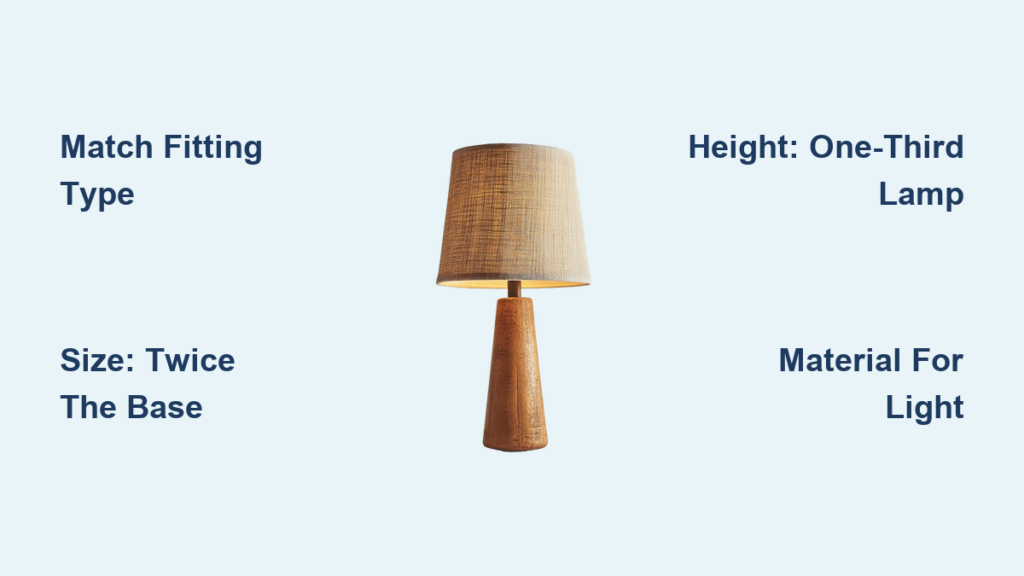
You don’t need to buy a lamp when you can make a light lamp yourself using everyday materials. Whether you want a cozy night light, a decorative vase conversion, or a custom USB desk lamp, DIY lighting is affordable, sustainable, and surprisingly simple. Millions of people are turning to homemade lamps for personalized style and energy-efficient illumination. In this guide, you’ll learn three proven methods: cardboard night lamps, no-wiring conversions, and custom LED builds. Each approach fits different skill levels and needs.
No-Wiring Lamp Conversion: Turn Objects into Lamps
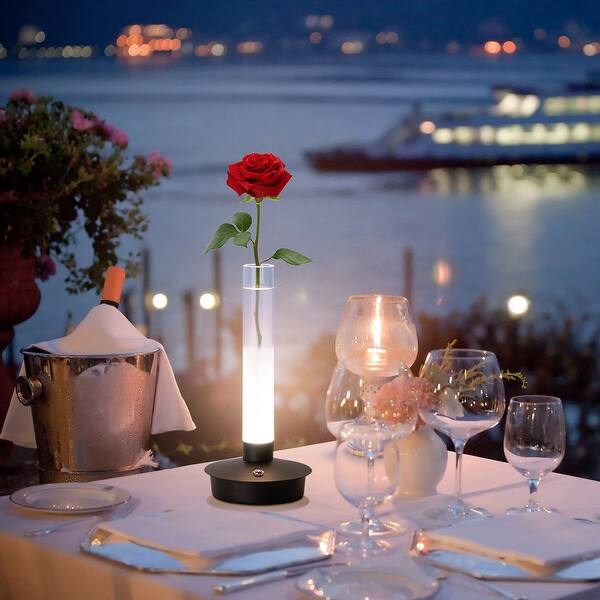
You can turn any household object into a working lamp without tools, wiring, or electrical experience. This method uses self-contained LED bulbs that power and illuminate independently.
Use Rechargeable LED Bulbs
Insert a USB-rechargeable LED bulb into a vase, jar, or candlestick. These bulbs have built-in batteries and emit soft, even light for 4 to 12 hours per charge. Choose warm white for bedrooms or cool white for task areas. Some models include touch controls or remote operation for brightness and color changes.
Choose Stable Base Objects
Pick a heavy, upright container to prevent tipping. Ideal bases include ceramic vases, brass candlesticks, stoneware pots, mason jars, and wicker baskets with flat rims. Ensure the top is wide enough to hold the bulb securely or support a shade.
Add a Lamp Shade
Place a standard or handmade shade over the bulb for diffused lighting. For vases, slip the shade over the neck. Some users drape fabric or lace for a decorative glow. Avoid flammable materials near heat producing bulbs. LEDs stay cool, making them safe for fabric and paper.
Charge and Operate
Before first use, charge the bulb via USB for 2 to 4 hours. Activate using the touch sensor, pull chain, or remote control. Place your new lamp on a nightstand, shelf, or console table. Since it is cordless, you can move it anywhere without an outlet.
Build a Cardboard Night Lamp

Create a shadow projecting night light from recycled cardboard. This project costs under $10 and adds artistic ambiance to any room.
Prepare the Base Box
Use a rigid empty cardboard box like a shoebox or delivery box. Remove the top panel to create an open chamber. Inside, draw a border 1 cm from each inner edge. This guides where to attach the shade panels.
Finish the Exterior
Color all outer surfaces with a black marker. This gives a sleek, modern look and prevents light from bleeding through the walls. Multiple coats ensure full coverage. Let dry completely.
Cut and Decorate Shade Panels
From a separate cardboard sheet, cut four identical trapezoidal or angular panels. On each, draw random line patterns with the black marker. These cast intricate shadows when lit. Space lines unevenly for a dynamic effect. Mark three points 1 cm apart along inner edges to ensure consistent angles during assembly.
Assemble the Lamp
Glue the panels inside the box, aligning edges with the 1 cm border lines. Angle them slightly inward for focused diffusion. Use hot glue for strong, fast adhesion. Then hot glue a screw in bulb holder to the back wall or ceiling of the box.
Insert Bulb and Test
Use a low wattage LED bulb, 5 to 7 watts with an E26 base. Avoid incandescent bulbs because they generate heat and can warp cardboard. Screw in the bulb, plug in the cord, and test the light. Adjust panel angles if shadows are uneven.
Custom LED Lamp Projects
Build a personalized lamp with full control over brightness, color, and design. These modular setups use low voltage components and are ideal for desks, bedrooms, or accent lighting.
Power LED Strips via USB
For a simple 5V USB powered lamp, connect an LED strip to a USB cable. Cut a USB cable and strip the ends. Solder the red wire to the plus pad on the LED strip. Solder the black wire to the minus pad. Plug into a power bank, computer, or wall adapter. Use a flexible gooseneck to position the strip and mount it on a wooden base with epoxy or a clamp.
Build a Battery Powered Jar Lamp
Create a portable ambient light. Place a warm white LED strip inside a glass jar. Connect to a 3xAA battery pack or lithium USB pack. Add an on/off switch in series for convenience. Hide the battery pack under a fabric base or inside a faux bottom jar.
Install a Dimmer or Remote
Enhance functionality by adding a PWM dimmer module between power and LED strip to adjust brightness. Use an IR or RF remote kit to control on/off, color temperature, or RGB color shifts. Ensure your LED strip and power supply are dimmable and compatible with the controller.
Design a Minimalist Wood Lamp
Embed LED strips in wood or acrylic. Route a shallow groove into a solid wood block or acrylic sheet. Press a frosted LED strip into the channel. Cover with a diffuser panel or leave exposed for sharp line lighting. Power via USB or 12V adapter. Finish with natural oil or paint to match your decor.
Choose the Right Light Source
Your bulb or LED type determines brightness, heat, and safety. Making the right choice ensures your lamp works well and lasts long.
Compare LED vs Incandescent
LED bulbs produce low heat and are safe for cardboard. They use only 3 to 7 watts of energy and last 25,000 to 50,000 hours. Incandescent bulbs generate high heat, creating fire risk in DIY projects. They use 40 to 60 watts and last only 1,000 to 2,000 hours. Always use LEDs in DIY projects involving paper, fabric, or plastic.
Match Color Temperature to Room
Warm white at 2700K creates a relaxing atmosphere ideal for bedrooms. Neutral white at 4000K provides balanced light great for offices. Cool white at 5000K or higher boosts alertness and works best for desks. Use tunable white strips to switch between modes.
Secure Wiring and Connections
Even low voltage projects need safe electrical practices. Proper insulation and secure connections prevent accidents and ensure your lamp lasts.
Insulate All Exposed Wires
Cover soldered joints with heat shrink tubing or electrical tape. Never leave bare copper exposed. This prevents shorts and shocks.
Use Hot Glue for Stability
Hot glue secures bulb holders, LED strips, and wires. It sets fast and holds firm on cardboard, wood, and plastic.
Avoid Overloading Circuits
Check LED strip length and power supply rating. A 5V strip longer than 2 meters may need additional power injection to prevent dimming at the end.
Enhance with Design Features
Make your lamp stand out with creative touches. Unique designs transform simple projects into conversation pieces.
Create Shadow Patterns
Cut geometric shapes or nature inspired cutouts into cardboard or thin wood shades. When lit, they project intricate designs on walls and ceilings. Layer materials for depth.
Upcycle Unusual Materials
Transform old books by hollowing the center and adding an LED strip. Use plastic bottles by cutting and stacking them for texture. Add internal lighting to typewriters or musical instruments. These become conversation starting decor pieces.
Add a Frosted Diffuser
Place tracing paper, wax paper, or frosted acrylic over LEDs to soften harsh spots. This mimics professional lamp shades and spreads light evenly.
Optimize for Safety and Longevity
Ensure your lamp is safe to use daily. Following safety practices prevents accidents and extends the life of your creation.
Prevent Overheating
Use only LED bulbs in enclosed or flammable builds. Leave ventilation gaps in sealed designs. Touch test after 30 minutes of use. The surface should feel cool or slightly warm.
Check Connections Annually
Inspect wires, batteries, and solder points once a year. Replace frayed cables or swollen batteries immediately.
Follow Local Electrical Codes
For permanent, mains powered installations, consult an electrician. DIY lamps should not modify wall wiring unless professionally supervised.
Match Lamp to Use Case
Choose the right build for your space. Different rooms need different lighting solutions.
Night Light for Kids Room
Use the cardboard lamp with animal shaped cutouts. Power with a low lumen warm LED, 50 to 150 lumens, for a gentle glow.
Desk Task Lighting
Build a USB gooseneck lamp with a 3 to 5W neutral white LED panel, 300 to 600 lumens. The adjustable neck directs light precisely where you need it.
Living Room Accent
Convert a vase or jar into a cordless ambient lamp. Use dimmable warm LEDs for mood lighting.
Shelf or Nook Lighting
Install a battery powered LED strip inside a floating shelf. Activate with a remote for invisible illumination.
Save Money and Reduce Waste
DIY lamps cost less and support sustainability. Making your own lighting saves money while helping the environment.
Compare Costs
No-wiring lamp conversion costs $15 to $25 compared to $30 to $50 for store bought. Cardboard lamp costs $5 to $10 versus $20 to $35 retail. USB desk lamp costs $10 to $20 versus $25 to $60 for equivalent commercial products. You save 50 to 70 percent by building yourself.
Repurpose Household Items
Use empty jars, old boxes, scrap wood, and discarded vases. This reduces landfill waste and gives new life to forgotten objects.
Use Long Lasting LEDs
A single LED strip can last over 20 years at 3 hours per day. Less replacement means less waste.
Frequently Asked Questions About Making Light Lamps
What is the easiest way to make a light lamp?
The easiest method is the no-wiring conversion. Simply place a rechargeable LED bulb into a vase, jar, or candlestick. No tools, wiring, or electrical knowledge required.
Can I make a lamp without electricity?
Yes. Use rechargeable LED bulbs that operate on built-in batteries. These cordless lamps need no outlet and can be placed anywhere.
Are LED bulbs safe for cardboard lamps?
Yes. LEDs produce minimal heat compared to incandescent bulbs. This makes them safe for use with cardboard, fabric, paper, and other flammable materials.
How much does it cost to make a light lamp?
DIY lamps cost $5 to $25 depending on the method. Cardboard lamps cost the least at $5 to $10. No-wiring conversions cost $15 to $25. Custom LED builds cost $10 to $20.
How long do rechargeable LED bulbs last?
Most rechargeable LED bulbs provide 4 to 12 hours of light per charge, depending on brightness level. The bulbs themselves last 25,000 to 50,000 hours.
Can I use regular light bulbs in DIY lamp projects?
Regular incandescent bulbs generate too much heat for cardboard or fabric projects. Use LED bulbs instead. They stay cool, use less energy, and last much longer.
Key Takeaways for Making Your Own Light Lamp
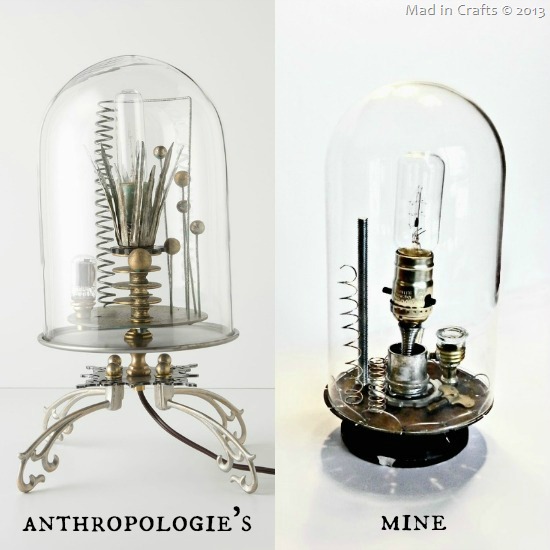
You now know how to make a light lamp safely and creatively. Start with a no-wiring vase conversion if you are new to DIY projects. Try a cardboard shadow lamp for artistic flair and minimal cost. Advance to custom LED builds for full control over brightness, color, and design. Always use cool running LEDs, insulate all wire connections, and prioritize stability when choosing bases. With these steps, you will craft functional, beautiful lighting that saves money and reduces waste. Choose the method that matches your skill level, gather your materials, and start building your perfect lamp today.