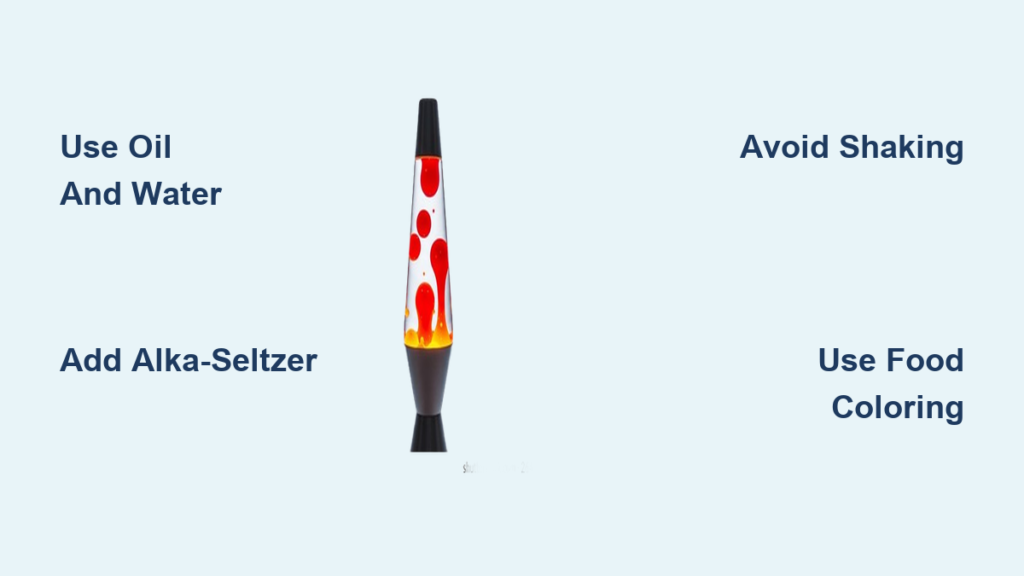
Have you ever wanted to create a mesmerizing, bubbling lava lamp using just household items? With a clear bottle, oil, water, food coloring, and a fizzing tablet, you can build your own mini science show in minutes. The how to make a lava lamp experiment is more than just fun. It is a hands-on way to explore real scientific principles like density, polarity, and gas formation.
You will see colorful blobs rise and fall like molten lava, powered by nothing more than a chemical reaction. This guide covers two proven methods, pro tips for brighter colors and smoother flow, troubleshooting advice, and even glowing or snowstorm-themed variations to try.
Gather Your Materials for a Lava Lamp
Pick the Right Container
Use a clear plastic bottle or glass jar between 16 and 20 ounces. A soda bottle or mason jar works perfectly. Remove any labels and rinse the container clean. A tall, narrow shape enhances the lava effect by focusing the upward motion of bubbles. Make sure the container is completely dry before starting, because water residue can interfere with oil layering.
Select Your Oil and Water
Fill your container three-quarters full with oil and one-quarter to one-third full with water. This three-to-one oil-to-water ratio ensures a thick top layer that lets colored droplets rise clearly. Vegetable oil works fine, but baby oil gives a cleaner, more transparent look. Avoid olive oil because it is too dense and dark for this experiment.
Choose Food Coloring
Add five to ten drops of liquid food coloring to the water. Since food coloring is water-soluble, it will not mix with the oil and will stay in the lower layer. Bright red, blue, or green give the best contrast. Do not overdo it because too much dye clouds the water and dulls the effect.
Layer Oil and Water Correctly
Add Water First
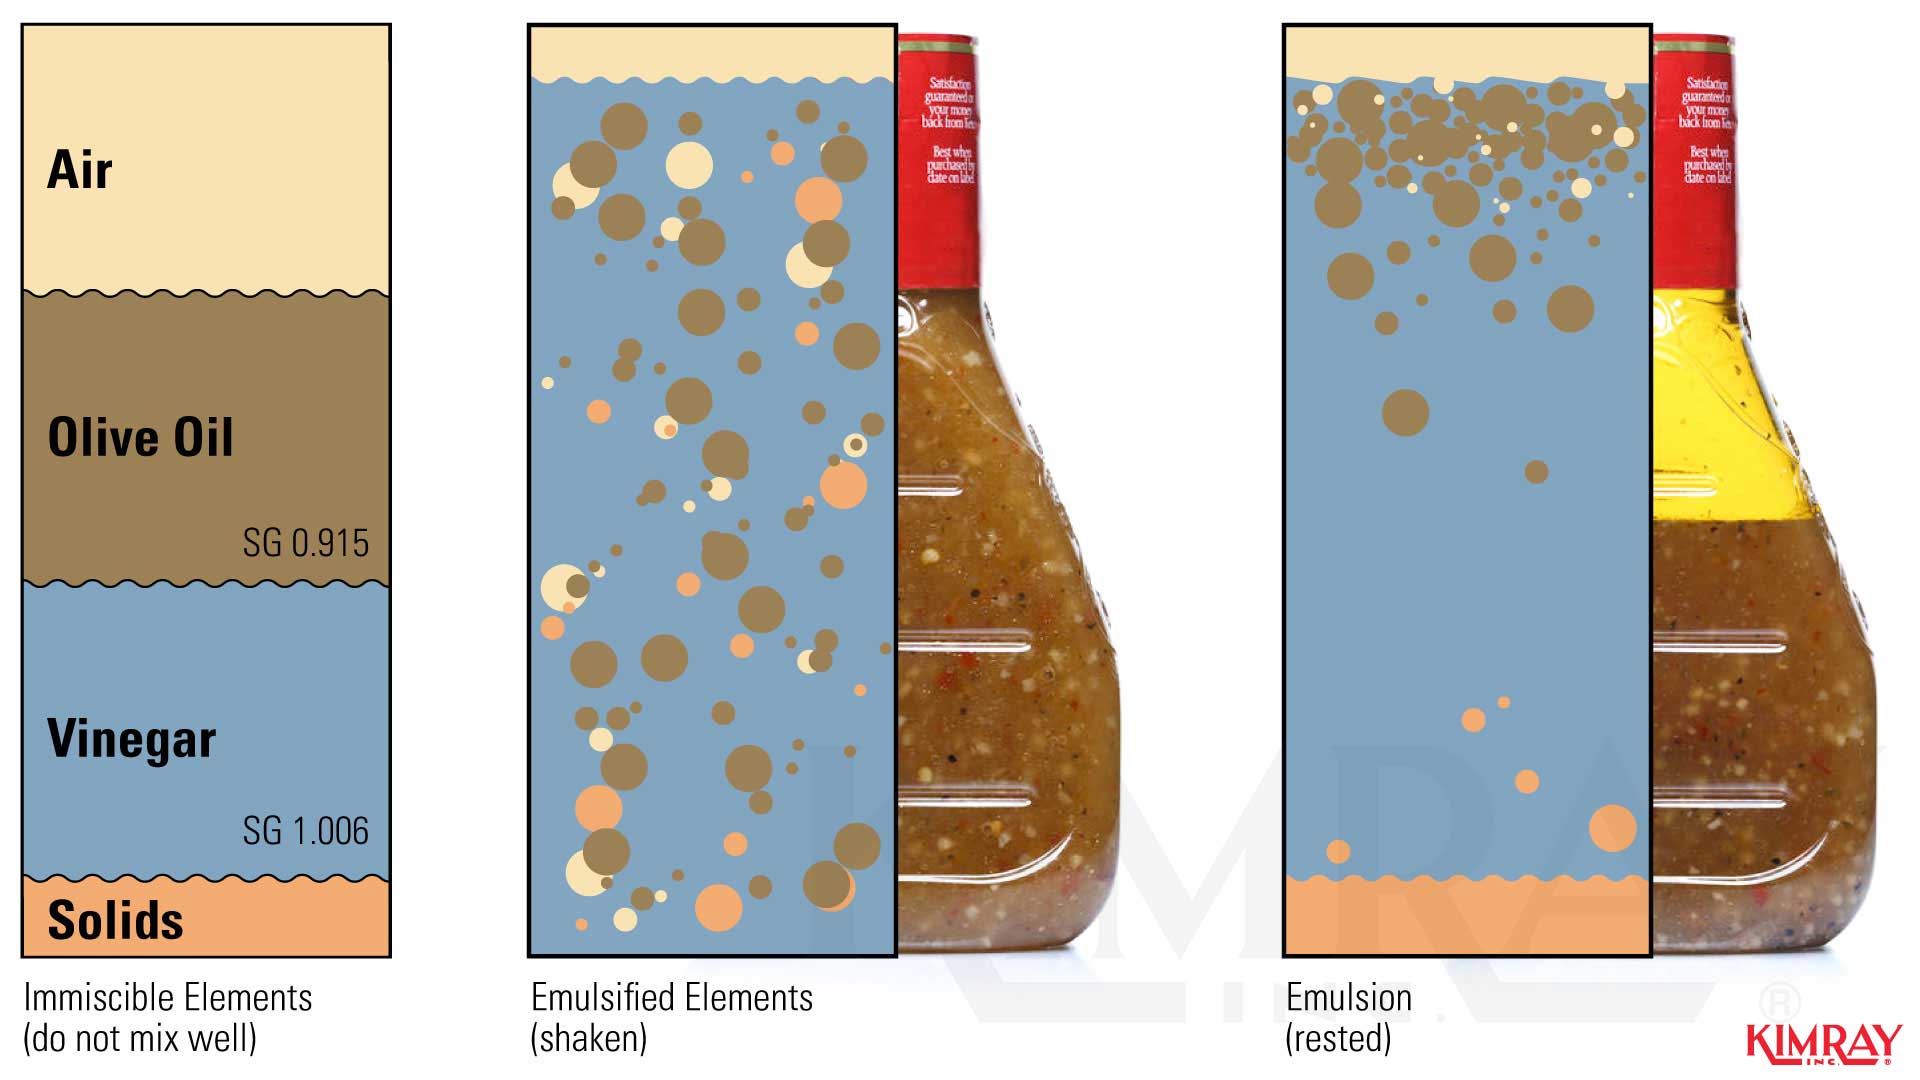
Pour room-temperature water into the container to fill about one-third of it. Warm water speeds up reactions slightly, but hot water can warp plastic bottles. Avoid shaking or stirring after this step because disturbances can delay the separation between layers.
Slowly Add the Oil
Use a funnel to pour oil slowly down the side of the bottle. The oil will naturally float on top of the water. Let the bottle sit undisturbed for one to two minutes so the layers fully separate. You should see a sharp line between the clear oil above and the colored water below.
Use Alka-Seltzer Tablets for the Classic Effect
Drop in a Tablet Piece
Grab an effervescent antacid tablet like Alka-Seltzer and break it into three or four small chunks. This lets you add them one at a time, extending the lava show. Gently drop one tablet chunk into the bottle. It will sink through the oil and reach the water layer.
Watch the Lava Effect Begin
Within seconds, bubbles will form and start lifting colored droplets upward. The tablet reacts with water to release carbon dioxide gas. These bubbles cling to colored water blobs, making them buoyant. The blobs rise through the oil, then sink back down when the bubbles pop at the surface. This cycle creates a continuous lava-like flow. Each piece gives 30 to 60 seconds of motion.
Try the Baking Soda and Vinegar Method
Add Baking Soda First
Before pouring oil, place one to three tablespoons of baking soda at the bottom of the container. A funnel helps keep it dry and in place. Pour oil over the baking soda until the bottle is two-thirds full. The oil acts as a barrier, preventing premature contact with vinegar.
Mix and Add Dyed Vinegar
In a cup, combine two to three tablespoons of vinegar with two to five drops of food coloring. Stir well, then slowly pour the mixture into the bottle. It will sink through the oil and react with the baking soda.
Observe the Fizz and Flow
The acid-base reaction produces carbon dioxide gas instantly. Bubbles lift colored liquid upward, creating the same rise-and-fall motion. The effect lasts one to two minutes per addition. When the bubbling stops, add more dyed vinegar to restart the cycle. No need to dump the bottle. Just keep recharging it.
Understand the Science Behind the Effect

Why Oil and Water Do Not Mix
Water molecules are polar, meaning they attract each other strongly. Oil is non-polar, so it cannot bond with water. This polarity mismatch makes them immiscible, forming two distinct layers. Water is denser than oil, so it sinks to the bottom while oil floats on top.
Why Droplets Rise and Fall
Carbon dioxide bubbles from the chemical reaction attach to colored water droplets. This reduces their density, making them rise through the oil. When bubbles burst at the surface, the droplet becomes dense again and sinks back down, repeating the cycle. This demonstrates density, buoyancy, and gas formation in one simple experiment.
Enhance Your Lava Lamp With Lighting
Shine a Light From Below
Place a flashlight or LED lamp under the bottle. This mimics the glow of a real lava lamp and makes the blobs pop against a dark background. For even better contrast, set the bottle on a white sheet of paper.
Try a Blacklight for Glow
Swap regular food coloring for UV-reactive or glow-in-the-dark dye. Shine a blacklight from below for a neon, nightclub-style effect. The blobs will glow vividly as they rise and fall.
Use Baby Oil for Clearer Flow
Baby oil or mineral oil is clearer than vegetable oil, so droplets are easier to see. It also has a smoother viscosity, which slows the motion slightly for a more realistic lava lamp feel.
Try Creative Variations
Make a Glow-in-the-Dark Lava Lamp
Replace standard food coloring with fluorescent dye. Use a blacklight to activate the glow. This version is perfect for parties or bedtime science fun.
Create a Snowstorm in a Jar
Mix one teaspoon of white paint with glitter and water, then pour into the bottom of a flask. Fill the rest with baby oil. Add Alka-Seltzer pieces. The rising bubbles carry glittery clumps that look like swirling snow. It is a festive winter-themed twist.
Test Different Oils
Compare how droplets move in vegetable oil, baby oil, mineral oil, and lamp oil. Note which oil gives the most satisfying flow and visibility.
Try Multi-Color Effects
Add different food coloring drops at different times. Or use separate batches of dyed vinegar in the baking soda method. Watch how colors swirl and interact without blending, thanks to oil is barrier.
Troubleshoot Common Problems
No Bubbling
If nothing happens, your Alka-Seltzer may be expired or your baking soda might be old. Both lose potency over time. Use fresh ingredients for reliable fizz.
Poor Color Visibility
Too little dye makes blobs hard to see. Add more drops, but not too many. Over-coloring turns the water dark and opaque. Stick to five to ten drops max.
Droplets Not Rising
The issue could be weak gas production. Add another tablet piece or increase the baking soda amount. Also, thick oil can slow movement. Try switching to baby oil.
Oil and Water Not Separating
Did you shake the bottle? That can emulsify the mixture. Let it sit undisturbed for five to ten minutes. The layers will re-form naturally.
Bubbling Too Fast or Short-Lived
Adding a whole tablet at once causes a quick burst. Use smaller pieces and add them one at a time. This spreads out the reaction and extends the show.
Container Leaking or Popping
Never seal the bottle tightly during the reaction. Carbon dioxide buildup creates pressure that can blow the cap off. Keep it open or loosely capped.
Follow Important Safety Guidelines
Supervise Children at All Times
This is a safe experiment, but small parts and chemicals are not toys. Kids should participate under adult supervision.
Never Drink the Mixture
Even though ingredients are common, the final mix is not edible. Label the bottle clearly to avoid confusion, especially with water bottles.
Avoid Heat and Flames
Do not place the bottle near candles or hot bulbs. Homemade versions are not designed for high temperatures, especially plastic bottles.
Keep on a Stable Surface
Do the experiment on a spill-proof, level table. Have paper towels ready because oil can stain fabrics and floors.
Clean Up and Reuse Your Materials
Dispose of the Mixture Safely
Once done, pour the contents down the sink. The small amount of oil will not clog pipes. Wipe the inside with a paper towel first to absorb excess oil.
Clean the Container Thoroughly
Wash with hot water and dish soap to remove oil film. A bottle brush helps reach tight spots. Let it dry before storing or reusing.
Recycle or Repurpose
Plastic bottles and glass jars can be recycled or reused for future experiments. Save them for your next lava lamp session.
Frequently Asked Questions About Making a Lava Lamp
How long does a homemade lava lamp last?
Each tablet piece produces 30 to 60 seconds of lava motion. You can add more pieces to extend the display indefinitely. The baking soda and vinegar method lasts one to two minutes per addition.
Can I use any oil for a lava lamp?
Vegetable oil is the most common and affordable choice. Baby oil and mineral oil provide clearer visibility and smoother flow. Avoid olive oil because it is too dense.
Is this experiment safe for children?
Yes, with adult supervision. The materials are non-toxic household items, but children should not drink the mixture. Always supervise younger kids during the experiment.
Why do the blobs rise and fall?
Carbon dioxide gas bubbles attach to colored water droplets, making them buoyant enough to rise through the oil. When the bubbles pop at the surface, the droplets become dense again and sink back down.
Can I reuse the lava lamp mixture?
Yes. Simply add more tablet pieces or dyed vinegar to restart the reaction. The oil and water layers will remain separated.
Key Takeaways for Making Your Own Lava Lamp
Making a lava lamp at home is a simple, safe, and deeply educational project. Using just oil, water, food coloring, and a fizzing agent, you unlock a vivid demonstration of chemistry and physics in action. Whether you use Alka-Seltzer tablets or baking soda and vinegar, the result is the same. Hypnotic, glowing blobs rise and fall like real lava.
You can customize your lamp with lights, colors, glitter, and even different oils to change the flow speed. Troubleshoot problems like a scientist by checking reactant freshness and layer separation. Teach core STEM concepts to kids by asking why the blobs move the way they do.
So grab a bottle, mix your layers, drop in a tablet, and watch the magic begin. With this guide, you now know exactly how to make a lava lamp that is as smart as it is stunning.