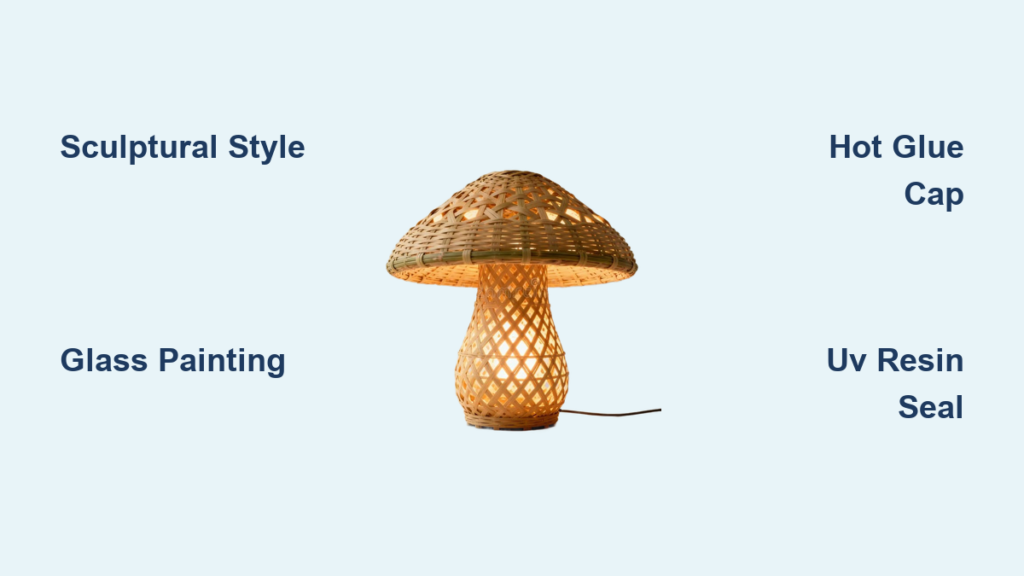
Imagine a soft, glowing mushroom nestled in your living room or garden, casting a warm, dreamy light that feels like it is straight out of a fairy tale. Mushroom lamps are handmade, customizable lighting fixtures that blend nature-inspired design with modern LED technology. Whether you are crafting a whimsical centerpiece for your home or a weatherproof garden accent, this guide shows you how to make a mushroom lamp using three distinct methods. You will learn how to choose materials, assemble components, and finish your lamp with professional polish.
This article covers three approaches: sculptural, glassware, and hot glue methods. Each offers unique benefits for different aesthetics, time commitments, and durability needs. By the end, you will have all the knowledge needed to create a lamp that fits your style and space perfectly.
Choose Your Mushroom Lamp Style
Sculptural, Glassware, or Hot Glue Method
There are three main approaches to making a mushroom lamp, each suited to different aesthetics and skill levels:
- Sculptural: Best for organic, handcrafted looks and outdoor use. Offers full creative control over shape and texture using polymer clay and silicone.
- Glassware: Ideal for mid-century modern or minimalist interiors. Uses painted glass bowls and vases for a sleek, diffused glow.
- Hot Glue: Perfect for fast, indoor decor like fairy gardens or seasonal displays. Takes under 15 minutes per lamp.
Your choice depends on where the lamp will go, how long you want it to last, and how much time you are willing to invest.
Gather Essential Materials
Core Components for Any Method
No matter which style you pick, every mushroom lamp needs these four key parts:
- Light Source: LED fairy lights, puck lights, or USB strips
- Cap: Polymer clay, glass bowl, or hot glue dollop
- Stem: Wire, glass vase, or twisted LED wire
- Base: Cork, wood, or mason jar lid
Adhesives like hot glue, clear silicone, or UV resin hold everything together. For outdoor lamps, UV-resistant coatings are essential.
Lighting Options Compared
| Light Type | Best For | Power Source | Notes |
|---|---|---|---|
| LED fairy lights | Sculptural lamps, clusters | Battery (AA/AAA) | Flexible wiring, great for grouping |
| Puck lights | Glass dome lamps | Button battery (with remote) | Slim, remote-controlled, easy install |
| USB LED strips | Permanent indoor setups | USB cable | No batteries, supports RGB color changes |
Pro tip: Use USB-powered lights indoors to avoid frequent battery swaps.
Build a Sculptural Mushroom Lamp
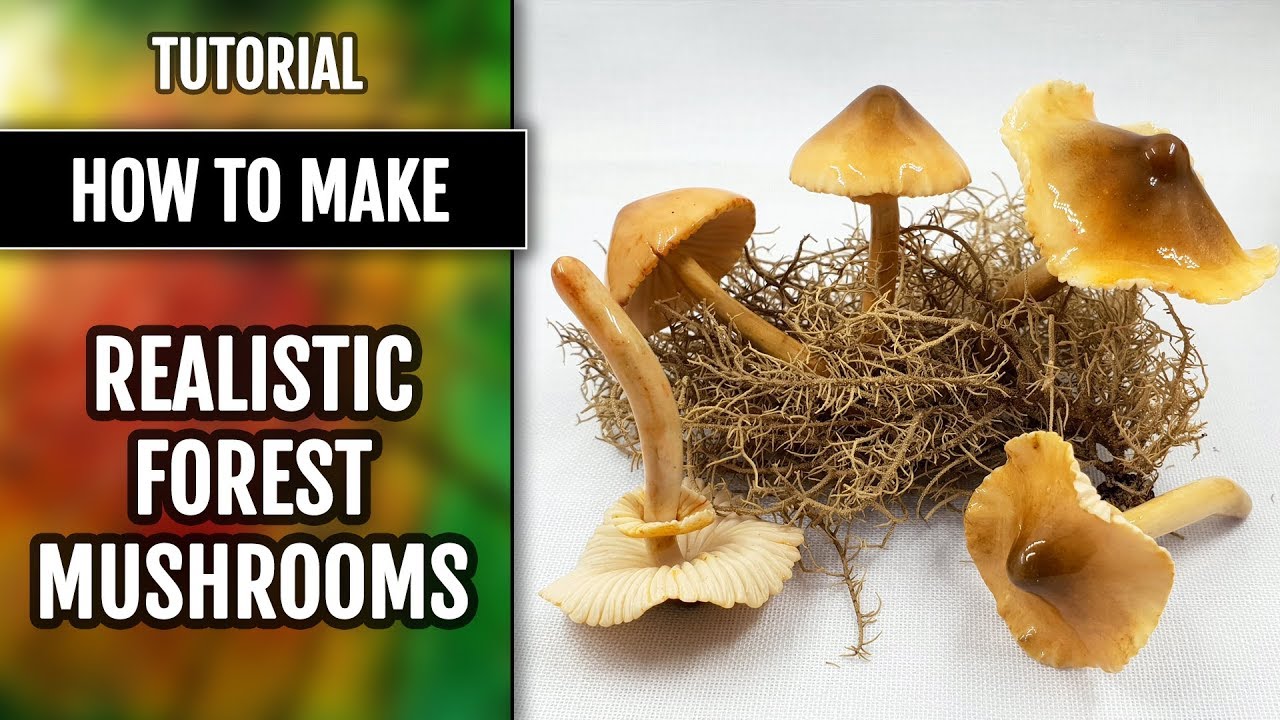
Create a Hand-Crafted, Weatherproof Design
This method gives you the most artistic freedom and is the only one fully suitable for outdoor or garden use when sealed properly.
Form the Stem with Silicone
- Mix clear silicone with a few drops of dish soap and water to reduce stickiness.
- Add brown or gray chalk pastel for natural color. Optional: a drop of acrylic paint to speed up curing.
- Squeeze the mixture around the LED wire, avoiding the bulb.
- Apply darker pigment at the base for depth and realism.
- Work in small batches since silicone sets fast.
Visual cue: The stem should taper slightly, mimicking real fungi.
Shape the Cap with Polymer Clay
- Use translucent white polymer clay (like FIMO or Sculpey).
- Condition the clay by hand until soft and pliable.
- Roll to 2–4 mm thickness (pasta machine setting #5 to #2).
- For small caps: pinch clay over the stem tip.
- For large caps (e.g., penny buns):
– Build an aluminum foil armature first
– Layer clay over the foil - Carve radial grooves underneath with a craft knife.
- Rub dark brown pastel into grooves for shadow effect.
Warning: Cold tools or under-conditioned clay can cause cracking. Warm tools before use.
Bake and Finish the Cap
- Place cap on aluminum foil.
- Bake at 110–130°C (230–265°F) for 15–30 minutes, per manufacturer instructions.
- Let cool completely before handling.
Apply Protective Coating
- Indoors: Use FIMO gloss or matte varnish.
- Outdoors: Seal with UV-resistant clear coat or UV resin to prevent sun damage.
Final step: Attach cap to stem with clear silicone. Hide seams with moss or paint.
Assemble a Glassware Mushroom Lamp
Turn Thrifted Glass into Mid-Century Magic
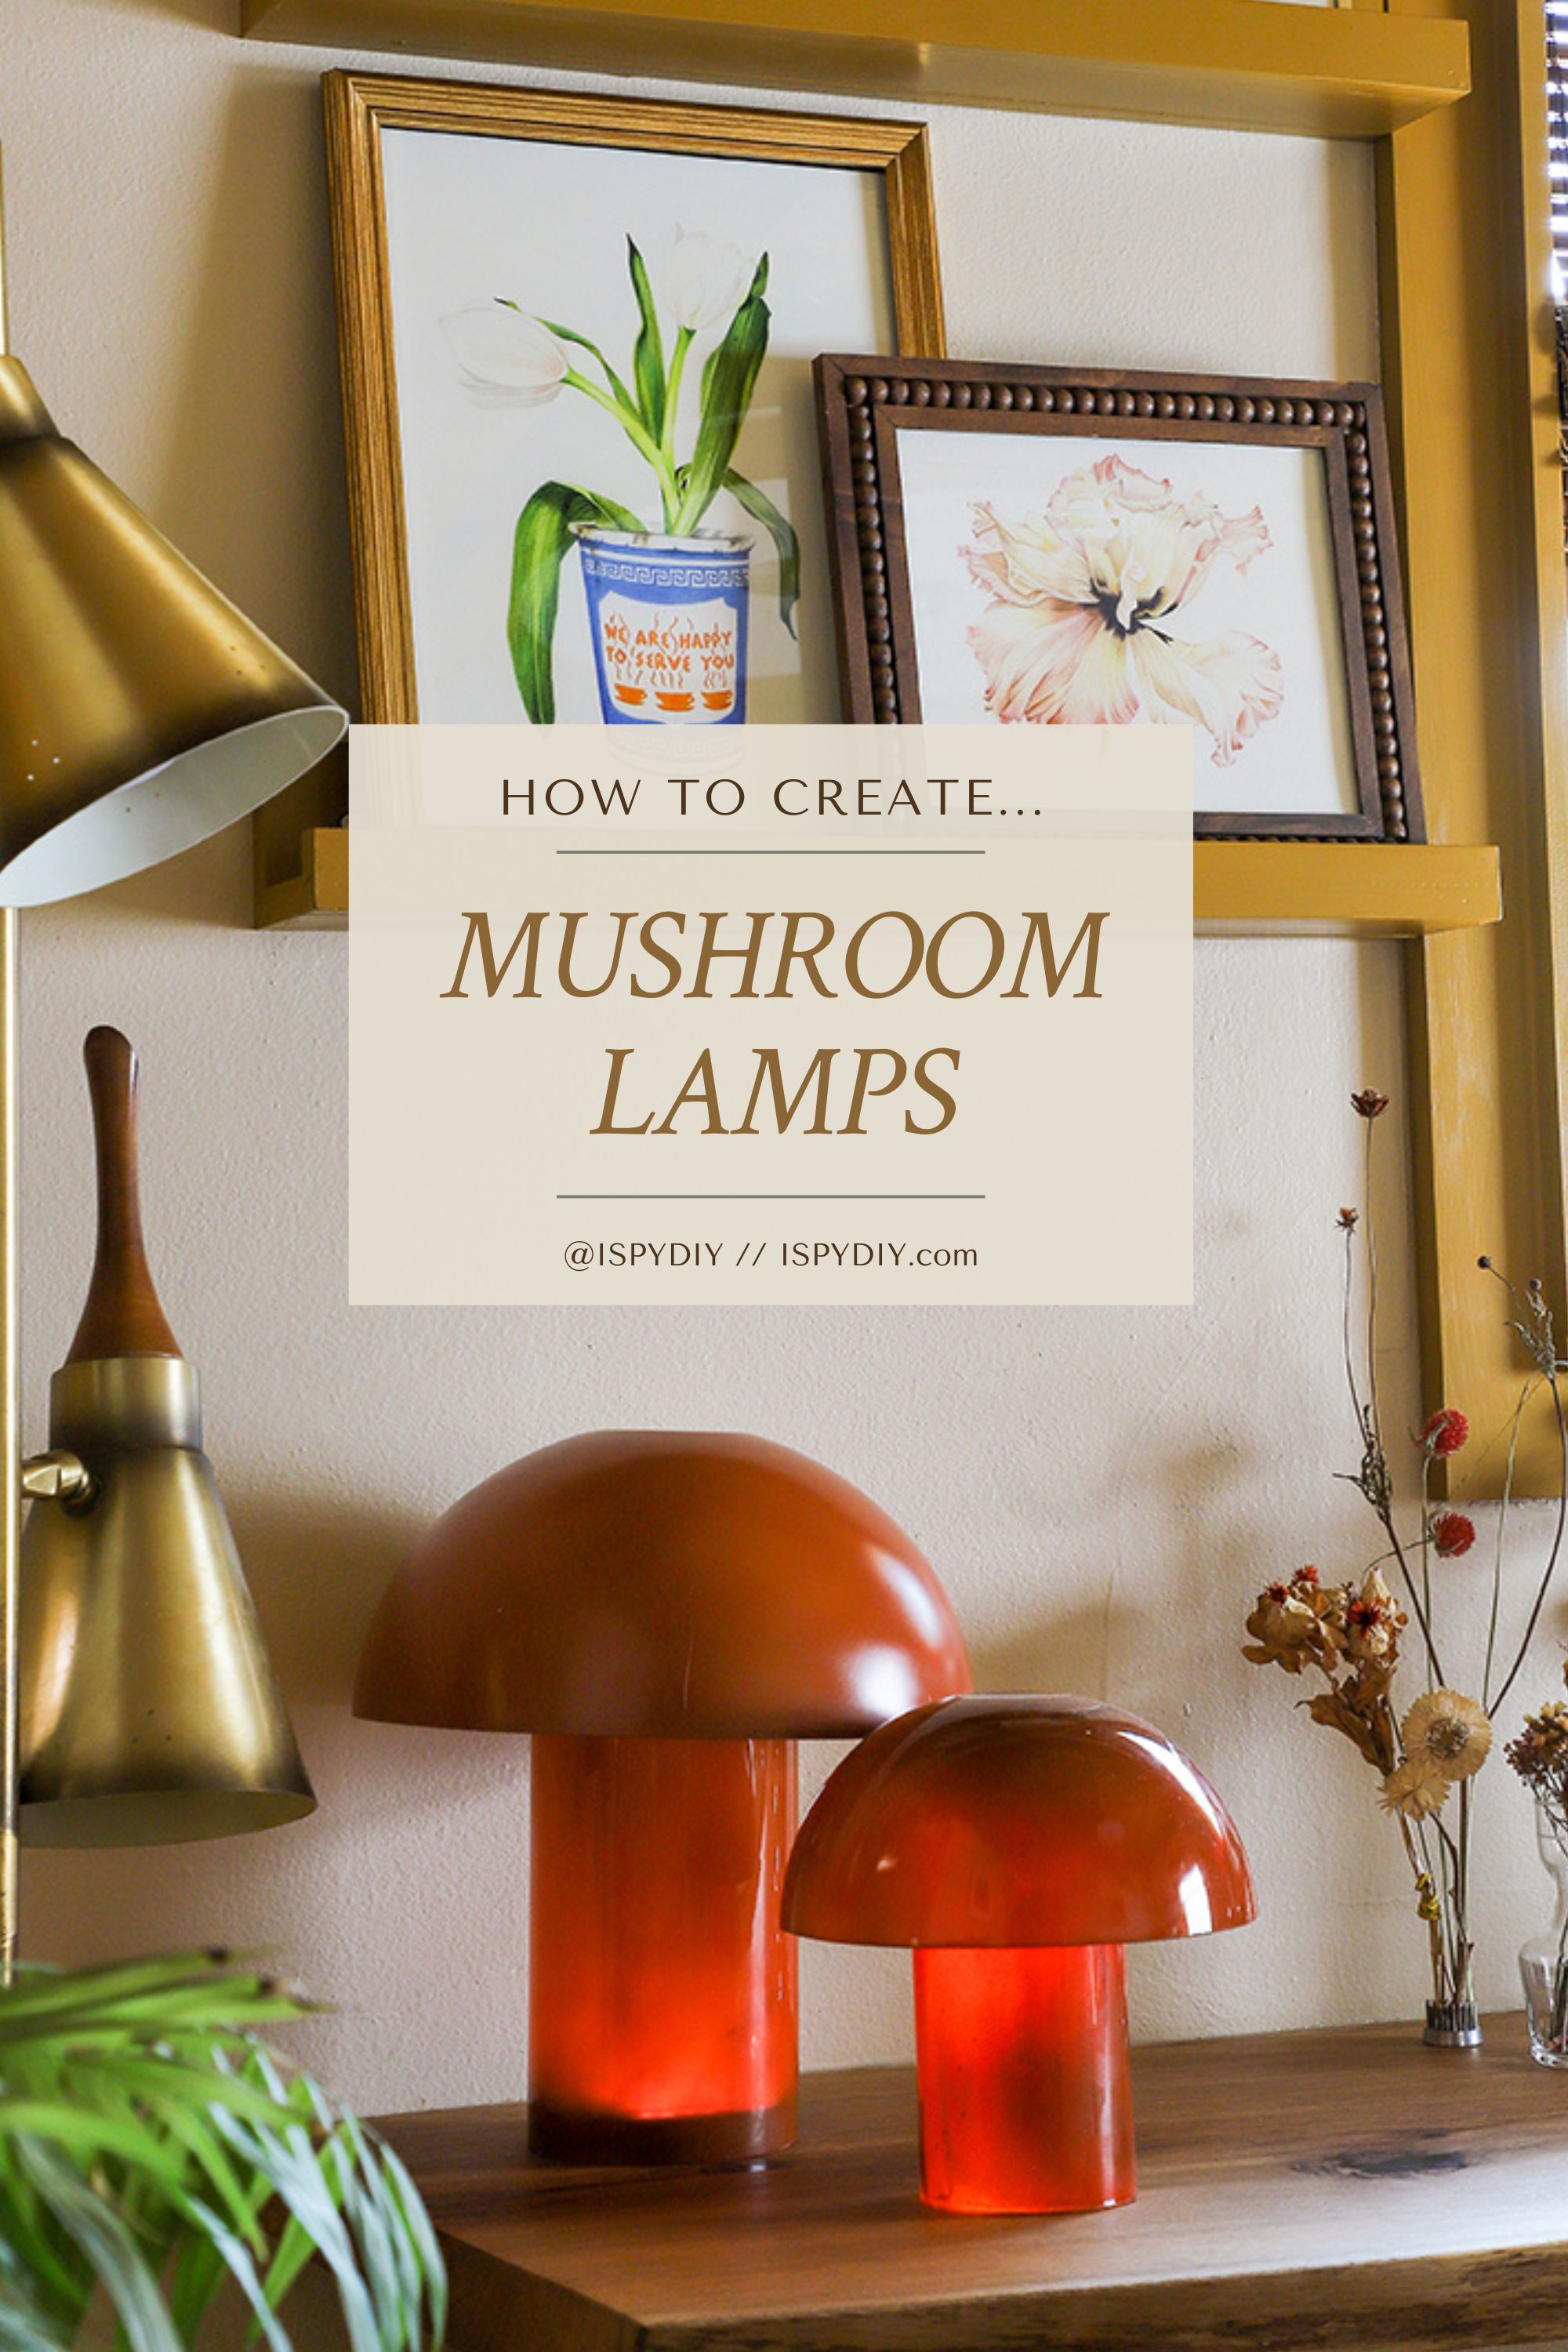
This sleek, modern method uses inverted glass bowls and vases to create a refined, glowing mushroom.
Paint the Glass from the Inside
- Select a glass bowl (cap) and cylindrical vase (stem).
- Mask the outer edges with painter’s tape.
- Pro tip: wrap a plastic grocery bag around the glass beneath the tape to catch overspray.
- Spray paint only the inside to prevent chipping.
- Use light, even coats of sea-glass, Rustic Orange, or satin finish spray paint.
- Wait 15–30 minutes between coats. Two coats usually suffice.
Why inside: Light shines through the paint, creating a soft, even glow without visible brush marks.
Glue the Stem to the Cap
- Apply E6000 or clear silicone to the bottom rim of the vase.
- Press it into the center of the inverted bowl’s interior.
- Center carefully since any movement can scratch the paint.
- Let cure for at least 1 hour before handling.
Check alignment: Look from above. The vase should be perfectly centered.
Install the Puck Light
- Use a remote-controlled LED puck light for convenience.
- Insert the puck into the vase with the adhesive side facing up.
- Press firmly against the top interior of the vase using your hand or a wooden spoon.
- Turn the lamp right-side up and test the remote.
Result: A warm, ambient glow that transforms any space into a cozy retreat.
Make a Hot Glue Mushroom Lamp Fast

Quick, Minimalist Design for Indoor Use
Perfect for temporary decor, fairy gardens, or craft nights. This method takes under 15 minutes.
Use a Mason Jar Lid as Base
- Glue the end of LED fairy lights to the inside of a mason jar lid.
- Let the wires hang down like stems.
Twist Wires into Stems
- Gently twist the LED wire to form a spiral or straight stem.
- Leave one LED bulb exposed at the top. This will be inside the cap.
Create Caps with Hot Glue
- Squeeze a dollop of hot glue onto parchment paper.
- Let it cool and harden (5–10 seconds).
- Peel off and glue to the top of the stem.
- Repeat for multiple mushrooms.
Pro tip: Use different-sized dollops to create variety. Some fat, some slender.
Finish with Moss
- Line the lid with real or faux moss.
- Press around the stems to hide wires and enhance the natural look.
Best for: Fall decor, kids crafts, or seasonal centerpieces.
Power Your Lamp Smartly
Choose the Right Light Source
Your power choice affects durability, maintenance, and portability.
Battery vs. USB vs. Solar
| Option | Best Use | Maintenance | Notes |
|---|---|---|---|
| Battery-powered | Portable, temporary | Replace every 6–12 months | Great for remote-controlled puck lights |
| USB-powered | Indoor, permanent | Plug in, no changes | Ideal for LED strips with dimming or color control |
| Solar-powered | Outdoor, garden | Low maintenance | Requires sunny spot and weatherproof battery pack |
Pro tip: For outdoor sculptural lamps, use a solar-charged battery pack hidden in the base.
Seal for Durability
Make Outdoor Mushroom Lamps Last
Indoor lamps can use hot glue and acrylic paint, but outdoor versions need stronger protection.
Weatherproofing Checklist
- Stem: Use silicone instead of hot glue
- Joints: Seal all connections with clear silicone sealant
- Cap: Coat polymer clay with UV resin or outdoor-rated clear coat
- Base: Use cork or treated wood that resists moisture
Avoid: Hot glue in outdoor builds since it degrades in rain and sun.
Design Like a Pro
Elevate Your Mushroom Lamp
Even simple builds can look professional with a few design tricks.
Use Silver Wire for Invisible Stems
Silver wire blends into the background, making the cap appear to float. Copper wire works for rustic indoor designs but is more visible.
Avoid Overcrowding in Clusters
Space mushrooms 5–10 cm apart. This allows room for stem detailing and prevents a cluttered look.
Spray Paint Like a Pro
- Spray from 15–20 cm away in light, sweeping motions
- Do not overload since thick paint causes drips that show when lit
- Wrap plastic bags under tape to catch overspray and ensure clean lines
Troubleshoot Common Issues
Fix Problems Before They Ruin Your Lamp
Why Is My Polymer Clay Cap Cracking?
- Cause: Under-conditioned clay or cold tools
- Fix: Warm tools with hot water. Knead clay longer before shaping.
Why Does My Hot Glue Cap Look Dull?
- Cause: Glue cooled too fast or was disturbed during setting
- Fix: Let dollops harden fully on parchment paper before moving.
Why Is the Paint Chipping After Assembly?
- Cause: Paint applied to the outside of glass
- Fix: Always paint the inside surface. It is protected from wear and looks better when lit.
Customize for Any Season
Create Themed Mushroom Lamps
Switch up colors and materials to match holidays or seasons.
Fall Decor Version
- Use Rustic Orange spray paint on glass lamps
- Add brown and yellow moss
- Cluster with pinecones or acorns
Fairy Garden Miniature
- Use tiny LED fairy lights
- Make pea-sized hot glue caps
- Mount on driftwood or stone
RGB Mood Lamp
- Use color-changing USB LED strips
- Program soft cycles: blue to purple to pink
- Perfect for bedrooms or meditation spaces
Cost vs. Retail: Why DIY Wins
Save Money, Add Personal Touch
- DIY cost: $10–$25 per lamp
- Retail cost: $50–$150 (Etsy, West Elm, Anthropologie)
You are not just saving money. You are making something one-of-a-kind.
Final Tips for Success
Key Takeaways
- For beginners: Start with the hot glue method
- For durability: Use the sculptural method with UV resin
- For style: Try the glassware method with internal spray paint
- Always test lights before final assembly
- Work in a well-ventilated area when painting or using adhesives
Maintenance and Longevity
- Indoor lamps: Dust lightly. Replace batteries as needed.
- Outdoor lamps: Reapply UV coating every 6–12 months.
- Hot glue caps: May yellow in sunlight. Best for shaded areas.
Frequently Asked Questions About Making Mushroom Lamps
What is the easiest method for beginners?
The hot glue method is the easiest for beginners. It takes under 15 minutes and requires only basic materials like a hot glue gun, LED fairy lights, and mason jar lids. This method is perfect for learning the basics before tackling more advanced techniques.
Can mushroom lamps be used outdoors?
Yes, but only with the sculptural method using proper sealing. You must use silicone for stems, UV resin for caps, and clear silicone sealant on all joints. Battery-powered or solar-powered lights work best for outdoor installations.
How long do battery-powered lights last?
Battery-powered LED lights typically last 6–12 months with regular use before needing replacement. USB-powered lights eliminate this maintenance entirely for indoor use.
Why does my glass-painted lamp look streaky?
Streaks occur when paint is applied to the outside of the glass or when too much paint is applied at once. Always paint the inside surface in light, even coats. Use the plastic bag trick under painter’s tape to catch overspray and maintain clean lines.
Can I use regular glue instead of special adhesives?
For indoor, temporary lamps, hot glue works fine. However, for durable or outdoor lamps, you need clear silicone for waterproofing and UV resin for sun protection. Regular glue will degrade quickly in outdoor conditions.
How much does it cost to make a mushroom lamp?
DIY mushroom lamps cost between $10–$25 per lamp, depending on materials chosen. Retail versions of similar quality sell for $50–$150 on sites like Etsy and West Elm.
Key Takeaways for Making Your Own Mushroom Lamp
Making a mushroom lamp is an achievable DIY project that costs a fraction of retail prices. The sculptural method creates durable, weatherproof lamps suitable for gardens. The glassware method produces sleek, modern pieces perfect for mid-century interiors. The hot glue method offers the fastest route to a charming decoration. Choose your method based on where the lamp will live and how much time you want to invest. Test all lights before final assembly, work in ventilated areas when using adhesives, and seal outdoor lamps properly to ensure they last. Start with a simple project to build confidence, then experiment with colors, sizes, and groupings to create something uniquely yours.